How to Build a Deck: Expert Tips & Steps
Building a deck transforms your outdoor space into a functional entertainment area while significantly increasing your home’s value. Whether you’re a seasoned DIY enthusiast or tackling your first major project, constructing a deck requires careful planning, proper materials, and adherence to local building codes. This comprehensive guide walks you through every stage of deck construction, from initial design and permits to final finishing touches.
A well-built deck can last 15-20 years or more with proper maintenance, providing countless hours of outdoor enjoyment for your family. Understanding the fundamentals of deck building—from foundation requirements to railing specifications—ensures your project meets safety standards while delivering the aesthetic appeal you envision. Let’s explore the essential steps that transform your backyard into a beautiful outdoor living space.
Planning and Design Considerations
Before breaking ground on your deck project, invest time in thorough planning. Start by determining your deck’s purpose—will it serve as an intimate dining area, lounging space, or entertainment hub? This decision influences size, layout, and material choices. Most residential decks range from 200 to 400 square feet, though yours can be larger or smaller based on your needs and available space.
Consider your deck’s orientation relative to the sun. A south-facing deck receives maximum sunlight, ideal for morning coffee but potentially uncomfortable during afternoon heat. North-facing decks stay cooler and work well for shaded retreats. Sketch your design on paper or use digital tools to visualize the final product. Think about traffic flow, furniture placement, and how your deck connects to your home’s architecture.
Height matters significantly for both aesthetics and safety. Ground-level decks (under 30 inches) require minimal railings, while elevated decks need full safety railings and potentially stairs. If you’re building a multi-level outdoor space, consider how different elevations create visual interest and functional zones.
Material selection during planning stages determines your budget and maintenance requirements. Pressure-treated lumber costs less but requires regular staining and sealing. Composite materials offer durability with minimal maintenance but carry higher upfront costs. Cedar and redwood provide natural beauty and rot resistance but demand annual maintenance. Each option has merit—your choice depends on budget, climate, and personal preferences.
Permits and Building Code Compliance
Never skip the permit process. Most jurisdictions require deck permits for structures over 200 square feet or elevated more than 30 inches. While obtaining permits takes time and money, they protect your investment and ensure structural safety. Contact your local building department to understand specific requirements in your area.
Building codes establish minimum standards for safety and longevity. The International Code Council (ICC) provides model codes adopted by most jurisdictions. Key code requirements include:
- Post spacing: Posts typically cannot exceed 8 feet apart for single-story decks
- Railing height: Railings must be 36-42 inches above deck surface
- Railing balusters: Spacing cannot exceed 4 inches to prevent child entrapment
- Stair treads: Must be 10-11 inches deep with consistent rise (typically 7-7.75 inches)
- Footing depth: Posts must extend below the frost line, typically 36-48 inches depending on climate
Your deck must also meet NFPA (National Fire Protection Association) standards regarding fire ratings and material specifications. Consult your local building inspector before beginning construction. They provide invaluable guidance on local requirements and can review your plans before work starts, potentially saving costly mistakes.
Materials Selection and Preparation
Quality materials form the foundation of a durable deck. For framing, pressure-treated lumber rated for ground contact (typically .40 retention or higher) resists rot and insect damage. Galvanized or stainless steel fasteners prevent rust staining and structural failure. Never use regular nails; use corrosion-resistant screws or bolts specifically designed for exterior use.
If you’re interested in beginner woodworking projects, deck building provides excellent hands-on experience with fundamental techniques. For decking boards, you have several options: pressure-treated lumber, cedar, composite materials, or PVC. Each requires different installation methods and maintenance schedules.
Calculate material quantities precisely before purchasing. Measure deck dimensions, account for waste (typically 10%), and list every component: posts, beams, joists, decking, fasteners, and hardware. Creating a detailed materials list prevents multiple trips to the supplier and ensures consistent material quality throughout your project.
Store materials properly before installation. Stack lumber on level ground with spacers between layers to allow air circulation. Cover materials with tarps to protect from weather. Pressure-treated lumber may release moisture during storage, so allow adequate drying time before installation, particularly for decking boards.
Foundation and Framing
A solid foundation ensures your deck remains level and stable for decades. Locate post locations using string lines and the 3-4-5 triangle method for square corners. Mark post locations with chalk or spray paint. Dig holes below the frost line (contact your local extension office for your region’s frost depth). Most areas require 36-48 inch depths for permanent frost protection.
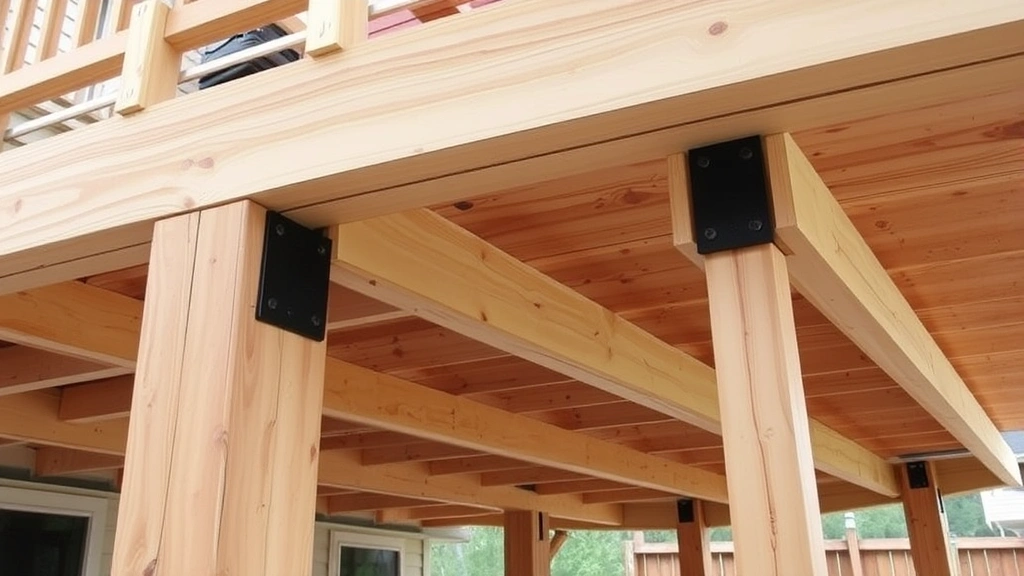
Place concrete footings in each hole. Use concrete rated for exterior exposure to prevent freeze-thaw damage. Set adjustable post bases or concrete piers at the proper height, ensuring they’re level. Posts should be pressure-treated lumber, typically 4×4 inches for residential decks. Cut posts to precise heights, accounting for beam thickness.
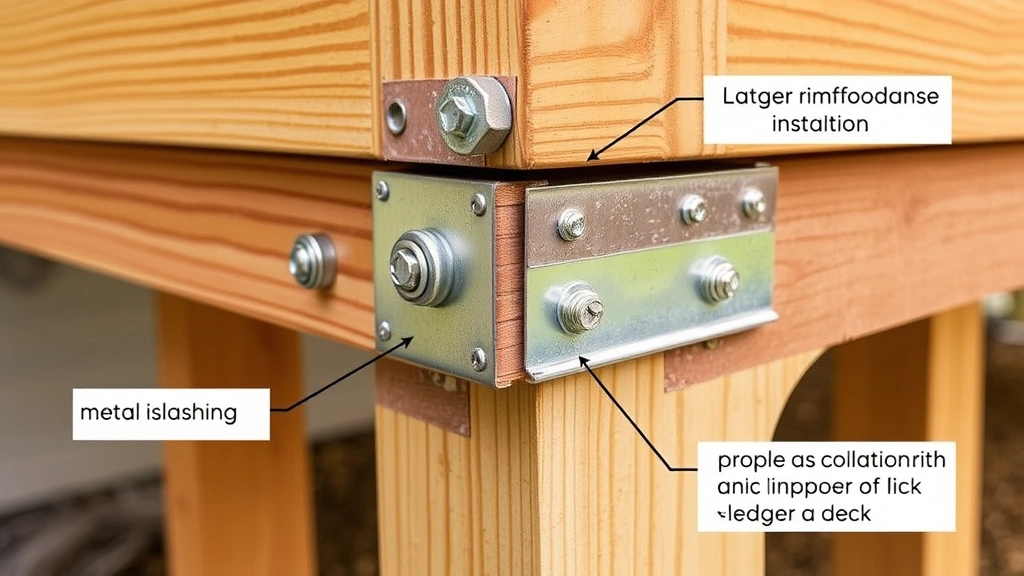
Install the ledger board where your deck attaches to your home. This critical connection must be rock-solid. Install flashing (metal or rubber) under the ledger to direct water away from your home’s rim joist. Use galvanized bolts spaced 16 inches apart, installed directly into the home’s rim joist—never into siding or brick veneer. The ledger board is the most common failure point in deck construction, so take extra care here.
Build beams by bolting rim joists to posts. Space bolts every 24 inches. Double-check that beams are level using a 4-foot level. Install joists perpendicular to beams, spacing them 12 or 16 inches apart depending on decking material and local codes. Secure joists with joist hangers or by notching them over the beam. Joist hangers, while more expensive, provide superior support and are often required by code.
Install blocking between joists at midspan to prevent twisting and bouncing. For longer spans, consider doubled joists or thicker lumber. Check your local building code for maximum joist spacing based on lumber grade and size. Proper framing prevents the dreaded bouncy deck that develops after a few years of use.
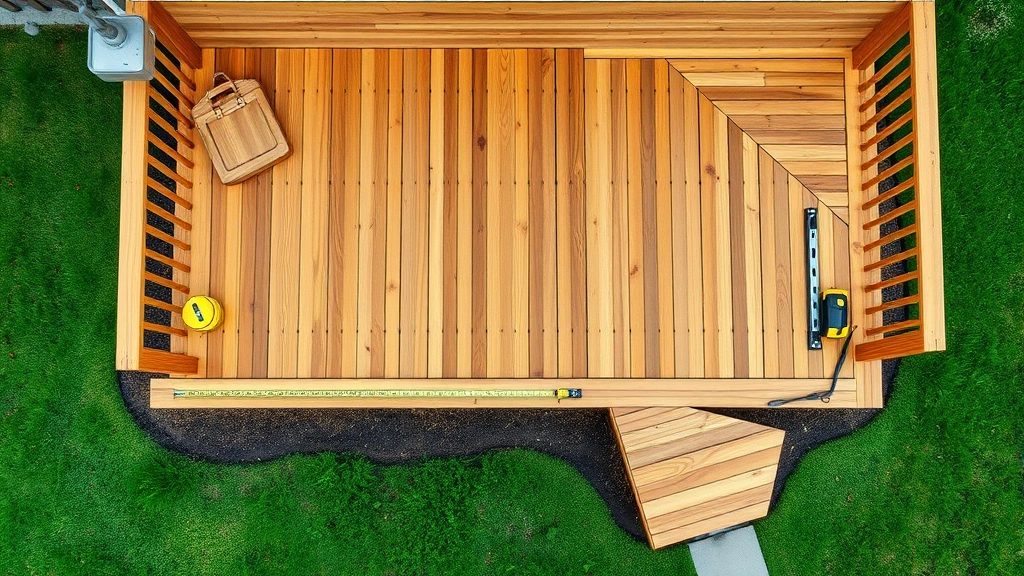
Installing Decking and Railings
Before installing decking boards, ensure your framing is level and square. Check diagonal measurements to confirm corners are true 90-degree angles. Install the first decking board parallel to your house, leaving a ½-inch expansion gap. This gap accommodates wood movement as it absorbs and releases moisture.
Fasten decking with corrosion-resistant screws (2.5-inch length for standard 1-inch decking). Use 2-3 fasteners per board at each joist. Pre-drill holes to prevent splitting, particularly with harder woods. Space boards ⅛ to ¼ inch apart depending on the material—composite materials expand more than wood and need larger gaps. Stagger board joints across joists for structural integrity and visual appeal.
For stairs, calculate the total rise (distance from ground to deck surface) and divide by the desired riser height (typically 7-7.75 inches) to determine the number of steps. Stringers (the angled supports) can be cut from 2×12 lumber or purchased pre-made. Install stringers at 16-inch spacing for residential stairs. Ensure treads are consistent—even a ½-inch variation creates a tripping hazard.
Railings provide essential safety and must meet code requirements. Balusters (vertical pieces) cannot be spaced more than 4 inches apart to prevent children from getting stuck. Install a horizontal top rail at 36-42 inches above the deck. The railing must resist 200 pounds of pressure without failing. Test your railing by pushing firmly—it should feel solid and immovable.
If you’re considering creative pallet projects, deck railings offer an excellent opportunity for personalization. Horizontal balusters create modern aesthetics, while traditional vertical designs complement classic homes. Consider your home’s architectural style when selecting railing designs.
Install stair railings on at least one side of stairs. A graspable handrail (1.25-2 inches in diameter) helps users maintain balance. Handrails must be continuous, with no gaps exceeding 2 inches. Ensure the handrail height is 34-38 inches above stair nosing.
Finishing and Maintenance
After construction is complete, apply finishing treatments to protect your investment. Pressure-treated lumber should cure for 3-6 months before staining—check the manufacturer’s recommendations. If using cedar or redwood, apply a water-resistant stain within 6 months of installation. Composite materials typically don’t require staining but may benefit from occasional cleaning.
Choose stains based on your climate and aesthetic preferences. Transparent stains showcase wood grain but require annual reapplication. Semi-transparent stains provide moderate protection and last 2-3 years. Solid stains offer maximum protection but obscure wood grain. Avoid paint on decking—it becomes slippery when wet and peels easily.
Establish a maintenance schedule to extend your deck’s lifespan. Clean your deck annually using a pressure washer (keep pressure under 1500 PSI to avoid damage) and a stiff-bristled brush. Remove debris from between boards where moisture accumulates. Inspect fasteners regularly and replace any that have pulled loose or show corrosion.
Check for signs of damage during seasonal inspections. Look for soft spots indicating rot, particularly around posts and the ledger board. Test boards by pressing with a screwdriver—if it penetrates easily, the wood is compromised and should be replaced. Address issues immediately to prevent structural failure.
For those interested in comprehensive home improvement, explore our guide on DIY home security to protect your new outdoor space. Consider adding deck lighting for safety and ambiance, or a variety of other DIY projects to complement your deck.
FAQ
How long does it take to build a deck?
A typical 12×16-foot deck takes 2-4 weeks for an experienced builder, including permits and material delivery. First-time builders should budget 4-6 weeks. Complex designs with multiple levels or custom features require additional time. Permit approval can add 2-4 weeks depending on your jurisdiction’s processing time.
What is the best time of year to build a deck?
Spring and early fall offer ideal conditions with moderate temperatures and lower humidity. Avoid winter when frozen ground complicates digging post holes and wet conditions make work dangerous. Summer heat can make outdoor work uncomfortable, though it’s still feasible. Plan construction when your ground isn’t frozen and weather is stable.
Do I really need a permit for my deck?
Yes, permits are essential. They ensure your deck meets safety codes and protects your investment. Unpermitted decks can complicate insurance claims, home sales, and may be ordered demolished. Building officials provide valuable guidance and inspections catch problems before they become expensive. The permit cost (typically $50-300) is minimal compared to potential liability.
Can I build a deck on a slope?
Yes, sloped terrain actually works well for deck building. Posts extend to appropriate depth below the frost line regardless of ground slope. However, sloped sites may require additional structural support or stepped construction. Consult with your building inspector about slope-specific requirements before beginning.
What’s the difference between pressure-treated and composite decking?
Pressure-treated lumber is more affordable initially but requires regular staining and sealing every 2-3 years. Composite materials cost 2-3 times more upfront but require minimal maintenance—just occasional cleaning. Composites don’t rot or splinter but can stain and fade slightly. Choose based on your budget and willingness to maintain the deck.
How deep should deck posts be buried?
Posts must extend below your area’s frost line, typically 36-48 inches deep. Frost heave pushes unfrozen ground upward as it freezes, potentially damaging your deck. Contact your local cooperative extension or building department for your specific frost line depth. When in doubt, go deeper—it’s inexpensive insurance against future problems.
What spacing is required for deck railing balusters?
Balusters cannot be spaced more than 4 inches apart. This prevents a 4-inch sphere (representing a child’s head) from passing through. Measure spacing at the widest point. Some codes also require balusters to resist 200 pounds of concentrated force without breaking or bending excessively.


