DIY Deck Building? Expert Tips & Tools for Success
Building a deck transforms your outdoor space into a functional entertainment area, but it requires careful planning, proper tools, and adherence to safety standards. Whether you’re a seasoned DIY enthusiast or tackling your first major project, understanding deck construction fundamentals will help you create a sturdy, beautiful structure that lasts for decades.
This comprehensive guide covers everything from material selection and tool requirements to step-by-step construction techniques and local code compliance. By following these expert tips, you’ll gain confidence in your ability to build a professional-quality deck while avoiding costly mistakes and safety hazards.
Understanding Deck Basics and Planning
Before purchasing materials or breaking ground, invest time in thorough planning. Start by sketching your deck design, noting dimensions, elevation changes, and access points. Consider your climate, sun exposure, and how the deck will integrate with your home’s architecture. A well-planned deck prevents structural problems and ensures your project stays within budget.
Check local building codes and obtain necessary permits—this step is non-negotiable. Most jurisdictions require deck inspections at multiple stages. Visit your local building department’s website or contact them directly to understand setback requirements, railing heights, and load-bearing specifications. The International Code Council (ICC) publishes the International Building Code, which many municipalities adopt.
Measure your building site carefully, accounting for grade changes and existing structures. Create a detailed plan that includes post locations, beam sizing, and joist spacing. Many building departments require stamped plans for decks over a certain height or size—consult with your local authority before proceeding.
Essential Tools and Materials
Successful deck construction depends on having the right tools. Your basic toolkit should include a circular saw, reciprocating saw, power drill-driver, level, tape measure, carpenter’s square, and safety equipment. More specialized tools like a miter saw, power miter box, and pneumatic nailer will speed up your work and improve accuracy.
Safety equipment is absolutely critical. Wear safety glasses, work gloves, hearing protection, and steel-toed boots. Use a dust mask when cutting pressure-treated lumber, and apply sunscreen during extended outdoor work. Keep a first-aid kit nearby and never work alone on elevated structures.
Material selection dramatically affects your deck’s longevity and maintenance requirements. Pressure-treated lumber remains the most affordable option, though composite materials and tropical hardwoods offer superior durability. Pressure-treated wood must meet American Wood Council standards for copper-based preservatives. Calculate your material quantities precisely—most building codes specify minimum lumber grades and spacing requirements.
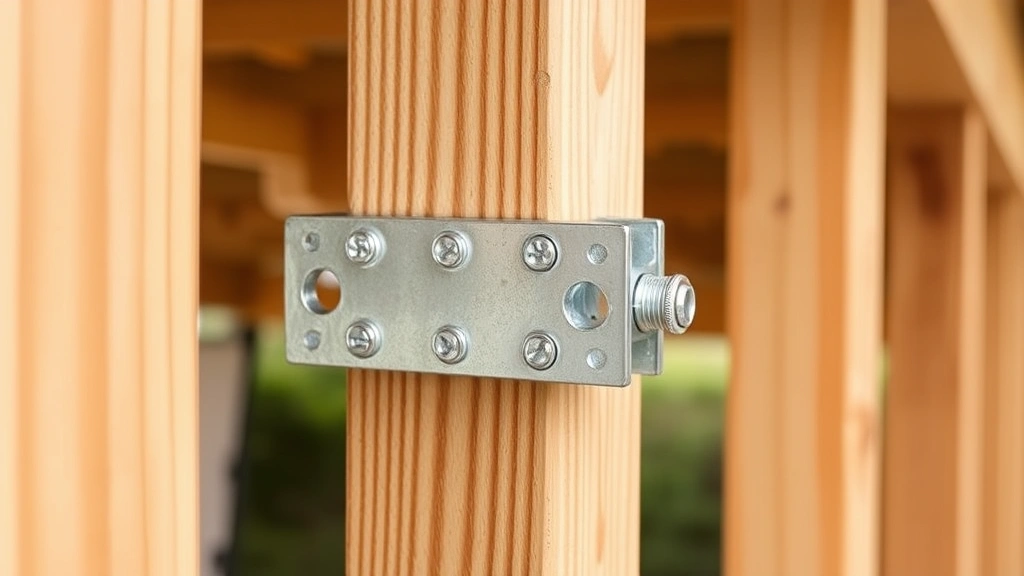
For fasteners, use corrosion-resistant stainless steel or galvanized bolts, screws, and nails. Never use regular fasteners with pressure-treated lumber, as chemical reactions can cause corrosion and structural failure. Joist hangers, post bases, and flashing should also be galvanized or stainless steel.
Foundation and Structural Requirements
Your deck’s foundation determines its structural integrity and longevity. Posts must rest on footings that extend below the frost line—typically 24 to 48 inches in cold climates. Frost heave, caused by freezing and thawing cycles, can lift improperly anchored posts and compromise your entire structure. Consult local frost line depths before digging post holes.
Post holes should be at least 12 inches in diameter and filled with concrete. Some builders use sonotubes—cardboard forms that keep concrete properly shaped and prevent soil mixing. Install posts with post bases that elevate wood above the concrete pad, reducing moisture contact and rot potential. Posts typically measure 6×6 or 4×4 inches, depending on span and load calculations.
Beam sizing depends on span, joist spacing, and load requirements. A typical residential deck requires beams capable of supporting 40 pounds per square foot live load plus 10 pounds per square foot dead load. Online load calculators and the Southern Building Code Congress International provide span tables for various lumber species and dimensions.
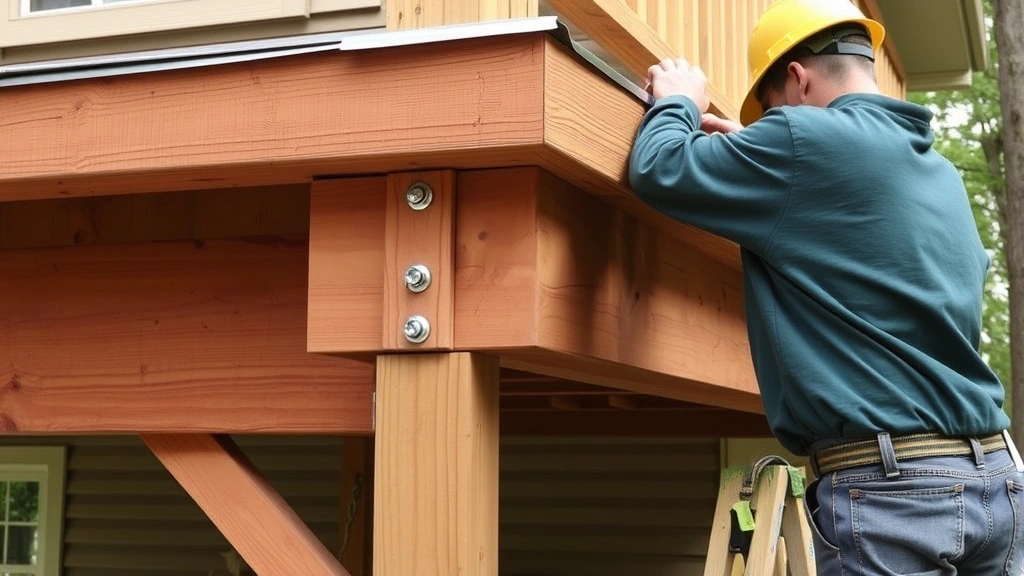
Ledger board attachment is critical—this is where your deck connects to your house. Use ½-inch bolts spaced 16 inches apart, installed through the house rim joist. Never attach ledgers only to siding—remove siding and establish direct contact with structural framing. Include flashing to prevent water intrusion, which causes foundation rot and interior damage. This connection bears tremendous load and failure here can be catastrophic.
Framing Your Deck Properly
Joist spacing typically ranges from 12 to 16 inches on center, with maximum spans depending on joist size and lumber grade. Standard residential decks use 2×8 or 2×10 joists, though larger spans may require deeper members. Space joists consistently using a spacer block—inconsistent spacing weakens the structure and creates an uneven walking surface.
Install joists perpendicular to beams using joist hangers, which provide superior load transfer compared to toenailing. Joist hangers must match your lumber dimensions exactly; using the wrong size hanger creates gaps that weaken connections. Install fasteners in all hanger holes—partially fastened hangers fail under load.
Rim joists frame the deck perimeter and must be the same depth as inner joists. Properly sized rim joists prevent bounce and provide attachment points for railings. Blocking between joists at mid-span prevents twisting on longer spans and improves overall rigidity.
When learning about DIY woodworking plans, you’ll discover that deck framing shares similar precision requirements to furniture building. Accurate measurements and square corners are essential. Use a transit level or laser level to ensure proper slope—typically ⅛ inch per foot toward drainage areas.
Decking Installation Techniques
Decking boards should be laid perpendicular to joists with consistent spacing for wood movement. Pressure-treated lumber expands and contracts significantly with moisture changes—spacing of 3/16 inch between boards accommodates this movement without creating gaps or buckling.
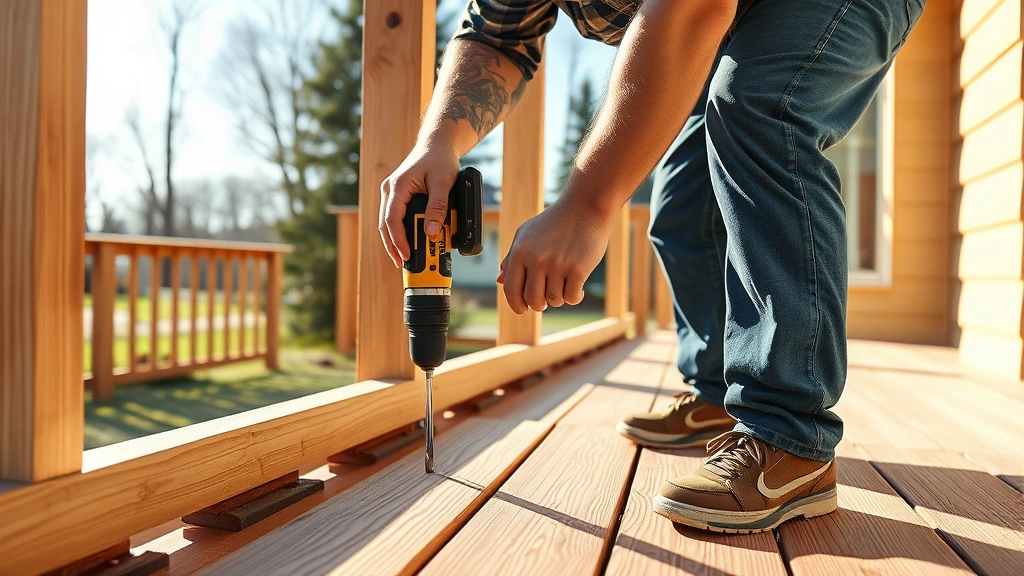
Begin decking installation from the house ledger, working toward the outer rim. This approach ensures visible boards remain properly aligned. Stagger board joints across multiple joists—never align joints over a single joist, which creates a stress point. Use corrosion-resistant fasteners rated for outdoor use; deck-specific screws with star-drive heads reduce stripping compared to Phillips-head screws.
For composite decking, follow manufacturer specifications precisely. Composite materials expand and contract differently than wood, and improper installation causes warping and fastener failure. Most composite manufacturers recommend slightly wider spacing and specific fastener types. Check the product documentation before beginning installation.
Hidden fastening systems conceal screws beneath boards, creating a cleaner appearance. These systems cost more and require additional labor but eliminate visible fastener corrosion and provide superior aesthetics. Consider hidden fastening for high-visibility deck areas or premium composite materials that justify the additional expense.
Your approach to basement finishing projects teaches valuable lessons applicable to deck building—both require moisture management and long-term durability planning. Proper ventilation and drainage prevent moisture accumulation that causes decay.
Railings and Safety Features
Building codes mandate railings on decks exceeding 30 inches above grade. Railings must be 36 inches high and capable of withstanding 200 pounds of force applied at any point. Balusters—vertical railing members—must not allow a 4-inch sphere to pass between them, preventing child entrapment.
Railing posts must be bolted securely to the deck frame, not merely attached to decking boards. Posts set 6 feet apart represent the maximum spacing for typical residential railings. Undersized or improperly spaced posts create a safety hazard and violate building codes.
Stairs require specific rise and run dimensions—typically 7 to 7¾ inches maximum rise and 10 to 11 inches run. Inconsistent step dimensions create tripping hazards and violate safety codes. Stair railings must include handrails 34 to 38 inches high, graspable throughout their length. Handrails must support 200 pounds of force without movement.
Building permits explicitly address railing and stair safety because these features prevent falls—the primary cause of deck injuries. Never attempt to build stairs or railings without consulting current code requirements. Your local building inspector will catch code violations during final inspection, requiring expensive corrections.
For enhanced safety, consider installing outdoor lighting systems that illuminate stairs and walking surfaces after dark. Proper lighting prevents missteps and improves nighttime usability of your deck space.
Finishing and Maintenance
Pressure-treated lumber weathers to gray if left unfinished, though this doesn’t affect structural integrity. Most homeowners prefer staining or sealing to maintain appearance and protect the wood. Allow pressure-treated lumber to weather 6 to 12 months before staining—this permits chemical stabilization and moisture release.
Semi-transparent stains highlight wood grain while providing UV protection. Solid stains offer better coverage but obscure wood character. Sealers protect against moisture penetration but require more frequent reapplication than stains. Reapply finish every 2 to 3 years depending on climate and traffic.
Annual maintenance extends deck life significantly. Inspect ledger board connections, post bases, and structural fasteners annually. Remove debris from between boards to prevent moisture accumulation. Pressure wash decks carefully—excessive pressure damages wood fibers and erodes finishes.
As you develop carpenter-level building skills, you’ll recognize how proper maintenance preserves structural integrity. Addressing small issues before they become major problems saves substantial money over your deck’s lifetime. Replace rotted boards promptly and tighten loose fasteners during seasonal inspections.
Return to the beginner woodworking projects guide if you need refresher information on tool usage or basic techniques. Deck building builds on fundamental woodworking skills, and reviewing basics strengthens your overall competency.
For comprehensive information, consult the Deck Magazine and DecksDirect for product recommendations and installation guidance. The National Wood Flooring Association provides technical resources for outdoor wood applications.
FAQ
What’s the minimum deck size before permits are required?
Permit requirements vary by jurisdiction but typically apply to decks over 30 inches above grade or exceeding 100 to 200 square feet. Some areas require permits for all decks regardless of size. Contact your local building department for specific regulations in your area.
Can I build a deck myself or do I need a contractor?
Experienced DIY builders with proper tools and knowledge can successfully build decks. However, complex designs, elevated decks, or areas with strict codes may benefit from professional consultation. At minimum, have your design reviewed by a structural engineer or building inspector before construction begins.
How long does a typical deck last?
Well-maintained pressure-treated decks last 15 to 20 years. Composite decks may last 25 to 30 years. Longevity depends on climate, maintenance, and material quality. Regular inspections and timely repairs significantly extend deck life.
Should I use pressure-treated lumber or composite materials?
Pressure-treated lumber costs less but requires regular maintenance. Composite materials resist rot and insects but cost more initially. Consider your budget, climate, maintenance tolerance, and aesthetic preferences when choosing materials.
What’s the proper way to attach a ledger board?
Remove siding and install ½-inch bolts through the rim joist at 16-inch intervals. Install flashing above the ledger to prevent water intrusion. Never rely on nails or lag bolts alone—bolts provide superior load transfer and safety.


