Table of Contents
Introduction
You know that feeling when your skin feels incredible after a good spa day? Smooth, glowing, like you could take on the world? Here’s a secret: you don’t need to drop serious cash at fancy salons to get that feeling. The magic might already be sitting in your kitchen cabinet. Welcome to the world of DIY body scrubs—where a little sugar, some oil, and a few minutes of your time can transform your skin completely.
Making your own scrubs isn’t just about saving money (though your wallet will thank you). It’s about knowing exactly what you’re putting on your skin. No mystery chemicals. No unpronounceable ingredients. Just pure, simple stuff that actually works. And if you’re already into the DIY beauty scene, you’ll love how perfectly this pairs with DIY bath salts—because why not turn your entire bathroom routine into a mini spa experience?
Let’s talk about why exfoliation matters so much. Your skin is constantly renewing itself, but sometimes it needs a little help getting rid of the old stuff. That’s where scrubs come in—they sweep away dead skin cells, get your blood flowing, and reveal the fresh, bright skin underneath. It’s like hitting the reset button for your body. Many people love combining this with DIY face masks for a complete head-to-toe natural skincare routine that actually delivers results.
Now, before you start mixing everything together, let’s be real about safety. Homemade doesn’t automatically mean gentle. Some people have sensitive skin that can react to even natural ingredients. If that sounds like you, definitely check out guides on skincare products for sensitive skin before you start experimenting. And if your skin does get irritated? There are great resources on how to soothe irritated skin that can help you bounce back quickly.
What You’ll Learn in This Guide
Ready to become a DIY scrub master? This guide has everything you need to create amazing scrubs tailored just for you. Here’s what we’re covering:
- The Benefits of DIY Body Scrubs: We’ll explore why homemade scrubs are not only more natural but also customizable, allowing you to tailor ingredients to your skin’s needs for safer and more effective results.
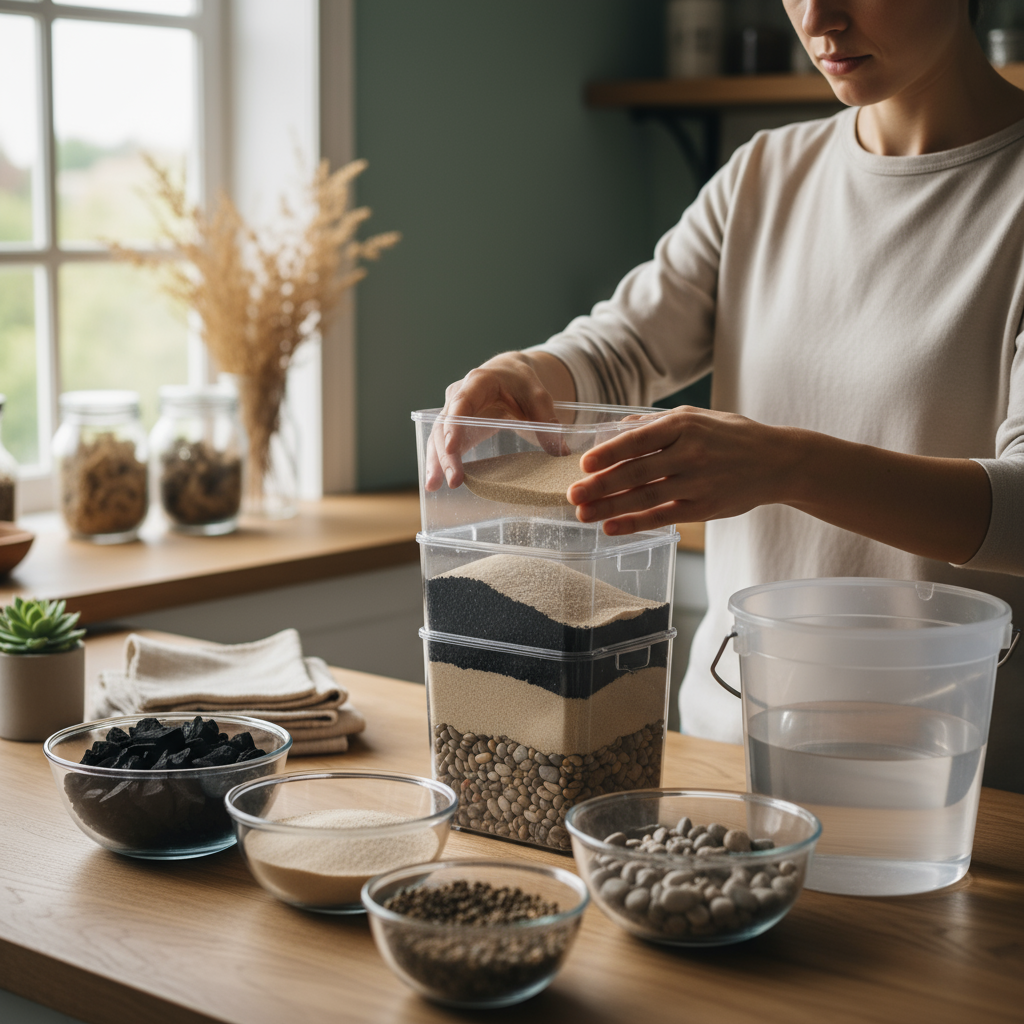
- Key Natural Ingredients: Learn about popular exfoliants such as sugar and salt, nourishing oils like coconut and almond, and soothing botanicals, enabling you to craft scrubs that nourish and refresh simultaneously.
- Step-by-Step Making Process: Follow easy-to-understand instructions for creating scrubs that suit oily, dry, or sensitive skin types, ensuring your homemade formulations are perfectly suited to your skin care goals.
- Proper Use and Storage Tips: Discover the best application methods for maximum benefits, along with smart storage advice to maintain freshness, potency, and hygiene of your DIY creations.
Making your own scrubs is honestly one of the most satisfying things you can do for your skin. There’s something almost therapeutic about mixing up your own blend, knowing you created something that’s going to make your skin feel amazing. Plus, once you get the hang of it, you’ll start experimenting with different combinations and finding what works best for you.
We’re going to start with the basics—why DIY beats store-bought every time, which ingredients are absolute game-changers, and how to create the perfect scrub for your specific skin type. By the end of this, you’ll be mixing up scrubs like a pro and wondering why you ever bought the expensive stuff.
Whether you’re completely new to DIY skincare or you’ve been making your own products for years, there’s something here for you. We’ll cover the do’s and don’ts, when to skip the scrub (yes, there are times when you should), and how to get the most out of every batch you make. Get ready to fall in love with skincare that you control completely—every ingredient chosen by you, for you.
And hey, if you want to level up your entire beauty routine, learning about beauty tools can help you apply everything more effectively. But for now? Let’s focus on creating scrubs that will have your skin feeling softer and looking brighter than it has in ages. Trust me, once you start making your own, you’ll never go back.
Here’s where things get really exciting—DIY body scrubs can completely change your skincare game. Think about it: you get to decide exactly what goes on your skin, which means no more mystery ingredients or wondering if that commercial scrub will cause a breakout. When you make your own scrubs, you’re not just saving money (though that’s a nice bonus). You’re creating something perfectly tailored to what your skin actually needs.
Benefits of DIY Body Scrubs and Key Ingredient Insights
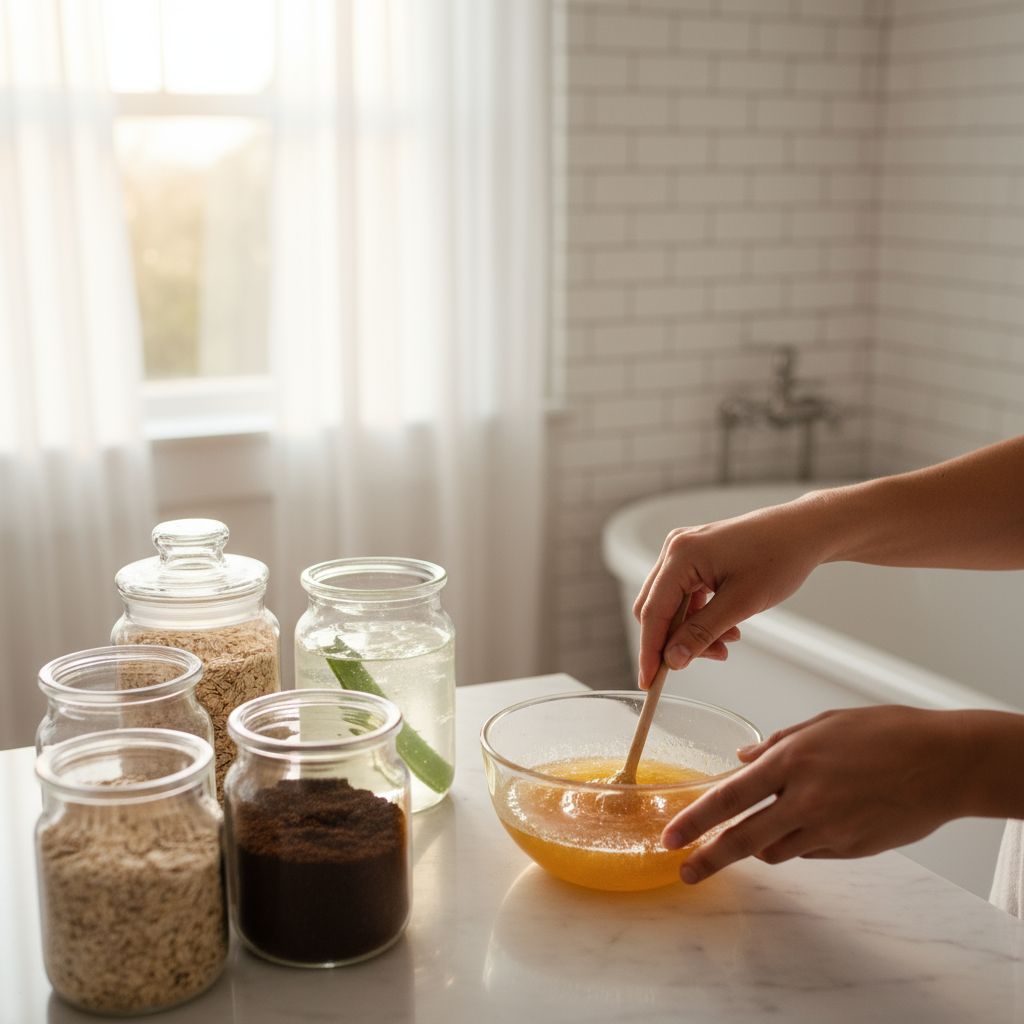
The best part about making your own scrubs? You’re in the driver’s seat. Want gentle exfoliation? Grab some sugar. Need something stronger? Sea salt’s got your back. And here’s something most people don’t realize—when you control the ingredients, you can actually make your scrub do double duty. Those natural ingredients like coconut oil and honey aren’t just sitting there looking pretty. They’re working hard to moisturize while you exfoliate, so you step out of the shower with skin that’s both smooth and hydrated.
Now, let’s talk about what really sets homemade scrubs apart. You know that ingredient list on commercial products that reads like a chemistry textbook? Yeah, you can skip all that. No artificial fragrances that might irritate your skin, no preservatives you can’t pronounce. Just pure, simple ingredients that make sense. Plus, when you add things like aloe vera (amazing for calming angry skin) or essential oils (hello, aromatherapy bonus), you’re getting benefits that go way beyond just exfoliation. For more ideas on gentle, natural skincare, check out this helpful guide on DIY face masks that use similar gentle ingredients.
And can we talk about how satisfying it is to make something yourself? There’s something special about creating your own self-care products. You’re not just buying skincare—you’re crafting it. Plus, your wallet and the planet will thank you. No plastic containers to toss, no shipping waste, and you can make exactly the amount you need.
Key Aspects of DIY Body Scrubs
When you’re putting together your perfect scrub, these are the building blocks that make all the difference.
- Natural Exfoliating Agents: Sugar’s your gentle friend—perfect for sensitive skin that needs a light touch. Salt brings the minerals and gives you that invigorating feel (think spa day at home). The key is matching the texture to what your skin can handle.
- Moisturizing Ingredients: This is where the magic happens. Coconut oil melts right into your skin, jojoba oil feels silky without being greasy, and honey? It’s like a moisture magnet that also happens to fight bacteria. Your skin gets clean and pampered at the same time.
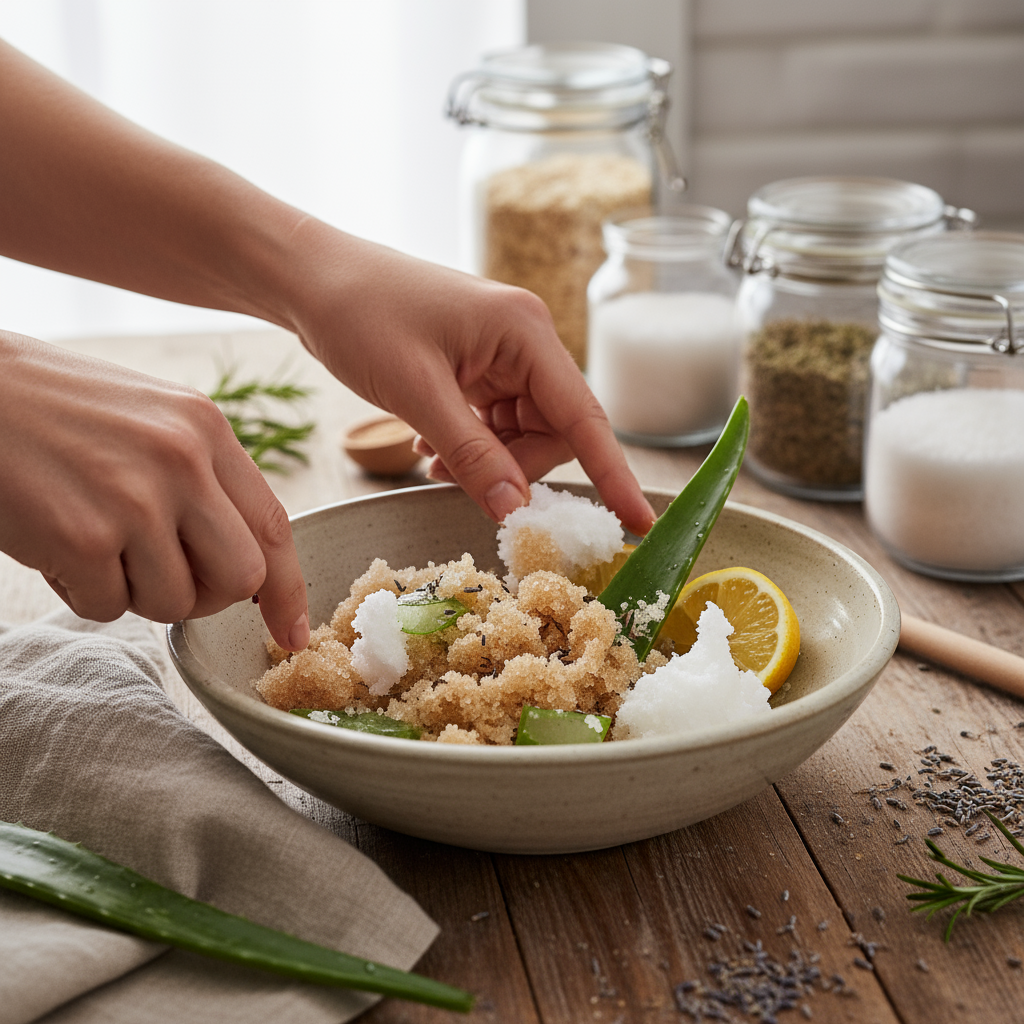
- Soothing Botanicals and Aromatics: Aloe vera is basically nature’s chill pill for irritated skin. Essential oils like lavender don’t just smell amazing—they’re actually working to calm inflammation and kill germs. It’s like turning your bathroom into a spa.
- Customization Flexibility: Here’s the best part—you can tweak everything. Oily skin? Use less oil. Sensitive skin? Add some ground oatmeal for extra gentleness. Dry skin acting up? Go heavy on the moisturizing oils. Your scrub, your rules.
Once you understand these basics, making your own scrubs becomes second nature. Ready to get your hands dirty (in the best way)?
How to Make DIY Body Scrubs: Recipes and Customization for Skin Types
Making your first DIY scrub is easier than you think. Start simple: mix sugar with oil until it looks like wet sand. Add a few drops of essential oil if you want. That’s it. Seriously. You’ve just made a scrub that probably works better than half the expensive ones at the store. Once you’ve got the hang of it, you can start getting creative with add-ins and adjustments. Speaking of bath time luxury, you might also love learning about DIY bath salts to complete your spa experience.
But here’s where it gets interesting—not all skin is created equal, right? If your skin tends to be oily, you don’t want to pile on heavy oils that’ll leave you feeling like a greased-up mess. Go for lighter options like grapeseed oil and stick with fine sugar to avoid overdoing it. Dry skin, on the other hand, wants all the moisture it can get. Load up on shea butter and coconut oil—your skin will drink it up. Got sensitive skin? Think gentle everything. Oat flour instead of rough salt, and maybe some chamomile to keep things calm and happy.
Key Aspects of Scrub Making and Customization
Getting your scrub just right comes down to paying attention to these details.
- Basic Recipe Foundations: Think of it like making cookie dough—you want everything mixed well so you don’t get clumps of dry stuff or oil slicks. The right texture should hold together but rinse off easily without leaving your tub looking like an oil spill.
- Choosing Oils Wisely: This is where knowing your skin pays off. Jojoba plays nice with almost everyone, coconut oil is perfect for really thirsty skin, but if you’re prone to breakouts, maybe skip the heavier oils that might clog things up.
- Adding Scents and Additives: Less is more with essential oils—5 to 10 drops per cup of scrub is plenty. You want to smell like a garden, not a perfume factory. And those botanical extras? Pick them based on what your skin is telling you it needs.
- Tailoring for Skin Types: This is where you become your own skincare scientist. Sensitive skin gets the gentle treatment—think powdery textures and minimal oils. Oily or combination skin can handle more scrubbing action and lighter oils that won’t add to the grease factor.
Making your own DIY body scrubs? It’s honestly one of the most satisfying things you can do for your skin. Think about it—you get to pamper yourself with ingredients you actually recognize, skip the harsh chemicals, and create something that’s perfectly tailored to what your skin needs. We’ve walked through everything together: from choosing between the gentle sweetness of sugar or the invigorating kick of salt, to finding your perfect oil match (coconut for that tropical vibe, jojoba for lightweight luxury). And when you add those soothing touches like aloe vera or a few drops of your favorite essential oil? You’ve just transformed a simple scrub into your own personal spa treatment.
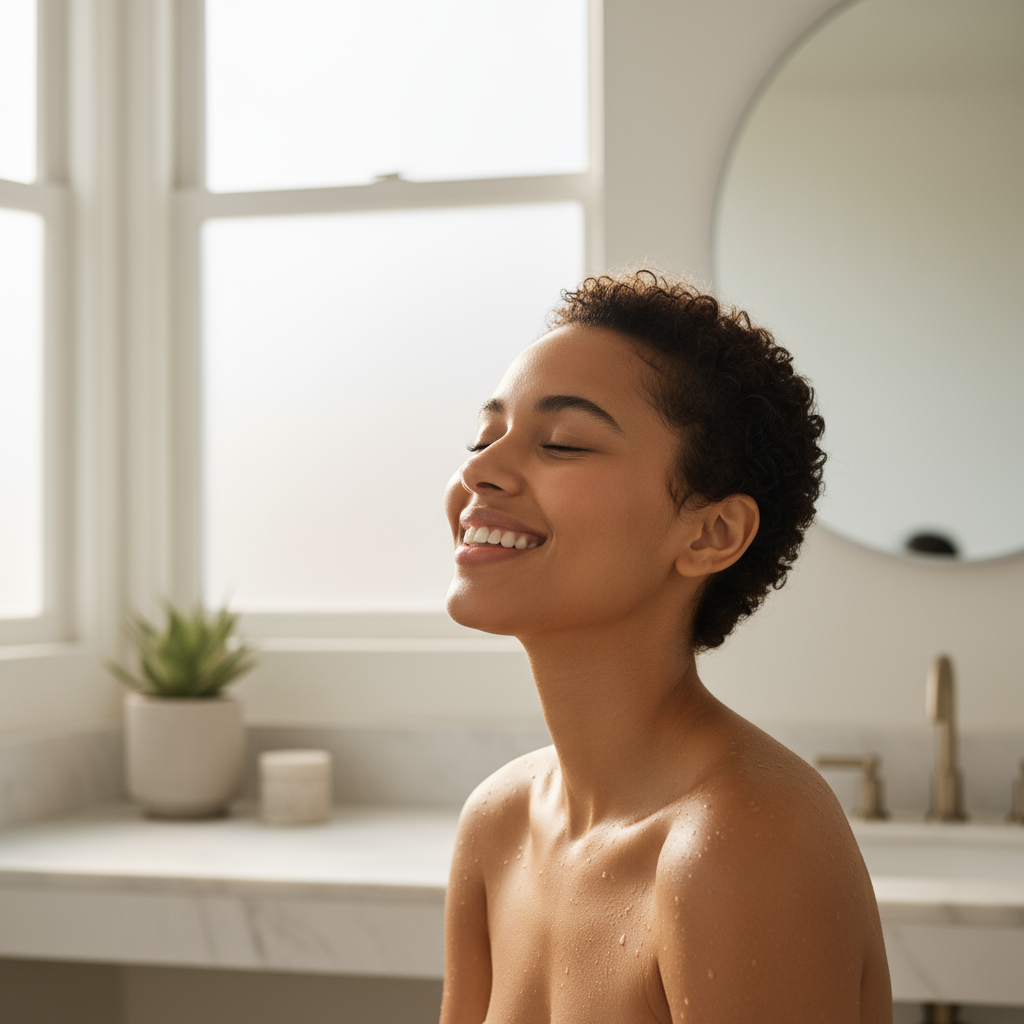
Here’s what I love most about DIY scrubs—they’re ridiculously simple to make. No fancy equipment, no complicated processes. Just mix, adjust, and make it yours. But let’s keep it real for a second: the key to amazing results is using them safely. Gentle circular motions, steering clear of any irritated spots, and storing your creations properly so they stay fresh and effective. If your skin starts looking red or feeling uncomfortable, take a break. Your skin’s happiness comes first, always.
Now here’s where it gets fun—the creative part. Want a scrub that smells like a vacation? Go tropical with coconut and lime. Feeling stressed? Lavender and oatmeal might be your new best friend. The beauty of DIY is that you can experiment until you find combinations that make you genuinely excited about skincare. Plus, let’s not forget the practical perks: your wallet will thank you, and so will the planet. It feels pretty good knowing you’re creating something luxurious from simple kitchen staples.
Ready to expand your DIY skincare game? Your scrubs are going to work even better when paired with our guide on DIY face masks—because why stop at silky smooth body skin when you can have that glow from head to toe? And if you’re really ready to commit to the at-home spa life, check out our guide on creating DIY bath salts. Picture this: your homemade scrub, followed by a soak in bath salts you made yourself. That’s next-level self-care right there. For those times when you want to get crafty beyond skincare, our DIY paper crafts guide offers perfect projects for when your hands need a creative outlet.
Before we wrap up, let’s talk about keeping your skin happy and healthy. If you’ve got sensitive skin (and honestly, who doesn’t sometimes?), you’ll want to dive deeper into choosing the right products with our expert advice on skincare products for sensitive skin. And if irritation does pop up despite your best efforts, our practical guide on how to soothe irritated skin has your back. Because here’s the thing—DIY skincare should make you feel amazing, not stressed about whether you’re doing it right.
You’ve got everything you need now. The knowledge, the confidence, and hopefully some excitement about what you’re going to create next. Your skin deserves this kind of thoughtful care—the kind that comes from understanding exactly what you’re putting on it and why. So go ahead, raid your pantry, grab those oils, and start mixing. Every scrub you make is a little act of self-love, and honestly? You deserve that kind of daily luxury. Here’s to skin that feels as good as it looks, and the pure satisfaction that comes from making it happen yourself.
Frequently Asked Questions
-
Can I use DIY body scrubs on my face?
- Facial skin is more delicate than body skin, so it’s best to use milder exfoliants and gentle ingredients designed specifically for the face to avoid irritation.
-
How often should I use a body scrub?
- Generally, 1-3 times per week is ideal depending on your skin type and the strength of your exfoliant. Overuse can lead to irritation.
-
What are the best oils to use in scrubs?
- Coconut, jojoba, and almond oils are popular choices because they provide excellent moisturizing benefits without feeling greasy.
-
Are DIY scrubs safe for sensitive skin?
- Yes, if you choose gentle ingredients such as fine sugar or oatmeal and avoid harsh exfoliants or irritants, DIY scrubs can be safe for sensitive skin.
-
How do I store homemade body scrubs?
- Store your scrubs in airtight containers in a cool, dry place. Use them within a few weeks to maintain freshness and prevent contamination.