How to Change Car Coolant: A Mechanic-Approved Guide
Your vehicle’s cooling system is one of the most critical components for engine longevity and performance. Coolant, also called antifreeze, circulates through your engine to absorb heat and prevent overheating during summer months while protecting against freezing in winter. Over time, coolant degrades and loses its effectiveness, requiring regular replacement to maintain optimal engine temperature and prevent costly damage.
Changing your car’s coolant is a manageable DIY task that can save you significant money compared to professional service fees, typically ranging from $150 to $300 at dealerships. With the right tools, safety precautions, and step-by-step guidance, most car owners can complete this maintenance task in under two hours. This comprehensive guide walks you through the entire process, from preparation through disposal, ensuring your cooling system remains in peak condition.
Understanding Your Cooling System
Before you begin the coolant replacement process, it’s essential to understand how your vehicle’s cooling system operates. The system consists of the radiator, water pump, thermostat, hoses, and the engine block itself. Coolant flows continuously through these components, absorbing heat from the engine and releasing it through the radiator fins into the atmosphere. Modern coolant contains additives that prevent corrosion, protect seals, and improve heat transfer efficiency.
Most manufacturers recommend changing coolant every 30,000 to 100,000 miles, though this varies significantly based on your vehicle’s make and model. Some newer vehicles use extended-life coolants that can last longer, while older vehicles may require more frequent changes. Consult your vehicle’s owner manual to determine the specific interval for your car. If you’re unsure about your vehicle’s maintenance history, changing the coolant proactively is a smart preventative measure that protects your engine investment.
Different vehicles require different coolant types. Some use green coolant, while others require orange, pink, or blue formulations. Using the wrong type can cause corrosion and reduce system effectiveness. Always verify your vehicle’s specific coolant type before purchasing supplies. Your owner’s manual or a quick consultation with your dealership will provide this crucial information.
Tools and Materials You’ll Need
Gathering the right equipment before starting ensures a smooth, efficient process. Here’s what you’ll need for a successful DIY coolant change:
- New coolant (correct type for your vehicle)
- Distilled water (for diluting concentrate if needed)
- Socket set and wrenches (various sizes)
- Screwdrivers (Phillips and flathead)
- Drain pan (at least 15-20 quart capacity)
- Jack and jack stands (for underbody access)
- Hose clamps (in case replacements are needed)
- Gasket scraper (plastic preferred to avoid surface damage)
- Coolant recovery bottle (optional but recommended)
- Shop rags and towels
- Safety glasses and gloves
- Funnel (sized for your radiator opening)
Having a service manual specific to your vehicle model is invaluable. These provide detailed diagrams, torque specifications, and model-specific procedures that ensure accuracy. You can purchase physical manuals or access them online through various automotive resources.
Safety Precautions Before Starting
Working with coolant requires serious attention to safety. Coolant contains toxic compounds that can cause severe harm if ingested or absorbed through skin. The substance is particularly dangerous to children and pets, so proper handling and storage are non-negotiable. Always wear safety glasses and nitrile gloves when working with coolant to protect your skin from direct contact.
Never work on a hot engine. Allow your vehicle to cool completely for at least 30 minutes after driving. Hot coolant under pressure can cause severe burns if released suddenly. Once the engine has cooled, you can safely work on the system. Check the coolant level only when the engine is cold—opening a hot radiator cap can result in serious injury from escaping steam and hot liquid.
Ensure your workspace is well-ventilated and that you have proper disposal containers ready. Never pour coolant down drains or into the ground; it’s toxic to aquatic life and contaminating to soil. Most recycling centers and auto parts stores accept used coolant for proper disposal. Keep children and pets away from the work area, and never leave coolant unattended in open containers.
If you’re unfamiliar with DIY car repairs basics, take time to review fundamentals before proceeding. Understanding your specific vehicle’s layout and potential complications helps prevent costly mistakes.
Step-by-Step Coolant Replacement Process
Step 1: Locate the Drain Plug and Radiator Cap
Most radiators have a drain plug at the lowest point, typically located at the bottom corner of the radiator. Consult your vehicle’s manual to identify the exact location, as some vehicles have multiple drain points. Position your drain pan directly beneath the plug to catch all old coolant. Some vehicles also have a drain plug on the engine block itself for complete system flushing.
Step 2: Open the Radiator Cap and Release System Pressure
With the engine completely cool, carefully open the radiator cap by turning it counterclockwise. This relieves any residual pressure in the system and prevents coolant from spraying out when you open the drain plug. Set the cap aside in a clean location where it won’t roll away or accumulate debris.
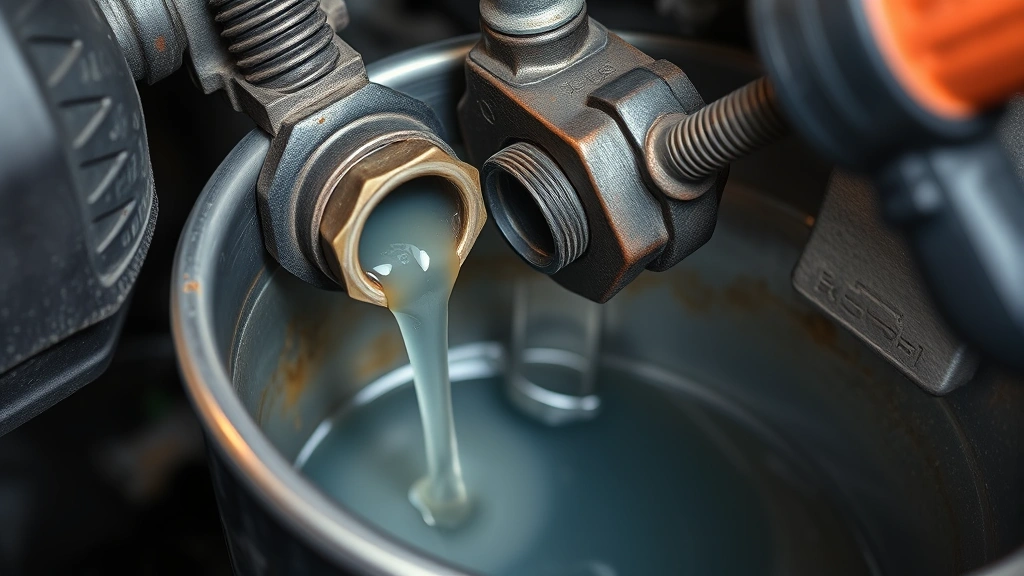
Step 3: Drain the Old Coolant
Open the drain plug by turning it counterclockwise with your socket wrench. Allow all old coolant to drain completely into your pan—this typically takes 10-15 minutes. Once the flow stops, you can proceed to the next step. Some technicians recommend opening the radiator cap fully during draining to allow air into the system and speed the process.
Step 4: Flush the System (Recommended)
For optimal results, flush your cooling system with distilled water to remove sediment and corrosion buildup. Close the drain plug and refill the radiator with distilled water until it reaches the fill line. Start the engine and let it run for 5-10 minutes with the heat turned to maximum. This circulates water through the entire system, dislodging debris. Allow it to cool, then repeat the drain process. Perform this flush 2-3 times until the drained water runs clear rather than cloudy.
If your vehicle has significant buildup or hasn’t had coolant changes in years, consider using a commercial radiator flush product following manufacturer instructions. These products help break down corrosion and improve overall system cleanliness.
Step 5: Close the Drain Plug Securely
Once flushing is complete and the system has cooled, reinstall and tighten the drain plug. Don’t overtighten, as this can strip threads or crack the radiator. Refer to your service manual for the correct torque specification, typically between 10-15 foot-pounds for most vehicles.
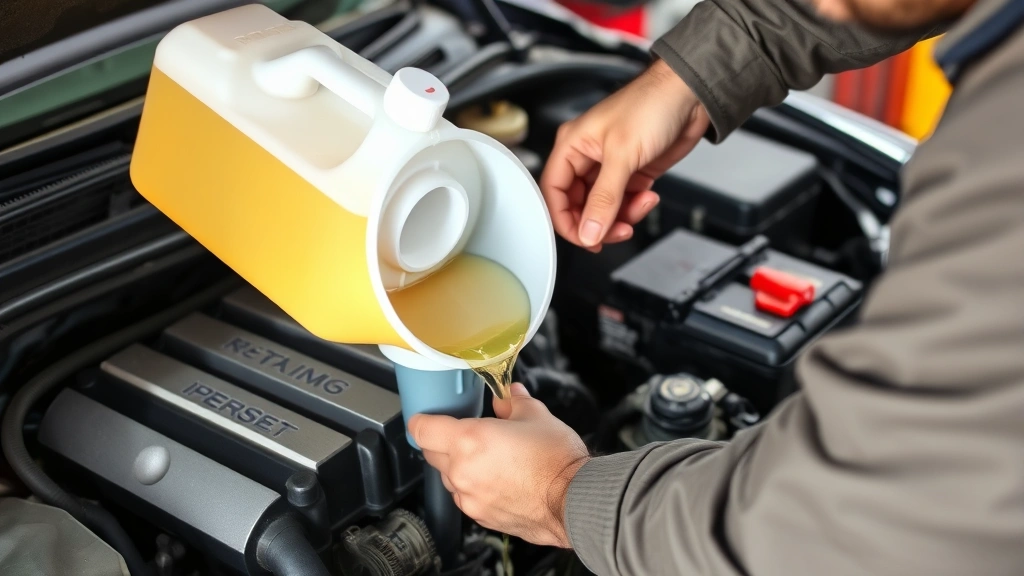
Step 6: Add New Coolant
Check your owner’s manual for the correct coolant type and the system capacity (usually 10-15 quarts). If you’re using concentrate, dilute it according to package instructions—typically a 50/50 mixture with distilled water. Position your funnel in the radiator opening and slowly pour the new coolant until it reaches the fill line. Work slowly to avoid air pockets and allow the coolant to settle.
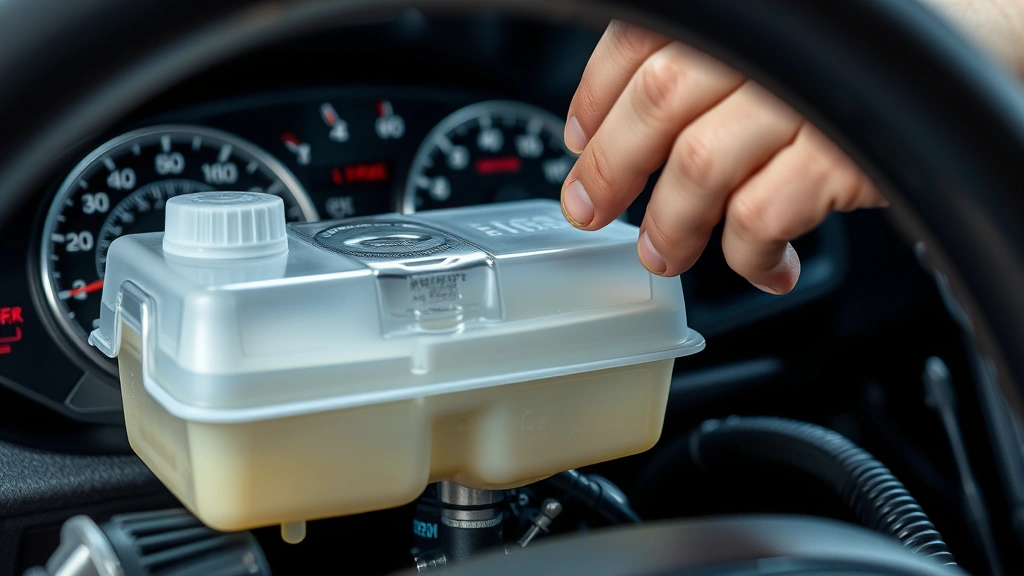
Step 7: Fill the Overflow Reservoir
Your vehicle likely has a separate overflow or recovery tank. Fill this to the appropriate level marked on the container—usually between the minimum and maximum lines. This allows room for coolant expansion as the engine heats up.
Bleeding Air from the System
Air pockets in your cooling system prevent proper coolant circulation and can cause overheating. Bleeding air is critical for system performance. After adding new coolant, start the engine and let it idle for 2-3 minutes. Watch the temperature gauge carefully—it should gradually rise to normal operating temperature.
With the engine running, carefully open the radiator cap (place a cloth over it first to protect against steam). Allow the engine to continue running as air bubbles escape from the coolant surface. You may see small bubbles rising; this is normal and expected. Once bubbles stop appearing and the coolant level drops slightly, top it off again and reinstall the cap.
Some vehicles have dedicated bleeder valves on the thermostat housing or upper radiator hose. Check your manual for their location. Opening these valves while the system circulates helps expel trapped air more effectively. Keep a small container nearby to catch any coolant that escapes.
After bleeding, turn off the engine and allow it to cool completely. Once cool, check the coolant level one final time and top off if necessary. The level should be at the fill line on the radiator and between the minimum and maximum marks on the overflow tank.
Testing and Verification
Before considering the job complete, verify that your cooling system is functioning properly. Drive the vehicle for 10-15 minutes at normal operating speeds, watching for any warning lights or temperature gauge abnormalities. The temperature should stabilize at the normal operating range indicated by your gauge.
Check for leaks beneath the vehicle and around all connection points. Small drips are normal immediately after work, but continuous leaking indicates improper connections that need attention. If you notice leaks, allow the system to cool, then inspect and retighten connections as needed.
Inspect the radiator cap and overflow tank cap to ensure they’re sealed properly. A faulty cap prevents proper pressure maintenance and can lead to coolant loss. If you notice the overflow tank consistently losing coolant between checks, you may have a leak requiring professional diagnosis.
Monitor your vehicle’s temperature gauge over the next few days of normal driving. If it runs hotter than usual or shows erratic readings, you may have air still trapped in the system. Return to the bleeding process and repeat as necessary.
Coolant Disposal Guidelines
Proper disposal of used coolant is both environmentally responsible and legally required in most jurisdictions. Coolant contains ethylene glycol or propylene glycol, which are toxic to aquatic life and harmful to groundwater. Never dispose of coolant by pouring it down storm drains, into soil, or into regular trash.
Take your used coolant to a certified recycling center or auto parts store that accepts hazardous waste. Many retailers like AutoZone, O’Reilly, and NAPA offer free coolant disposal when you purchase new coolant from them. Some municipalities have hazardous waste collection events; check your local waste management website for schedules.
Store used coolant in labeled, sealed containers until disposal. Keep it away from children and pets, and never mix it with other chemicals or fluids. Proper disposal protects your community’s water supply and prevents environmental contamination.
Common Mistakes to Avoid
Using the Wrong Coolant Type is the most frequent error. Different vehicles require different formulations, and mixing types can cause chemical reactions and system damage. Always verify your vehicle’s specific requirement before purchasing.
Working on a Hot Engine is dangerous and unnecessary. Patience is essential—allow proper cooling time before starting work. Hot coolant can cause severe burns, and you risk damaging components through thermal stress.
Overfilling the System causes coolant to overflow during operation as it heats and expands. This wastes coolant and creates a mess. Fill to the specified line only, not higher.
Ignoring Air Pockets results in localized overheating and potential engine damage. Take time to properly bleed the system as outlined above. This step cannot be rushed.
Skipping the Flush means leaving old, degraded coolant residue in the system. Flushing removes sediment and corrosion, improving heat transfer and extending component life. The extra 30 minutes is worthwhile.
Not Checking Hose Condition means missing an opportunity to replace deteriorated hoses before they fail. While you have the system drained, inspect all hoses for cracks, soft spots, or swelling. Replace any questionable hoses while you have access.
If you’re performing your first coolant change and want additional confidence, review our guide on changing a tire on your car for general automotive DIY principles that apply across maintenance tasks.
FAQ
How often should I change my car’s coolant?
Most manufacturers recommend changing coolant every 30,000 to 100,000 miles, depending on your vehicle’s age and type. Consult your owner’s manual for the specific interval for your car. Extended-life coolants can last longer than traditional formulations, so verify which type your vehicle requires.
Can I mix different coolant colors?
No. Different colors indicate different chemical formulations. Mixing coolant types can cause corrosion, sludge formation, and system damage. Always use the exact type specified in your owner’s manual. When in doubt, flush the system completely before adding new coolant.
What should I do if coolant keeps leaking after I’ve refilled?
Leaking indicates a loose connection, failed gasket, or compromised hose. Allow the system to cool completely, then inspect all connection points and tighten as needed. If leaking continues, you may need professional diagnosis to identify the source. Don’t ignore leaks—they lead to overheating and engine damage.
Is it safe to dispose of coolant in my septic system?
Absolutely not. Coolant is toxic and will contaminate your septic system and groundwater. Take used coolant to a certified recycling facility or auto parts store. Most offer free disposal, making proper handling convenient and cost-effective.
Can I use water instead of coolant in an emergency?
While water can temporarily prevent overheating, it lacks the corrosion inhibitors and freeze protection of proper coolant. Using only water causes rust, reduces system efficiency, and risks freeze damage in winter. Use water only as a temporary emergency measure—replace it with proper coolant at the earliest opportunity.
What if my temperature gauge runs high after changing coolant?
High temperatures usually indicate trapped air in the system. Return to the bleeding process and ensure all air bubbles are expelled. Run the engine with the radiator cap open (covered with a cloth) until no more bubbles appear. If temperatures remain high after thorough bleeding, you may have a thermostat issue requiring professional attention.
How long does a coolant change typically take?
A standard coolant change takes 1-2 hours depending on your vehicle’s configuration and your experience level. Flushing the system adds additional time. Having proper tools and following a systematic approach keeps the job efficient without rushing, which is when mistakes occur.


