Monster Hunter Wilds: DIY Armor Crafting Tips
Monster Hunter Wilds brings an exciting new dimension to armor customization and crafting mechanics that rewards players who invest time in understanding material gathering and equipment modification. Whether you’re a seasoned hunter or stepping into this expansive world for the first time, mastering armor crafting can dramatically improve your survival rates and combat effectiveness against increasingly dangerous monsters. This comprehensive guide will walk you through every aspect of DIY armor creation, from basic material collection to advanced customization techniques that separate casual players from true hunters.
The armor crafting system in Monster Hunter Wilds represents a significant evolution from previous installments, introducing modular components and personalization options that allow you to tailor your defensive setup to specific hunting scenarios. Understanding how to efficiently gather materials, recognize which armor pieces suit your playstyle, and implement strategic upgrades will transform your hunting expeditions from frustrating encounters into triumphant victories. We’ll explore practical strategies that apply regardless of your current progression level or preferred weapon type.
Understanding Monster Hunter Wilds Armor Basics
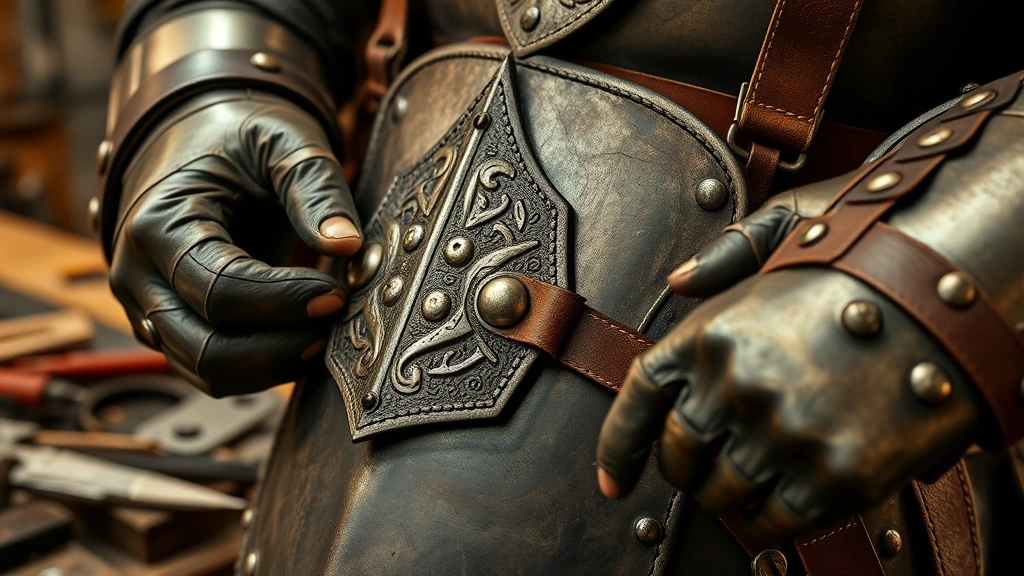
Monster Hunter Wilds armor functions differently than standard RPG equipment systems. Rather than simply equipping pieces for stat increases, armor in this game represents actual protective gear that must be crafted from monster materials and environmental resources. Each armor set carries specific elemental resistances, defense values, and skill slots that determine your effectiveness against particular monster types. Before you begin crafting, you’ll need to understand the fundamental structure of how armor works and what factors influence your selection.
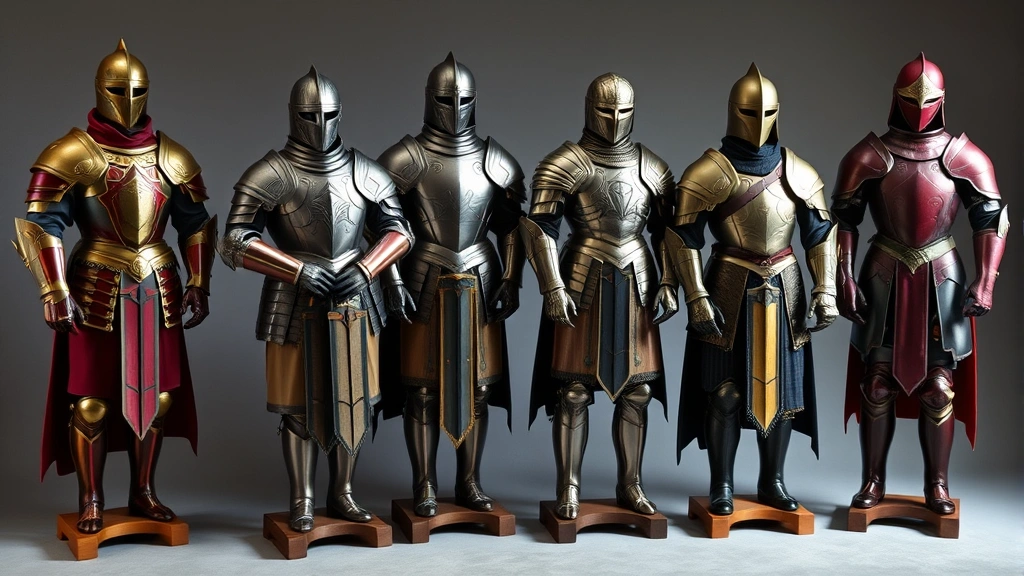
The game categorizes armor into five main weight classes: light, medium, heavy, specialized, and hybrid. Light armor offers superior mobility and elemental resistance but reduced physical defense. Medium armor balances protection with movement speed, making it ideal for most hunting scenarios. Heavy armor maximizes defense against physical attacks but limits dodge capability. Specialized armor focuses on specific resistances—fire, ice, thunder, dragon, or water. Hybrid armor combines elements from multiple categories, perfect when you need balanced protection across various threat types.
Each armor piece you craft requires specific materials harvested from monsters you’ve previously hunted. The rarity of these materials determines how powerful your finished armor becomes. Understanding material scarcity and planning your hunting routes accordingly will prevent frustrating situations where you’re one rare component away from completing crucial armor pieces. This connects directly to how you approach your overall DIY crafting strategy, treating armor creation as a comprehensive project requiring research and planning.
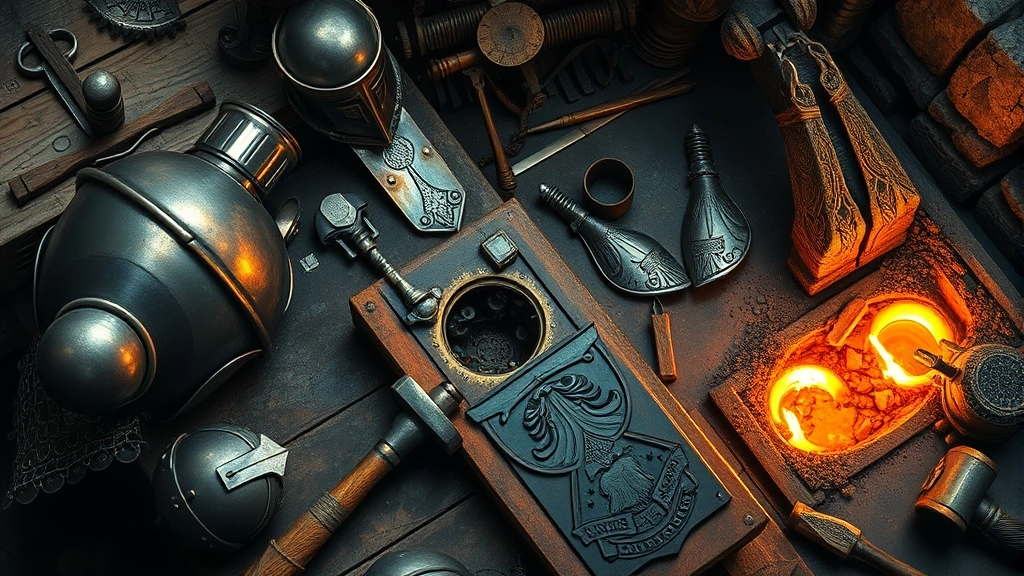
Essential Materials and Where to Find Them
Successfully gathering materials requires systematic exploration and strategic monster hunting. Monster Hunter Wilds features hundreds of craftable materials distributed across multiple ecosystem zones. Each zone contains unique flora, ore deposits, bone formations, and monster-specific drops. Developing a material gathering routine ensures you maintain adequate supplies for armor upgrades without excessive grinding.
Primary material sources include:
- Monster Parts: Scales, shells, gems, and organs dropped from defeated monsters. Rarity increases with monster difficulty level.
- Mining Deposits: Iron ore, copper ore, and rare minerals found in designated mining zones throughout each map.
- Bone Piles: Ancient bones, sturdy bones, and fossilized materials from excavation sites and skeletal deposits.
- Botanical Resources: Mushrooms, herbs, and plant fibers essential for armor padding and elemental components.
- Environmental Materials: Stone, wood, and crystalline formations gathered from environmental nodes.
Efficient material gathering requires mapping your local zones and identifying resource spawning patterns. Most zones refresh materials every few in-game days, allowing you to establish farming routes. Consider pairing material collection with maintenance routines that keep your equipment functional—just as vehicle maintenance prevents breakdowns, armor maintenance prevents mid-hunt failures. Create spreadsheets tracking material locations, respawn times, and which armor pieces require specific components.
Monster parts represent the most valuable materials, typically dropping in higher quantities from higher-rank monsters. Establish a priority system identifying which monsters to hunt based on armor pieces you’re targeting. Some materials appear exclusively from specific monsters, making strategic hunt planning essential. Track which monsters you’ve defeated and which materials they provided to optimize future hunts. External resources like Monster Hunter Wilds Community Database provide comprehensive material location data that accelerates your learning curve.
Step-by-Step Armor Crafting Process
Once you’ve gathered sufficient materials, the actual crafting process follows a straightforward but crucial sequence. The Monster Hunter Wilds crafting system integrates with your workshop, where specialized craftspeople handle armor assembly. Understanding this process prevents material waste and ensures optimal results.
Step 1: Access Your Workshop – Located in your main hub area, the workshop serves as your armor creation center. Interact with the armor smith NPC to initiate crafting menus. Here you’ll see all available armor recipes and your current material inventory.
Step 2: Select Your Target Armor Piece – Browse available armor recipes matching your desired weight class and element type. Each recipe displays required materials, crafting cost, and resulting armor stats. Read descriptions carefully—some armor pieces provide unexpected skill bonuses that enhance specific playstyles.
Step 3: Verify Material Availability – The interface highlights whether you possess all necessary materials. If components are missing, it displays exactly what you need and where to find it. Never attempt crafting without all materials; the system prevents incomplete crafting but wastes your time.
Step 4: Confirm Crafting Parameters – Some armor pieces offer customization during crafting, allowing you to select specific color schemes, padding thickness, or element alignment. These choices affect final stats and appearance without requiring additional materials.
Step 5: Complete Crafting – Confirm your selections and pay the zenny crafting fee. Crafting time varies from immediate for basic pieces to several in-game hours for advanced armor. You can queue multiple armor pieces simultaneously, allowing parallel crafting while you continue hunting.
This methodical approach mirrors professional DIY car repairs strategies where preparation prevents mistakes. Just as mechanics verify parts compatibility before assembly, armor crafters must verify material sufficiency before committing resources. Keep detailed records of what you’ve crafted and what you’re currently producing to avoid redundant work.
Advanced Customization Techniques
Beyond basic crafting, Monster Hunter Wilds offers advanced customization allowing you to modify completed armor pieces. These techniques transform standard armor into optimized protective gear tailored to your specific hunting scenarios.
Skill Slot Enhancement – Armor pieces contain skill slots where you can insert skill jewels. These jewels provide passive bonuses like increased damage, elemental resistance, or utility improvements. Collecting diverse jewels and strategically placing them creates synergistic armor sets that amplify your hunting effectiveness. Prioritize jewels matching your weapon type and hunting strategy.
Elemental Tuning – Advanced armor allows elemental property adjustment, letting you align your equipment with specific monster weaknesses. If you’re hunting fire-breathing monsters, tune your armor toward water and ice resistance. This customization requires specific tuning materials but dramatically improves survivability against element-heavy encounters.
Defense Augmentation – Completed armor can receive defense upgrades using rare materials from high-rank monsters. These augmentations permanently increase armor values but consume valuable resources. Prioritize augmenting armor pieces you’ll use frequently rather than specialized pieces worn occasionally.
Appearance Customization – Monster Hunter Wilds includes cosmetic layering systems allowing you to change armor appearance while maintaining protective stats. Create visually cohesive armor sets without sacrificing functionality. This cosmetic approach parallels DIY home security customization where you implement protective systems while maintaining aesthetic appeal.
Master these advanced techniques by experimenting with different combinations. Create test builds using low-value materials before committing rare resources to modifications. Document which combinations work best for your preferred hunting style, gradually building a personal armor customization library.
Optimizing Your Armor for Specific Hunts
Successful hunters recognize that no single armor set suits every hunting scenario. Developing specialized armor sets for different monster types and environmental conditions separates experienced hunters from novices. Create a diverse armor wardrobe addressing various threat profiles.
Element-Specific Sets – Craft separate armor sets optimized against each elemental threat type. A fire-resistant set for volcanic zones differs significantly from a water-resistant set for aquatic environments. This specialization requires additional crafting investment but prevents preventable deaths from environmental damage.
Monster-Specific Strategies – Research each monster’s attack patterns and resistances. Craft armor emphasizing defensive stats against their primary damage types. Monsters with explosive attacks benefit from impact resistance armor, while status-effect-heavy monsters require poison and paralysis resistance.
Playstyle Alignment – Your armor should complement your weapon choice and combat strategy. Aggressive hunters benefit from lighter armor enabling rapid repositioning, while defensive hunters prefer heavier armor providing superior protection. Customize your armor selections based on your preferred hunting approach rather than forcing a playstyle mismatch.
Maintain a spreadsheet tracking all crafted armor pieces, their stats, skill configurations, and intended use cases. This documentation prevents confusion when selecting armor before hunts and helps identify gaps in your protective coverage. Reference external resources like Monster Hunter Fandom Wiki for detailed monster information informing armor optimization decisions.
Common Crafting Mistakes to Avoid
Learning from others’ mistakes accelerates your mastery of armor crafting. Avoid these common pitfalls that waste materials and impede progression.
Premature Armor Crafting – Don’t craft armor before you’ve thoroughly explored available options. Research all armor pieces before committing materials to specific builds. Some armor pieces provide superior value using identical materials—choosing wisely prevents regrettable material investments.
Ignoring Skill Synergies – Armor skills function best when synergistic. A set combining five unrelated skills provides minimal benefit compared to three complementary skills. Study skill interactions before customizing armor, ensuring your jewel selections create cohesive benefit packages.
Neglecting Maintenance – Armor degrades through extended use, reducing protective values. Similar to how preventive maintenance extends equipment lifespan, regular armor maintenance preserves functionality. Repair armor at your workshop before protective values drop critically.
Over-Specialization – While specialization helps, over-committing to single-element armor leaves you vulnerable when facing unexpected monster types. Maintain versatility by crafting multiple armor sets addressing different threat profiles. This balanced approach prevents situations where your optimized armor becomes a liability.
Material Hoarding – Don’t accumulate excessive materials without crafting. Storage space is limited, and unused materials occupy valuable inventory slots. Establish regular crafting schedules converting gathered materials into completed armor pieces.
Ignoring Defense Values – Beginners often prioritize skill bonuses over base defense stats. Remember that armor’s primary function is protection. Ensure your crafted armor provides adequate defense values before adding skill jewels. External references like IGN’s Monster Hunter Wilds Wiki provide detailed armor stat information for informed decision-making.
FAQ
How do I know which armor pieces are worth crafting?
Prioritize armor pieces with high defense values and skill slots matching your weapon type. Research each piece’s elemental resistances and base stats before committing materials. Start with armor sets recommended for your current difficulty level before attempting high-rank specialty pieces.
Can I change armor appearance without losing stats?
Yes, Monster Hunter Wilds includes layering systems allowing cosmetic customization separate from protective functionality. You can achieve visually cohesive appearances while maintaining optimal defensive stats. This system lets you prioritize protection without aesthetic compromise.
What’s the most efficient material gathering strategy?
Establish regular farming routes through each zone, identifying respawning resource locations. Pair material gathering with strategic monster hunts targeting specific drops. Use community databases tracking material locations and respawn rates to optimize your routes.
Should I craft all armor pieces or specialize?
Begin with versatile medium-weight armor sets suitable for multiple scenarios. As you progress, develop specialized sets addressing specific monster types and environmental challenges. This graduated approach prevents excessive material waste while building diverse protective coverage.
How often should I upgrade my armor?
Upgrade armor when facing monsters significantly exceeding your current protective capacity. Monitor your damage intake during hunts—if you’re taking excessive damage, prioritize armor upgrades before attempting higher-difficulty content. Balance upgrades with exploration of new armor sets suited to emerging challenges.
Can I reuse materials from dismantled armor?
Monster Hunter Wilds allows armor deconstruction returning partial materials. However, you’ll lose value compared to original crafting costs. Only dismantle armor you’re absolutely certain you won’t use, as material recovery rates are typically 50-75% of original investment.


