
How to Merge Cells in Excel: Expert Tips Inside
Merging cells in Excel is one of the most practical formatting techniques for creating professional-looking spreadsheets, whether you’re building a project budget, organizing construction materials inventory, or designing a home improvement timeline. When you merge cells, you combine two or more adjacent cells into a single larger cell, which is particularly useful for headers, titles, and organizing complex data layouts. Understanding how to properly merge cells—and knowing when it’s appropriate to do so—can significantly improve your spreadsheet’s readability and visual appeal.
In this comprehensive guide, we’ll walk you through multiple methods for merging cells in Excel, explore best practices for maintaining data integrity, and discuss advanced techniques that will help you create polished, professional spreadsheets. Whether you’re a beginner just starting to explore Excel’s formatting options or an experienced user looking to refine your skills, you’ll find practical, step-by-step instructions that apply to both Windows and Mac versions of Excel.
Understanding Cell Merging Basics
Before diving into the mechanics of merging cells, it’s essential to understand what actually happens when you merge cells in Excel. When you merge cells, Excel combines multiple cells into one larger cell that spans across rows and columns. The merged cell adopts the address of the upper-left cell in the selection, and any data from other cells in the merge range is typically deleted—which is why it’s crucial to understand this behavior before proceeding.
Cell merging is particularly valuable when you’re creating spreadsheet layouts that require headers spanning multiple columns, such as when organizing DIY project planning documents or construction material lists. When you merge cells across columns for a header, you create a unified, professional appearance that makes your data more scannable and easier to understand at a glance.
However, it’s important to note that Excel provides different merging options, each serving different purposes. You can merge cells and center content, merge cells without centering, or merge cells across rows only. Understanding these distinctions will help you choose the right approach for your specific spreadsheet needs. Additionally, merging cells can sometimes complicate sorting, filtering, and data analysis, so it’s best used strategically for headers and labels rather than for data cells.

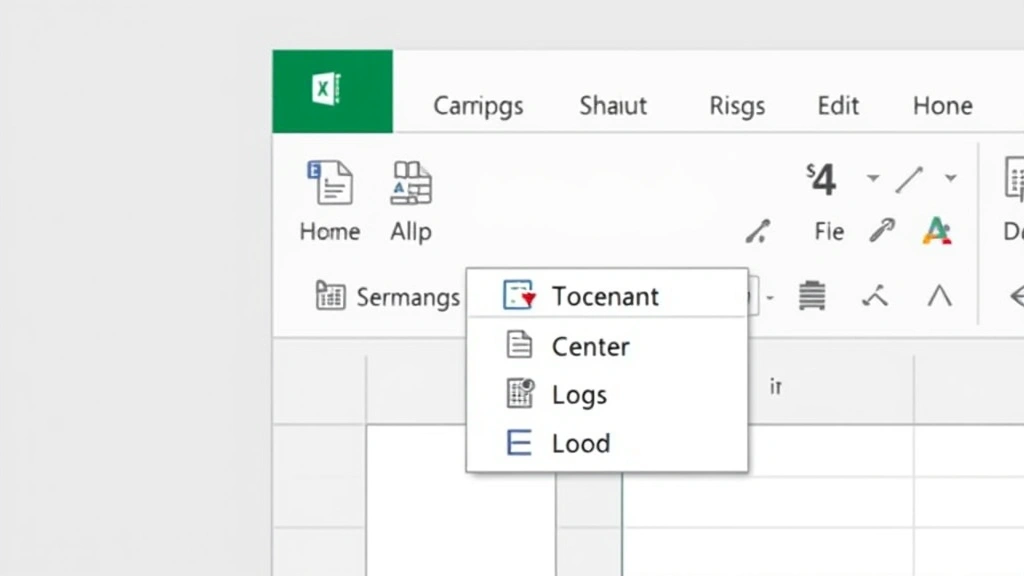
Method 1: Merging Cells Through the Ribbon Menu
The most straightforward way to merge cells in Excel is through the Home tab on the Ribbon menu. This method works consistently across all versions of Excel and is ideal for users who prefer visual, menu-driven approaches. Start by selecting the range of cells you want to merge—click on the first cell and drag to the last cell in your desired range, or click the first cell, hold Shift, and click the last cell.
Once you’ve selected your cells, locate the Merge & Center button in the Alignment group on the Home tab. If you’re using Excel on Windows, you’ll see a small dropdown arrow next to the Merge & Center button. Click this arrow to reveal your merging options: Merge & Center, Merge Across, Merge Cells, and Unmerge Cells. Select your preferred option based on your needs—Merge & Center is the most commonly used option for headers and titles.
For Mac users, the process is virtually identical. Navigate to the Home tab, find the Alignment section, and click the Merge & Center button or its dropdown menu. The interface may appear slightly different due to Mac’s design conventions, but the functionality remains the same. After selecting your merge option, Excel will immediately combine your selected cells into one larger cell, with the content from the upper-left cell preserved and centered if you chose the Merge & Center option.
Method 2: Using the Format Cells Dialog
For more granular control over your cell merging options, you can access the Format Cells dialog box, which provides additional formatting possibilities alongside merging. To open the Format Cells dialog, right-click on your selected cells and choose “Format Cells” from the context menu, or use the keyboard shortcut Ctrl+1 (Windows) or Cmd+1 (Mac).
In the Format Cells dialog, navigate to the Alignment tab. You’ll find a section labeled “Merge cells” with a checkbox option. Check this box to enable merging for your selected cells. This dialog also allows you to simultaneously adjust other alignment properties—such as text alignment, text wrapping, and text orientation—making it efficient when you want to apply multiple formatting changes at once.
The Format Cells dialog method is particularly useful when you’re combining merging with other formatting tasks. For instance, if you’re creating a spreadsheet for combining text from multiple cells while also adjusting alignment and rotation, this method allows you to handle everything in one operation. This approach also gives you a clear visual preview of how your merged cells will appear before you apply the changes.
Method 3: Keyboard Shortcuts for Quick Merging
If you frequently merge cells in Excel, learning keyboard shortcuts can dramatically speed up your workflow. While Excel doesn’t have a single dedicated keyboard shortcut for merging cells across all versions, you can create a custom shortcut or use the Format Cells dialog shortcut (Ctrl+1 or Cmd+1) to access merging options quickly.
Once you’ve opened the Format Cells dialog using Ctrl+1, you can navigate to the Alignment tab and check the merge cells option using only your keyboard. Press Tab to move between fields, use arrow keys to navigate, and press Enter to confirm your selection. For users who perform frequent merging operations, this keyboard-only approach can be significantly faster than using the mouse to navigate menus.
Another efficiency tip is to create a custom ribbon button or Quick Access Toolbar button specifically for merging. In Excel, you can customize the Quick Access Toolbar by clicking the dropdown arrow next to it and selecting “More Commands.” Search for merge options in the command list and add your preferred merge function to the toolbar. This creates a one-click solution for your most-used merging operations, making repetitive formatting tasks much more efficient.
Advanced Merging Techniques and Formulas
Once you’ve mastered basic cell merging, you can explore more sophisticated techniques that combine merging with Excel’s formula capabilities. Many users want to merge cells while preserving data from multiple cells—this is where the CONCATENATE function or the ampersand (&) operator becomes invaluable. Rather than merging cells and losing data, you can use a formula to combine text from multiple cells into one cell.
For example, if you have a first name in cell A1 and a last name in cell B1, you can create a formula in cell C1 that reads: =A1&” “&B1. This creates a merged appearance by combining the data without actually merging cells, which preserves your ability to sort, filter, and analyze data. This technique is particularly useful when you’re working with combining text from two cells in Excel while maintaining data integrity.
Another advanced technique involves using conditional formatting in conjunction with merged cells to create visually striking data presentations. You can merge cells for headers, apply gradient backgrounds or specific color schemes, and use conditional formatting rules to highlight specific data ranges. This creates professional-looking dashboards and reports that are both functional and visually appealing.
When working with large datasets, consider using named ranges that span merged cells. This allows you to reference merged cell ranges in formulas more intuitively. For instance, if you merge cells A1:D1 and name this range “ProjectHeader,” you can reference it in other parts of your spreadsheet simply by typing the range name rather than remembering cell addresses.
Common Mistakes and How to Avoid Them
One of the most common mistakes users make when merging cells is merging cells that contain important data in non-primary cells. When you merge cells, Excel retains only the content from the upper-left cell and discards data from other cells in the merge range. To avoid losing data, always copy the content from cells you plan to merge before performing the merge operation, or use formulas to combine data instead of merging.
Another frequent error is merging cells in data ranges that you plan to sort or filter. Merged cells can cause sorting and filtering to behave unexpectedly, potentially corrupting your data organization. Best practice dictates that you should only merge cells in header rows or decorative areas, not in data ranges. If you need to organize data visually, consider using cell borders, background colors, or conditional formatting instead of merging.
Users also sometimes struggle with merged cells when copying and pasting data. When you copy a merged cell, Excel may paste it as a regular cell in the destination, losing the merge formatting. Similarly, pasting data into merged cells can produce unexpected results. To maintain consistency, copy the formatting separately using the Format Painter tool, or use Paste Special to paste only specific formatting attributes.
A critical mistake to avoid is merging cells that contain formulas or references to other cells. If you merge a cell containing a formula with empty cells, you may inadvertently change the formula’s cell reference, causing calculation errors throughout your spreadsheet. Always verify formulas before merging, and consider whether merged cells might interfere with your spreadsheet’s calculation logic.
Unmerging Cells When You Need to Separate Them
There will be times when you need to reverse a merge operation, separating previously merged cells back into individual cells. Fortunately, Excel makes this process just as straightforward as merging. To unmerge cells, first select the merged cell or range of merged cells you want to separate. You can select multiple merged cells simultaneously if you want to unmerge them all at once.
Once you’ve selected your merged cells, navigate to the Home tab on the Ribbon and click the Merge & Center button dropdown (or access it through Format Cells dialog). Select “Unmerge Cells” from the dropdown menu. Excel will immediately separate the merged cells back into individual cells. The content that was in the merged cell will remain in the upper-left cell of the former merge range, while the other cells will be empty.
If you’ve unmerged cells and want to redistribute the content across the now-separated cells, you’ll need to manually enter the data or use formulas to split the content. For instance, if you previously merged cells containing a full name, you might want to use text functions like LEFT, RIGHT, MID, and FIND to separate the first and last names back into individual cells. This approach gives you more control over how your data is organized after unmerging.
When working on spreadsheets that require frequent adjustments, consider whether merging is truly necessary or if alternative formatting methods might be more flexible. Using borders, background colors, or even simple text formatting can often achieve the visual effect you want without the complications that sometimes accompany merged cells. This flexibility becomes particularly valuable when you’re collaborating with others or working on complex DIY project documentation that might require future modifications.
Frequently Asked Questions
Can I merge cells in Excel without losing data?
Yes, you can preserve data from multiple cells by using formulas instead of merging. Use the CONCATENATE function or the ampersand (&) operator to combine text from multiple cells into a single cell. This approach maintains all your original data while creating the appearance of merged content. Alternatively, copy and save the content from all cells before merging, then manually reconstruct the combined information afterward.
What’s the difference between “Merge & Center,” “Merge Across,” and “Merge Cells”?
Merge & Center combines selected cells and centers the content within the merged cell. Merge Across merges cells in each row of your selection separately, useful when you have multiple rows of data you want to merge horizontally without creating one large merged area. Merge Cells combines the selected cells without applying any specific alignment, leaving content positioned according to the original cell’s alignment settings.
Can I sort or filter data in merged cells?
Merged cells can complicate sorting and filtering operations. Excel may not sort or filter as expected when merged cells are present in your data range. For this reason, it’s best to avoid merging cells in data ranges. Reserve merging for headers, titles, and decorative elements outside your primary data area. If you need to organize data visually, use alternative formatting methods like borders or background colors.
How do I merge cells in Excel on a Mac?
The process is virtually identical to Windows. Select your cells, navigate to the Home tab on the Ribbon, and click the Merge & Center button or its dropdown menu. You can also right-click, select Format Cells, navigate to the Alignment tab, and check the Merge Cells option. Mac Excel uses the same core functionality as Windows Excel, though the interface appearance may differ slightly.
What happens to formulas when I merge cells?
When you merge cells containing formulas, Excel retains the formula from the upper-left cell and discards formulas from other cells in the merge range. This can cause calculation errors or unexpected results. Before merging cells with formulas, verify that you won’t need those formulas and that merging won’t interfere with your spreadsheet’s calculations. Consider using alternative formatting methods if your spreadsheet relies heavily on formulas.


