Connect Canon Pixma to WiFi: Expert Tips for Seamless Printing
Getting your Canon Pixma printer connected to WiFi can transform your home office setup, allowing you to print wirelessly from any device on your network. Whether you’re working from home, managing a small business, or simply want the convenience of cable-free printing, understanding the connection process is essential. This comprehensive guide walks you through every step, troubleshooting tips, and best practices to ensure your Canon Pixma stays reliably connected.
Canon Pixma printers are known for their versatility and user-friendly features, but the WiFi setup process can sometimes feel confusing, especially if you’re new to wireless device connectivity. The good news is that once you understand the fundamentals, connecting your printer becomes straightforward and intuitive. We’ll cover everything from initial setup to advanced configuration options that will help you maximize your printer’s wireless capabilities.

Pre-Connection Requirements and Equipment
Before you begin the connection process, gather the necessary equipment and verify your setup. You’ll need your Canon Pixma printer, a functioning WiFi router with 2.4GHz capability (most Canon Pixma models don’t support 5GHz), and your WiFi network name and password readily available. Ensure your printer is powered on and placed within reasonable range of your router—typically 30 feet or closer for optimal signal strength.
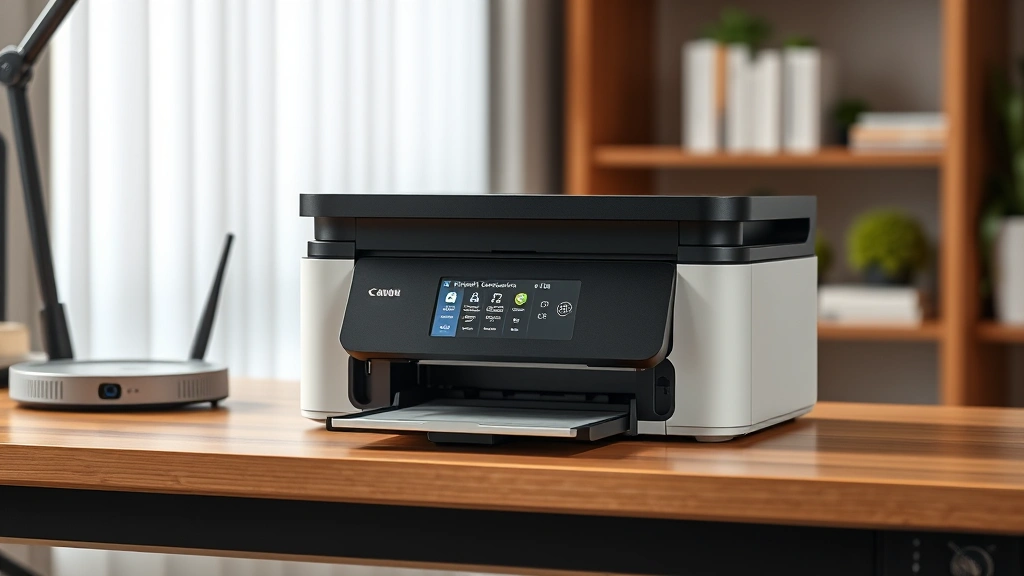
Check your printer’s model number, as different Canon Pixma series may have slightly different menu layouts. Most modern Pixma printers feature an LCD touchscreen or button interface that makes navigation easier. If your printer is older, consult the Canon support website for model-specific instructions. Having the printer’s manual nearby is helpful, though the wireless setup process is fairly standardized across the Pixma lineup.
Your computer or mobile device should also be connected to the same WiFi network for proper driver installation and printer discovery. This is crucial when you’re setting up the connection initially. If you’re working on connecting devices to Mac systems, the same networking principles apply to your printer setup.
Step-by-Step WiFi Connection Guide
The most straightforward approach to connecting your Canon Pixma to WiFi involves accessing the printer’s menu system. Start by powering on your printer and locating the menu button, typically marked with a grid icon or labeled “Menu” on the control panel. Navigate to the network or WiFi settings option—this is usually found under “Settings” or “Network Settings” depending on your model.
Once you’ve accessed the network menu, look for an option labeled “WiFi Setup” or “Wireless LAN Setup.” Select this option to begin the connection process. Your printer will display available networks, similar to what you’d see on your smartphone. Scroll through the list and select your home WiFi network from the displayed options. If your network doesn’t appear, ensure your router is powered on and broadcasting its SSID (network name).
When you’ve selected your network, the printer will prompt you to enter your WiFi password. This is where accuracy matters—passwords are case-sensitive and spaces count. Use the printer’s keypad or touchscreen to input your password carefully. Take your time with this step, as incorrect passwords are the most common reason for failed connections. Some newer Pixma models feature on-screen keyboards that make this process easier.
After entering your password, the printer will attempt to connect to your network. This process typically takes 10-30 seconds. You’ll see a confirmation message once the connection is successful, often displaying your IP address and connection status. Write down this IP address for future reference, as it can be useful for troubleshooting and direct printer access.
Using WPS for Quick Connection
If your router supports WPS (WiFi Protected Setup), you can use this method for faster, simpler connection without manually entering your password. WPS is an automated security protocol that allows devices to connect securely without requiring password entry. To use WPS, access your printer’s network settings menu and look for a “WPS Connection” or “Push Button Method” option.
Select the WPS option on your printer, which will put it into pairing mode, usually indicated by a blinking light or on-screen message. You then have approximately two minutes to press the WPS button on your router. This button is typically a small, recessed button on the back or bottom of your router, sometimes labeled “WPS” or simply marked with a WiFi symbol. Hold this button for 3-5 seconds until you see a light indicator respond.
The printer and router will communicate automatically, establishing a secure connection without password exchange. This method is particularly useful if you’re unsure of your WiFi password or want to speed up the connection process. However, ensure your router has WPS enabled in its settings—some users disable it for security reasons. If WPS doesn’t work after two minutes, you’ll need to restart the process and try again or switch to manual entry.
Manual Network Setup Method
For users who prefer complete control or need to set up specific network parameters, the manual setup method provides detailed configuration options. Access your printer’s network settings and select “Manual Setup” or “Custom Settings” rather than the automatic WiFi detection method. This approach requires you to enter your network’s SSID manually instead of selecting from a list.
In manual mode, you’ll be asked to enter your network name exactly as it appears on your router. This is important because the SSID is case-sensitive. You’ll then enter your WiFi password using the same careful approach as the automatic method. Additionally, you may be prompted to select your security type—most modern networks use WPA2 or WPA3, which you should select to match your router’s configuration.
Manual setup also allows you to configure advanced options like static IP addresses, DNS settings, and proxy information if your network requires them. Most home users won’t need these advanced settings, but they’re valuable if you’re working in a corporate environment or have a complex home network setup. When you’re part of a larger DIY networking setup for your home network, understanding these options becomes increasingly important.
After entering all required information, the printer will attempt connection with your specified parameters. If the connection fails, double-check that you’ve entered the SSID and password correctly, and verify that your router’s security settings match what you’ve selected on the printer.
Configuring Printer Settings on Your Computer
Once your Canon Pixma is connected to your WiFi network, you need to install the appropriate drivers and software on your computer to enable printing. Visit the Canon support website and navigate to the drivers section. Enter your printer model number and download the latest WiFi-enabled driver package for your operating system.
For Windows users, download the complete driver and utility software package. Run the installer and follow the on-screen prompts. When prompted, select “Network Connection” or “WiFi” as your connection type. The installer will search for your printer on the network and automatically detect it if it’s properly connected. This process is usually seamless and requires minimal user intervention.
Mac users should similarly download the Mac-specific driver from Canon’s support page. The installation process on macOS is comparable, though the menu layouts differ slightly. After installation, go to System Preferences, select “Printers & Scanners,” and click the “+” button to add your printer. Your Canon Pixma should appear in the list of available printers.
After driver installation, test your connection by printing a test page. Open any document, select File > Print, and choose your Canon Pixma from the printer list. If the printer appears and prints successfully, your WiFi connection is properly configured. If it doesn’t appear, restart both your printer and computer, then try the printer discovery process again.
Troubleshooting Common Connection Issues
Even with careful setup, connection problems can occur. The most common issue is an incorrect password—if your printer won’t connect, start by verifying your WiFi password is correct. Check your router’s admin panel to confirm the SSID and password you’re using. Remember that passwords are case-sensitive and special characters matter.
If your printer connects to WiFi but won’t print, the driver installation may be incomplete or incorrect. Uninstall the current driver completely—use the Add/Remove Programs feature on Windows or the Applications folder on Mac—then download and reinstall the latest version from Canon’s website. This fresh installation often resolves driver-related printing issues.
Router placement significantly impacts connection reliability. If your printer is too far from your router or separated by multiple walls, the signal may be insufficient. Move your printer closer to the router temporarily to test if distance is the problem. If this resolves the issue, consider relocating your router to a more central location or using a WiFi extender for better coverage throughout your home.
Network interference can also cause connection problems. WiFi operates on the 2.4GHz frequency, which is shared by microwave ovens, cordless phones, and other devices. If your printer loses connection intermittently, particularly near certain appliances, interference is likely the culprit. Try changing your router’s WiFi channel through its admin settings—channels 1, 6, and 11 are typically best for 2.4GHz networks.
If your printer keeps disconnecting, update its firmware through Canon’s support site. Download the latest firmware for your model and follow the installation instructions carefully. Firmware updates often include WiFi stability improvements and bug fixes. Additionally, restart your router regularly—weekly power cycles can prevent many connectivity issues.
Optimizing Your WiFi Printer Network
Once your Canon Pixma is successfully connected, optimize your setup for reliability and performance. Position your router in a central location, elevated if possible, away from walls and metal objects that can block signals. This foundational step improves WiFi strength for all your devices, not just your printer.
Configure your router’s security properly—use WPA2 or WPA3 encryption rather than older WEP security, which is outdated and less secure. Strong security prevents unauthorized access to your network and printer. Create a strong WiFi password with a mix of uppercase, lowercase, numbers, and special characters.
Document your printer’s IP address and WiFi settings in a safe location. This information is invaluable if you need to troubleshoot later or reconfigure your printer. You can find the IP address by printing a network status page directly from your printer’s menu system.
Keep your printer’s firmware updated by checking Canon’s support site quarterly. Firmware updates improve functionality, security, and WiFi stability. Most updates are installed through a simple menu option on your printer or through Canon’s software utility.
Consider your printer’s power settings. Some Pixma models have sleep modes that can interfere with WiFi connectivity. Adjust these settings through your printer’s menu to ensure it remains connected even when idle. Check your printer’s manual for specific power management options.
If you share your printer with multiple users, consider setting up guest network access through your router. This allows others to print without accessing your primary network. Some routers support this feature natively, improving both convenience and security.
Frequently Asked Questions
Can I connect my Canon Pixma to a 5GHz WiFi network?
Most Canon Pixma printers only support 2.4GHz WiFi networks. Check your printer’s specifications to confirm, but the vast majority of Pixma models don’t support 5GHz. If you have a dual-band router, ensure your printer connects to the 2.4GHz band specifically. Some routers allow you to name the 2.4GHz and 5GHz networks separately, making connection easier.
What should I do if my printer isn’t appearing in the network printer list?
First, verify that your printer is powered on and connected to your WiFi network—check its display for connection status. Restart both your printer and computer, as this often resolves discovery issues. If the printer still doesn’t appear, uninstall and reinstall the printer drivers. On Windows, also try adding the printer manually using its IP address through Settings > Devices > Printers & Scanners.
How do I change my printer’s WiFi network?
Access your printer’s network settings menu and look for an option to forget or delete the current network. Then proceed through the WiFi setup process again as if connecting for the first time. Select your new network and enter its password. This process is identical to the initial connection but allows you to switch networks when needed.
Is it safe to connect my printer to WiFi?
Yes, when you follow proper security practices. Use strong WiFi passwords, enable WPA2 or WPA3 encryption, and keep your printer’s firmware updated. Avoid connecting to public WiFi networks with your printer. If you’re concerned about security, consider using a separate guest network for your printer and other IoT devices, which home security best practices often recommend.
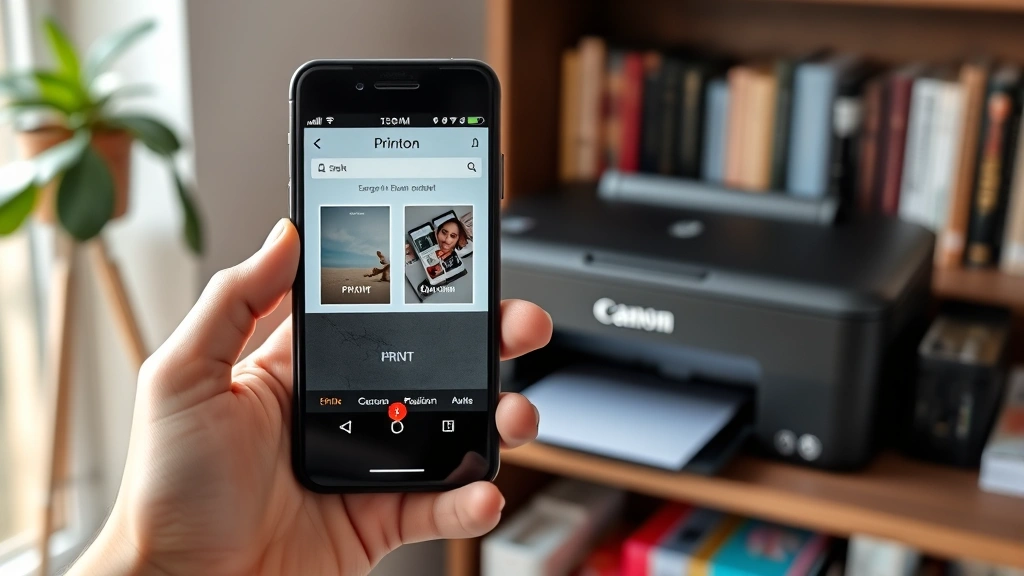
Can I print from my smartphone to my Canon Pixma?
Yes, Canon offers the PIXMA Cloud Link service and the Canon PRINT app for both iOS and Android. Download the appropriate app, ensure your printer is connected to WiFi, and the app will detect your printer automatically. You can then print photos, documents, and web pages directly from your smartphone without needing a computer.
What’s the difference between WPS and manual WiFi setup?
WPS (WiFi Protected Setup) is an automated method that doesn’t require password entry—you simply press a button on your router and printer. Manual setup requires you to enter your network name and password through your printer’s menu. WPS is faster and easier but requires your router to support it. Manual setup gives you more control and works with any router.
How far can my printer be from my router?
Typical WiFi range is 30 feet in open space, but walls and obstacles reduce this significantly. Each wall can reduce range by 10-20 feet. If your printer is farther than 30 feet from your router or separated by multiple walls, consider moving your router, relocating your printer, or using a WiFi extender to improve signal strength.
Why does my printer keep disconnecting from WiFi?
Intermittent disconnections often result from interference, distance from the router, or outdated firmware. Try moving your printer closer to your router, changing your WiFi channel, or updating your printer’s firmware. Also check that your router is functioning properly and not overheating. If problems persist, perform a factory reset on your printer and reconnect from scratch.


