Table of Contents
Introduction
Want to give your skin some love without breaking the bank? DIY face masks are having a major moment—and honestly, it’s about time. Picture this: you’re rummaging through your kitchen, grabbing some honey here, a bit of oatmeal there, and boom—you’ve got yourself a spa-worthy facial treatment. No mysterious chemicals, no ingredient lists that read like a chemistry textbook. Just you, your skin, and some surprisingly powerful kitchen staples.
Here’s what’s really cool about the whole DIY skincare movement—it’s not just some trendy Instagram thing anymore. People everywhere are ditching the commercial products (you know, the ones with 47 ingredients you can’t pronounce) for simple, natural alternatives. And why wouldn’t they? When you make your own masks, you know exactly what’s going on your face. Honey, oatmeal, aloe vera—these aren’t new discoveries. They’ve been working their magic for centuries. Plus, there’s something deeply satisfying about mixing up your own concoctions. It turns your regular skincare routine into a little ritual of self-care.
The best part? You’re in complete control. Got oily skin that’s acting up? Clay masks are your best friend—they’ll soak up that excess oil like nobody’s business. Dealing with dry, tight skin? An avocado and honey combo will give you the hydration your face is crying out for. But here’s where things get interesting: you need to know what you’re working with. Fresh, quality ingredients make all the difference between a mask that works wonders and one that just sits there looking pretty. And if you’re already diving into the DIY world, why stop at face masks? You might want to check out DIY bath salts for a full spa experience, or explore DIY paper crafts to keep your creative juices flowing.
Now, if you’ve got sensitive skin, I feel you. The skincare aisle can feel like a minefield sometimes. One wrong move and you’re dealing with redness, irritation, or worse. That’s exactly why DIY masks can be such a game-changer—you control every single ingredient. But you’ve still got to be smart about it. The folks over at choosing skincare products for sensitive skin have some solid advice on navigating tricky skin situations. And when you’re ready to dive deeper into natural recipes, homemade face masks for glowing skin is packed with tried-and-true formulas that actually work.
What You’ll Learn in This Guide
Ready to become your own skincare mixologist? We’re covering everything you need to know about creating masks that actually work for your unique skin. By the time we’re done, you’ll be confidently whipping up custom treatments like a pro.
- The Popularity and Benefits of DIY Face Masks: We’ll explore why everyone’s jumping on the homemade bandwagon and how these masks can save you serious money while keeping harsh chemicals off your face—all while being perfectly tailored to what your skin actually needs.
- Natural Ingredients and Their Skincare Benefits: Get the inside scoop on everyday ingredients like honey, oatmeal, aloe vera, yogurt, and clay, and discover how their natural properties can moisturize, exfoliate, soothe, and detoxify your skin better than you’d expect.
- Step-by-Step Preparation and Application: We’ll walk through the whole process together—from mixing your first batch to applying it like a pro and getting results that’ll have you wondering why you ever bought store-bought masks.
- Safety Tips and When to Avoid DIY Masks: Because even natural doesn’t always mean safe for everyone, we’ll cover the essentials: patch testing, spotting potential reactions, and knowing when to skip certain ingredients to keep your skin happy and healthy.
As we explore this whole world of homemade skincare, you’ll discover it’s not just about the end result (though glowing skin is definitely a perk). It’s about taking a moment for yourself, being mindful about what you put on your body, and maybe even having a little fun in the process. Speaking of DIY adventures, if you’re feeling inspired to tackle other projects around the house, DIY car repairs might be your next challenge—because once you start making things yourself, it’s hard to stop.
We’ll also dive into creating custom formulas for different skin types. Whether your skin leans oily, dry, somewhere in between, or just plain sensitive, there’s a perfect combination of ingredients waiting for you. And don’t worry—we’ll cover all the practical stuff too, like why you should always start with clean skin and why the area around your eyes is a no-go zone for most masks.
By the end of all this, you’ll be ready to dive headfirst into your DIY skincare journey with confidence and excitement. These homemade face masks aren’t just about looking good (though that’s certainly a bonus). They’re about carving out little pockets of self-care in your busy life and reconnecting with the simple pleasure of taking care of yourself. So grab your mixing bowl and get ready to discover just how amazing your skin can look and feel with nothing but natural, wholesome ingredients.

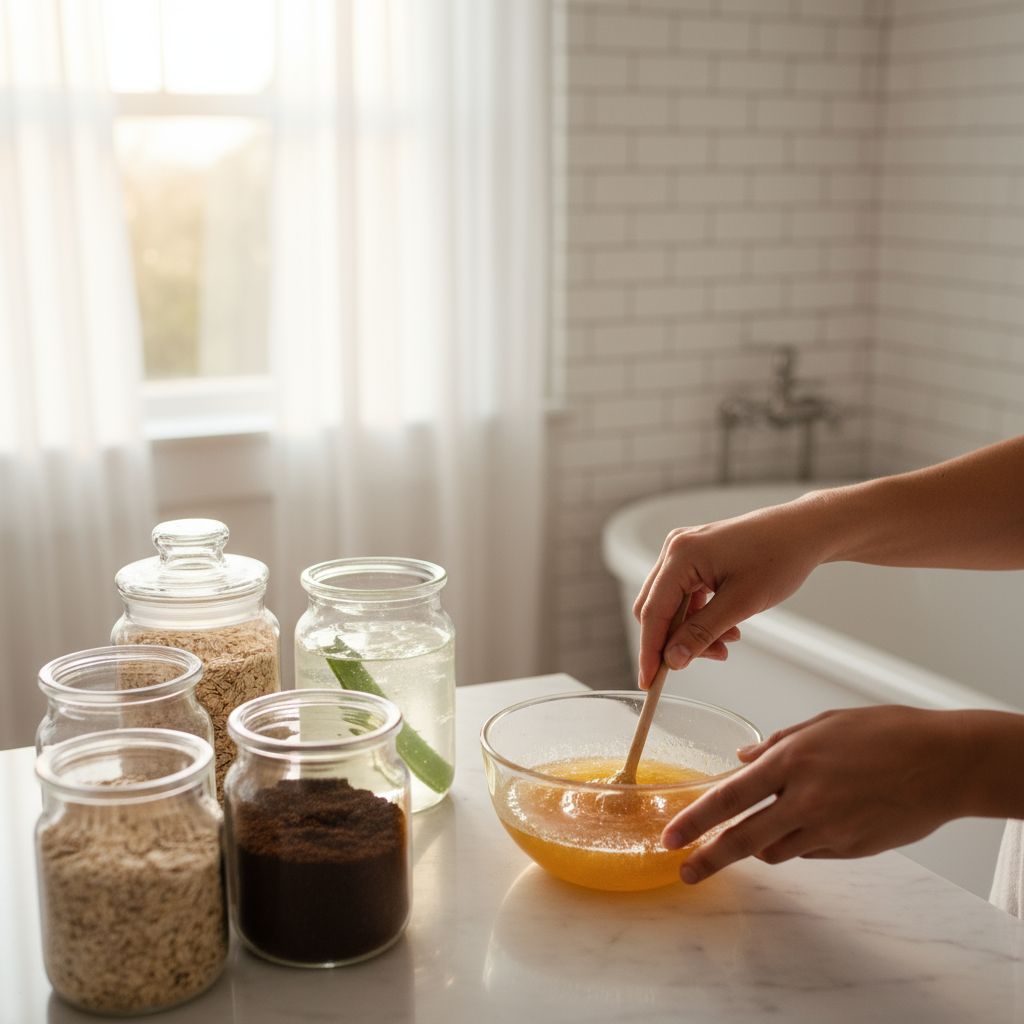
There’s something magical about mixing up your own face mask in the kitchen. Maybe it’s the way honey drips from the spoon, or how that avocado feels so creamy between your fingers. Whatever it is, DIY face masks have captured hearts (and faces) everywhere—and for good reason. You get to play scientist with ingredients you probably already have, creating skincare treatments that actually work. No more squinting at tiny ingredient lists or wondering what “phenoxyethanol” actually does to your skin. When you make your own masks, you’re in complete control. And honestly? That feels pretty amazing. The best part isn’t just the glowing skin you’ll get—it’s the whole experience. The mixing, the applying, the 15 minutes of forced relaxation while your mask does its thing. In a world that never stops moving, these little moments matter. Ready to discover why your kitchen might just be the best beauty store you’ve ever shopped in?
Benefits of DIY Face Masks
Let’s talk money first—because who doesn’t love saving it? Those fancy masks at the department store? They’ll run you $30-50 easy. But that jar of honey in your pantry? It costs maybe $8 and will make dozens of masks. Same goes for oatmeal, yogurt, and most of the good stuff your skin craves. You do the math. But the real game-changer isn’t the savings (though they’re nice). It’s knowing exactly what you’re putting on your face. Ever tried to pronounce half the ingredients in commercial masks? Yeah, me neither. When you’re mixing up your own batch, every single ingredient is something you chose. No mysterious chemicals, no preservatives that make your skin angry, no fragrances that trigger breakouts. Just pure, simple ingredients that make sense. And here’s where it gets really good—you can customize everything. Oily skin acting up? Clay mask time. Feeling dry and flaky? Hello, honey and avocado. It’s like having a personal skincare chef, except the chef is you. For some serious inspiration on natural recipes that actually work, check out our guide on homemade face masks for glowing skin. Trust me, your skin will thank you.
But wait—there’s more to love here. (And I promise I’m not trying to sell you a set of kitchen knives.) Using natural ingredients isn’t just good for your skin; it’s good for the planet too. Think about it: no plastic containers heading to landfills, no chemical runoff when you wash your face. Just nature doing what it does best. Take honey, for instance—it’s basically a miracle worker that fights bacteria while keeping your skin soft. Oatmeal? It’s like a gentle hug for irritated skin, soothing inflammation while giving you the gentlest exfoliation ever. Aloe vera feels like a cool drink of water for your face, especially when your skin is feeling cranky. And clay? It’s like a magnet for all the gunk in your pores, pulling out excess oil without being harsh about it. These aren’t just random kitchen ingredients—they’re powerhouse performers that have been making skin beautiful for centuries. If you’re dealing with sensitive skin (and honestly, who isn’t these days?), our article on skincare products for sensitive skin has some great tips for choosing the gentlest DIY ingredients.
Key Aspects of Benefits
Here’s what makes DIY face masks such a win-win:
- Cost-Effectiveness: Your grocery bill just became your beauty budget. Simple ingredients like honey, oats, and yogurt cost pennies per mask but deliver results that rival expensive treatments.
- Complete Ingredient Control: No more playing ingredient roulette. You choose what goes on your skin, which means you can skip anything that makes your face unhappy.
- Customization for Skin Types: Oily skin? Dry patches? Sensitivity issues? You can tweak recipes on the fly to give your skin exactly what it needs right now.
- Mindful Self-Care Ritual: Making masks forces you to slow down. It’s 20 minutes of pure self-care that your mind craves as much as your skin does.
When you really understand these benefits, something clicks. You start seeing your kitchen differently—less about meal prep, more about skin prep. And once you experience that “I made this and it actually works” feeling? There’s no going back. You’re setting yourself up for the next big question: how do you do this safely and effectively?
How to Make DIY Face Masks Safely
Okay, real talk time. Natural doesn’t automatically mean harmless. (Poison ivy is natural too, you know?) But don’t let that scare you—with a few smart moves, you’ll be mixing masks like a pro without any drama. Start with the basics: fresh ingredients are your friends, expired ones are not. That banana that’s been sitting on your counter for a week? Skip it. You want ingredients that are as fresh and clean as the skin you’re trying to pamper. Match your ingredients to your skin’s personality. Got oily skin that could fry an egg? Clay masks are your best friend. Skin feeling tight and cranky? Reach for honey and avocado—they’re like a drink of water for dry skin. Before you slather anything on your face, give it a good cleanse first. You wouldn’t paint over dirt, right? Same principle here. When you apply your mask, pretend your eye area is lava and avoid it completely. That skin is delicate and doesn’t need whatever magic you’re brewing. Stick to the timing—10 to 20 minutes is usually the sweet spot. Any longer and you risk turning your skin into the Sahara desert. When time’s up, rinse gently with lukewarm water (not hot, not cold—we’re going for Goldilocks here) and follow up with moisturizer. Your skin just had a treatment; now seal in all that goodness. Want to level up your routine even more? Our guide on skincare routine with niacinamide shows how to pair DIY masks with proven ingredients for serious results.
Here’s the part that separates the pros from the amateurs: patch testing. I know, I know—it sounds boring and unnecessary. But hear me out. Even the most innocent-looking ingredient can turn your face into an angry tomato if your skin decides it’s not a fan. Test new concoctions on your wrist or behind your ear 24 hours before the main event. If everything looks good, you’re cleared for takeoff. Keep things fresh—literally. Natural ingredients don’t have preservatives, which means they can go bad fast. Make small batches and use them right away. And please, for the love of glowing skin, don’t overdo it. Your skin needs time to process all this goodness. Once or twice a week is plenty—more isn’t always better. Think of it like exercise: consistency beats intensity every time. For more wisdom on safe DIY practices (because safety is always cool), check out our article on DIY bath salts. The storage and safety tips apply to face masks too.
Key Aspects of Making DIY Face Masks Safely
These safety essentials will keep your skin happy and your DIY journey drama-free:
- Patch Testing New Ingredients: Test everything first on a small patch of skin—your wrist or behind your ear works perfectly. Wait 24 hours to see if your skin throws a tantrum before putting it on your face.
- Using Fresh, High-Quality Ingredients: Fresh is best, always. Check expiration dates and trust your nose—if something smells off, it probably is.
- Appropriate Application Time: More time doesn’t equal better results. Stick to 10-20 minutes max, or you’ll end up with skin that’s drier than your sense of humor.
- Skin Type Consideration: Know your skin’s personality. Oily skin can handle more frequent clay treatments, while sensitive skin needs gentle ingredients and less frequent pampering sessions.

So here we are—you’ve just become a DIY face mask expert! Pretty amazing how much you can do with simple ingredients from your kitchen, right? We’ve covered everything from why honey is basically liquid gold for your skin to how oatmeal can gently buff away dead cells without irritation. And let’s not forget about aloe vera, yogurt, and clay—each one bringing something special to your skincare game.
The best part? You’re now in complete control. No more wondering what’s actually in those expensive store-bought masks. You know exactly what’s going on your face, and your wallet will thank you too. Plus, there’s something genuinely satisfying about mixing up your own concoctions. It’s like being a skincare scientist in your own bathroom.
But remember what we talked about with safety—it matters. A lot. That patch test isn’t just a suggestion (trust me on this one). Fresh ingredients are your friends, and timing is everything. Whether you’re dealing with oily skin that needs some clay action or sensitive skin that craves gentle oatmeal, you’ve got the knowledge to create something that actually works for you.
Ready to expand your DIY horizons? Why stop at face masks when you can create an entire spa experience at home? Our guide on DIY bath salts will help you whip up some seriously relaxing soaks that pair perfectly with your new mask routine. Feeling crafty? Check out our DIY paper crafts collection—because sometimes your creativity needs an outlet beyond skincare. And if you’re ready to tackle bigger projects, our DIY car repairs guide might surprise you with how much you can actually handle yourself. Oh, and if you’ve got particularly finicky skin, learning about skincare products for sensitive skin will help you make smart choices that complement your homemade treatments.
Here’s the thing about DIY face masks—they’re not just about getting better skin (though that’s definitely a bonus). They’re about taking time for yourself, understanding what your skin actually needs, and creating something with your own hands. That connection? It’s pretty powerful stuff. So go ahead, experiment, have fun with it, and enjoy the process of creating skincare that’s uniquely yours.
Frequently Asked Questions
-
How often should I use a DIY face mask?
- Typically, 1-2 times per week depending on your skin type and the ingredients used in the mask to avoid irritation and ensure optimal benefits.
-
Can DIY masks cause allergic reactions?
- Yes, some natural ingredients can cause reactions. Always perform a patch test before applying a new mask fully to your face.
-
Are DIY face masks effective compared to commercial products?
- They can be effective for general skin care and offer ingredient transparency. However, they might lack preservatives and concentrated actives found in some commercial products.
-
What are the best ingredients for sensitive skin?
- Calming ingredients like aloe vera, cucumber, and oatmeal are gentle and beneficial for sensitive skin types.
-
Can I store homemade face masks?
- Most DIY masks should be used immediately or stored in the refrigerator for no more than a day to prevent spoilage and ensure safety.