Table of Contents
Introduction
Have you ever wanted to create something beautiful and completely unique with just your hands? Picture this: transforming ordinary newspaper or magazine pages into stunning sculptures, whimsical masks, or gorgeous decorative bowls that make your friends ask, “Where did you get that?” DIY paper mache is your gateway to unlocking creativity you didn’t even know you had. And here’s the best part—it doesn’t matter if you’ve never crafted anything before or if you’re already a seasoned maker. Paper mache welcomes everyone with open arms and endless possibilities.
So what exactly is paper mache? (You might also see it spelled papier-mache, which sounds fancier but means the same thing.) It’s beautifully simple: strips of paper soaked in adhesive, layered to build whatever your imagination dreams up. This technique has been around for centuries—artists, teachers, and theater crews have relied on it because it’s cheap, versatile, and surprisingly strong. For beginners, it’s like the perfect craft: you need hardly any supplies, there’s no steep learning curve, and mistakes? They’re just happy accidents that often lead to something even cooler.
Getting the basics down will set you up for success, and exploring other creative outlets can spark amazing ideas. If you’re drawn to hands-on projects, you might love diving into DIY paper crafts techniques that’ll expand your toolkit and inspire fresh projects. And when you’re ready to branch out beyond paper crafting, trying something completely different like DIY bath salts can deepen your appreciation for making personalized treasures at home. There’s something magical about taking simple, everyday materials and turning them into something beautiful and functional.
But here’s something wonderful about paper mache that goes beyond just making pretty things—it’s incredibly good for your mind and soul. Working with your hands, focusing on layering paper just right, watching something take shape… it’s meditative in the best way. Research shows that creative activities boost focus, melt away stress, and genuinely improve your mood. If you’re interested in the mental health benefits of crafting, understanding mental health awareness facts or learning how to improve focus pairs beautifully with the natural mindfulness that paper mache encourages. It’s therapy you can hold in your hands.
What You’ll Learn in This Guide
This guide will walk you through everything you need to know about DIY paper mache, whether you’re starting from zero or looking to level up your skills.
- Paper Mache Basics: We’ll cover what paper mache really is, which materials work best (and which ones to avoid), and how to choose the right adhesive for your project. Think of this as your foundation—once you nail these basics, you’ll feel confident tackling any project.
- Step-by-Step Instructions: No confusing jargon here—just clear, simple steps for creating paper mache projects from start to finish. You’ll learn how to mix the perfect paste, apply layers like a pro, and get that smooth, polished finish that makes people think you’re way more experienced than you are.
- Creative Project Ideas: From beginner-friendly bowls and masks to showstopper sculptures that’ll become conversation pieces, we’ve got projects for every skill level and interest. Get ready for some serious inspiration and maybe a few “I have to try that!” moments.
- Tips and Safety Guidelines: Let’s keep things safe, clean, and fun. You’ll learn how to set up your workspace, handle materials properly, and sidestep the common mistakes that can turn a fun afternoon into a frustrating mess. Trust me, a little prep goes a long way.
As we dive deeper, you’ll discover the tools and techniques that make paper mache not just doable, but genuinely enjoyable. We’ll build your confidence step by step until you’re creating pieces that surprise even you with how awesome they turn out. Plus, we’ve packed this guide with project ideas that’ll spark your imagination and maybe even inspire you to invent something completely new.
Understanding your materials—from choosing the right paper to picking the perfect adhesive—makes all the difference between “meh” and “wow.” We’ll help you navigate these choices without overthinking it, so you can focus on the fun part: creating. When you combine solid know-how with clear instructions, you’ll end up with paper mache pieces that are not only beautiful but built to last. Whether you’re making unique home décor, heartfelt gifts, or just having a blast crafting with the kids, the sky’s really the limit.
Finally, we’re big believers in doing things right—both for your safety and for the best results. Good workspace habits, proper adhesive handling, and smart drying techniques aren’t just helpful tips; they’re what separate successful projects from disasters. By learning what works (and what definitely doesn’t), you’ll save yourself time, materials, and that particular frustration that comes from watching a project fall apart. Ready to turn simple paper and paste into something amazing? Let’s get started.
Paper mache is one of those crafts that never gets old. There’s something magical about turning simple newspaper and glue into something beautiful—and honestly, pretty satisfying too. Whether you’re a complete beginner or someone who’s been crafting for years, paper mache offers endless possibilities to get creative. We’re going to dive into the practical stuff you need to know, plus share some project ideas that’ll spark your imagination. Don’t worry—we’ll also cover safety tips and those common mistakes that can trip you up (trust me, we’ve all been there). By the end, you’ll be ready to create amazing things safely and successfully.
Understanding Paper Mache: Materials and Basic Techniques
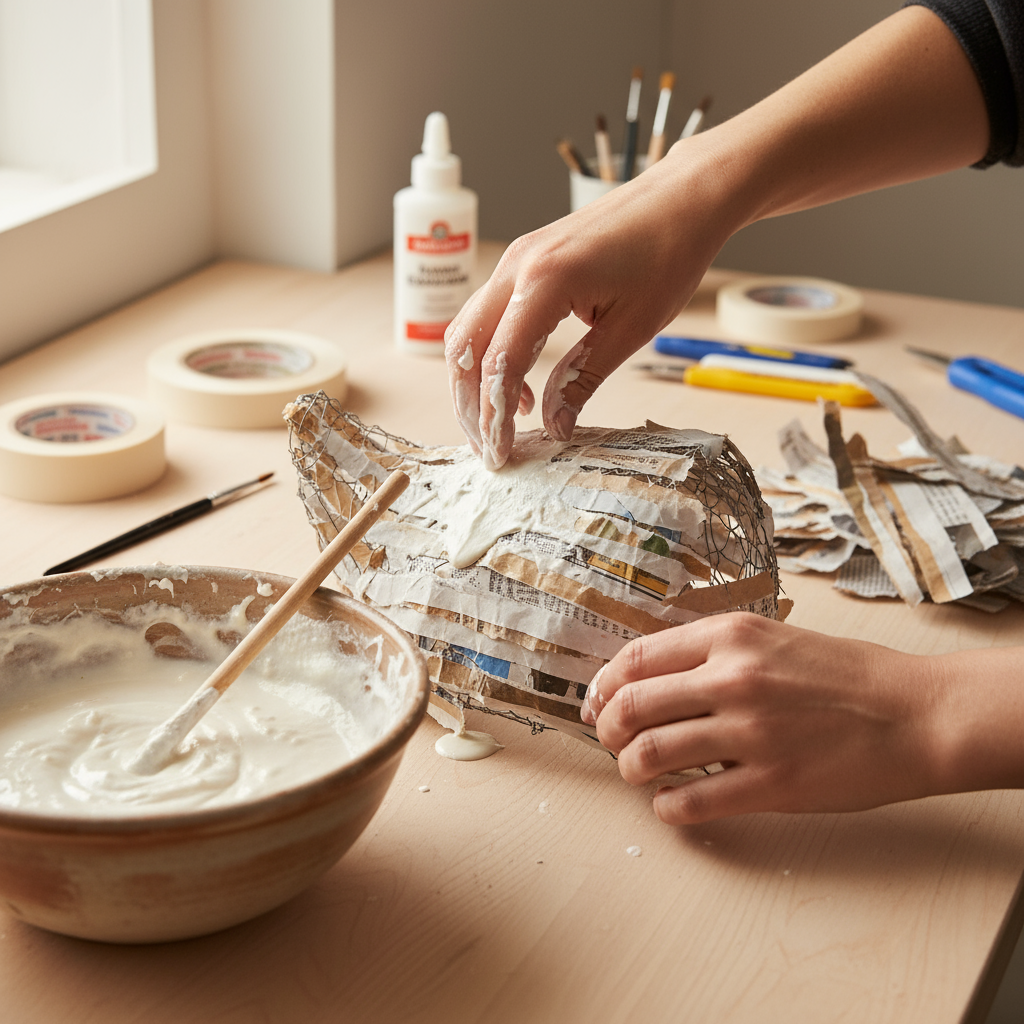
Let’s start with the basics—because getting your materials right makes all the difference. Paper mache is essentially layering paper soaked in some kind of adhesive. Sounds simple, right? Well, here’s where it gets interesting. The paper you choose actually matters more than you might think. Newspaper? Perfect for beginners—it’s cheap, easy to work with, and molds beautifully. Tissue paper gives you those delicate, smooth finishes. Craft paper brings serious strength to the table. Each one creates a completely different look and feel.
Now, let’s talk adhesive. You’ve got options here. Homemade flour-water paste is my personal favorite for starting out—it’s safe, budget-friendly, and kids can use it without worry. Commercial white glue or wallpaper paste? They’ll give you stronger bonds and smoother finishes, but they cost a bit more. Setting up your workspace is key too. Grab some bowls, brushes, and molds, and you’re golden. (Pro tip: our guide on DIY paper crafts has some great insights on picking the right supplies and organizing your creative space.)
Once you’ve got your materials sorted, the actual process is pretty straightforward. Mix your paste, layer those paper strips carefully, let everything dry completely, then add your finishing touches—paint, sealant, whatever makes your heart happy. The layering technique is where the magic happens. Get this right, and your creation will be both strong and beautifully textured. Mess it up? Well, you might end up with something that falls apart or looks lumpy. (Been there!) Understanding how drying works and which finishes to use will make your projects last longer and look amazing. Want to dig deeper into safe DIY project setup? Check out our DIY bath salts guide—different craft, same smart approach to organization and safety.
Key Aspects of Paper Mache Materials and Techniques
Here’s what you really need to know about mastering the fundamentals:
- Paper Selection and Preparation: Different papers bring completely different vibes to your project. Newspaper is your budget-friendly best friend—cheap and super moldable. Tissue paper? That’s for when you want something delicate and refined. Craft paper is your go-to for strength. The prep work matters too: tear (don’t cut!) your paper into workable pieces and soak or coat them with adhesive until they’re nice and pliable.
- Adhesive Types and Recipes: Flour-water paste is perfect for beginners and kids—safe, cheap, and gets the job done. White glue and wallpaper paste pack more punch with stronger bonds and smoother results. Just remember: your mixing ratios affect everything from consistency to drying time. Get this wrong, and your whole project suffers.
- Layering Techniques: Think of this like building a house—you need solid layers. Apply multiple coats for strength, alternate directions, and overlap those strips for stability. Smooth application prevents those annoying bubbles and gives you that professional-looking surface. This is especially important if you’re planning detailed work.
- Drying and Curing: Patience is everything here. Rush the drying process between layers, and you’re asking for mold or warping. Your environment matters too—humidity and airflow directly impact how fast things dry and how durable your finished piece will be.
Got all that? Good! You’re now ready to tackle your first paper mache project with confidence. These basics are your foundation—master them, and you can handle pretty much anything you dream up. Ready for some inspiration? Let’s look at some killer project ideas.
Creative Paper Mache Project Ideas and Practical Tips
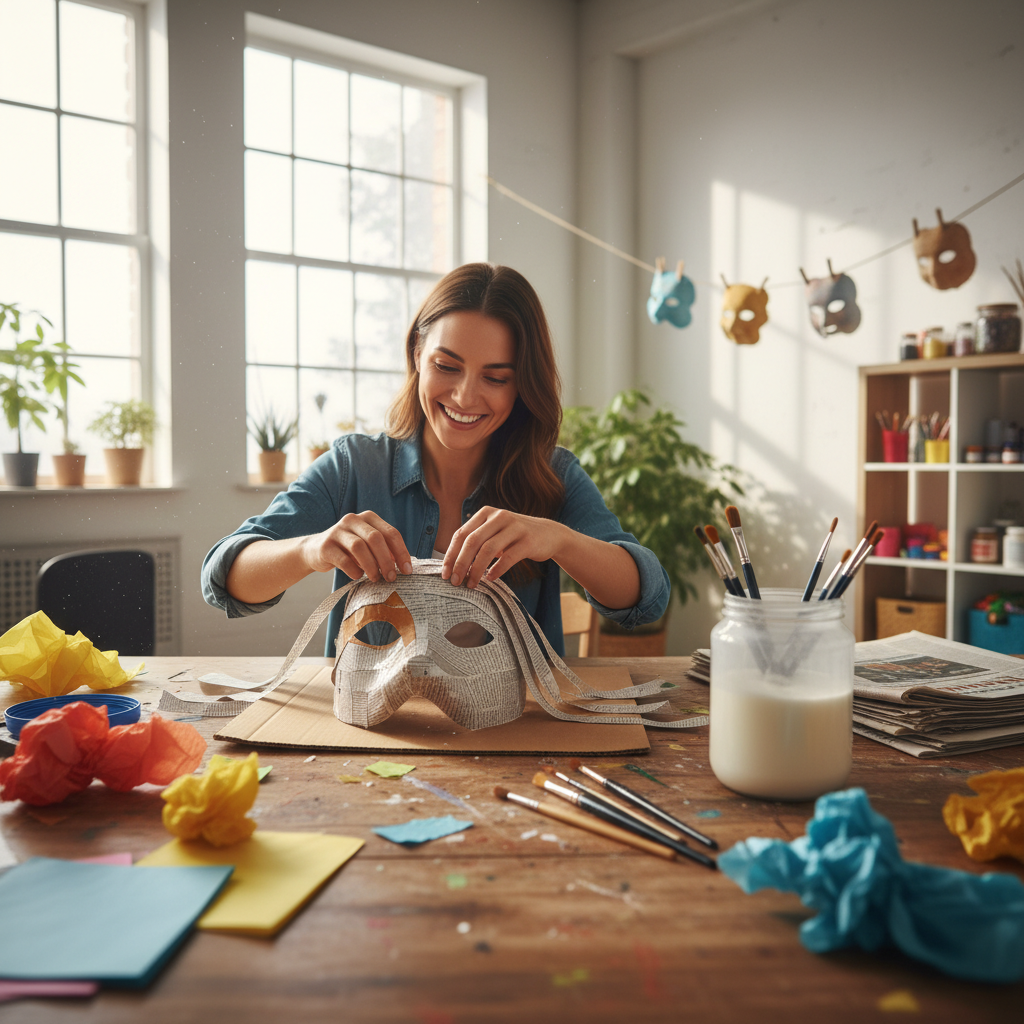
Here’s where things get fun. Paper mache projects can range from super simple to absolutely mind-blowing. Just starting out? Try bowls, masks, or ornaments first. These are perfect for getting your hands dirty without overwhelming yourself. You’ll learn the techniques, see quick results, and build your confidence. (Plus, who doesn’t love instant gratification?) If you want some structured project guidance to build your skills step by step, our DIY face masks guide—though totally different topic—shows how breaking things down into manageable steps makes all the difference.
Feeling more ambitious? Time to level up. Think sculptures, large installations, detailed models—projects that’ll really make people stop and stare. These require more planning, patience, and precision, but wow, are they worth it. The finished pieces are absolutely stunning and built to last. Want to experiment with different textures, forms, and finishes? Go for it! That’s how you grow as an artist and find your own style. Looking for ideas on scaling up your DIY projects? Our DIY pallet projects resource has some smart insights about structural planning and creative material use that apply to bigger paper mache works too.
Key Aspects of Paper Mache Project Execution
When you’re ready to dive into your projects, keep these game-changers in mind:
- Project Planning and Design: Spend time visualizing what you want to create. Seriously—this saves you materials, time, and frustration later. Sketch it out, make templates if needed. The more complex your vision, the more planning pays off.
- Layer Management and Patience: This is where people often mess up. Each layer needs proper drying time, or you’ll get warping and mold growth. I know waiting is hard when you’re excited, but patience here means a sturdy, professional-looking final piece.
- Finishing Techniques: Paint, sealants, varnishes—these aren’t just about making things pretty (though they do that too). They protect your hard work. Choose finishes that match how and where your piece will be used.
- Safety Precautions and Workspace Setup: Keep your workspace ventilated, especially with adhesives and paints. Stay organized, handle tools carefully, and don’t forget gloves and aprons. Your future self will thank you for protecting your skin and clothes.
Here’s the beautiful thing about DIY paper mache—it’s one of those crafts that welcomes everyone. You’ve just learned how everyday materials like newspaper and tissue paper can transform into something amazing when you add the right paste and a little patience. Whether you’re crafting your first wobbly bowl or attempting an ambitious sculpture, the fundamentals stay the same: choose your materials wisely, prep that paste properly, layer with care, and (this is crucial) let everything dry completely. Master these basics, and you’re set up for success every single time.
We’ve covered quite a range here, haven’t we? From those satisfying beginner projects like ornaments and bowls to more complex sculptural work that’ll really test your skills. But remember—technique is only half the story. The other half? Safety and smart workspace habits. Keep that ventilation flowing, handle your adhesives with respect, and resist the urge to rush those drying times. Trust me, your future self will thank you when your project doesn’t crack or warp because you were patient.
Ready to expand your creative horizons? Your paper mache skills are just the beginning. Check out our detailed guide on DIY paper crafts for even more ways to work magic with paper—you’ll find step-by-step instructions that’ll take your crafting game to the next level. And when all that creating leaves you ready for some serious relaxation? Our DIY bath salts guide has the perfect soothing recipes to help you unwind. Plus, if you’re feeling inspired to pamper yourself naturally, our comprehensive DIY face masks resource will show you how to create effective, gentle skincare treatments right in your own kitchen.
Look, paper mache isn’t just about making things—it’s about that satisfying moment when your hands are covered in paste and you’re completely absorbed in creating something uniquely yours. It’s stress relief. It’s problem-solving. It’s pure, messy joy. You’ve got all the knowledge you need now, so go ahead and experiment. Try bold new techniques. Make mistakes (they’re the best teachers). Most importantly, enjoy every layer, every drying period, and every “wow, I actually made that!” moment. Your simple paper and paste are waiting to become something extraordinary.
Frequently Asked Questions
-
What materials can I use for paper mache?
- Common materials include newspaper, tissue paper, flour paste, and white glue. These offer different textures and strengths suited to various projects.
-
How long does it take for paper mache to dry?
- Drying time typically ranges from 24 to 48 hours, depending on the thickness of the layers and ambient humidity. Patience is key to avoid warping or mold.
-
Can I paint paper mache projects?
- Yes, once your paper mache is fully dry, you can paint it with acrylic or tempera paints to add color and seal the surface for durability.
-
Is paper mache safe for kids?
- With proper supervision and the use of safe, non-toxic materials like flour paste, paper mache is a kid-friendly craft that encourages creativity and fine motor skills.