Table of Contents
Introduction
Picture this: You’re standing in your backyard, looking at that perfect spot where you could build something amazing. Maybe you need somewhere to store all those garden tools cluttering your garage. Or perhaps you’re dreaming of a quiet workshop where you can finally tackle those weekend projects. Building your own shed isn’t just about saving money (though you definitely will)—it’s about creating exactly what you need, exactly how you want it.
Here’s the thing about DIY shed construction: it’s one of those projects that pays you back in multiple ways. Sure, you’ll save a bundle compared to hiring contractors. But the real magic happens when you get to design every detail to fit your life perfectly. Need extra-wide doors for your riding mower? Done. Want windows positioned just right for natural light in your craft space? You got it. That level of customization? You can’t buy that off the shelf.
Now, let’s talk about what actually goes into building a shed that’ll last. Location matters more than you might think—you want good drainage, easy access, and maybe some morning sun if you’re planning to spend time in there. Size and materials are decisions you’ll want to nail down early. (Trust me, changing your mind halfway through is no fun.) And those local building codes? Yeah, they’re not just suggestions.
The actual building process might seem intimidating at first, but it breaks down into manageable chunks. Foundation work, framing, roofing—each step builds on the last. You’ll want to know your way around weatherproofing too, because nobody wants a soggy shed come spring. Inside, smart storage solutions can transform a simple structure into an incredibly organized space where everything has its place. Before you dive in, check out some DIY woodworking plans to sharpen your skills—they’ll come in handy for custom touches. And if you’re thinking about exterior finishes, understanding techniques like vinyl siding installation can really elevate your finished product.
What’s interesting is how shed building connects to bigger home improvement trends. Take energy efficiency, for example—choosing the right materials and design can keep your shed comfortable year-round without breaking the bank. If you’re budget-conscious (and who isn’t?), tools like home renovation cost calculators can help you plan smartly from the start. Going with eco-friendly materials and sustainable building practices doesn’t just feel good—it creates a structure that’ll serve you well for decades to come.
What You’ll Learn in This Guide
We’re going to walk through everything you need to know to build a shed that’s both rock-solid and perfectly suited to your needs. No fluff, no overwhelming jargon—just practical guidance that actually works.
- Planning Your Shed: How to pick the perfect spot, figure out the right size, and choose materials that’ll work with your climate and budget.
- Step-by-Step Construction Process: The complete breakdown from foundation to roof, with tips to keep everything square, level, and built to last.
- Finishing Touches and Customization: Paint techniques, weatherproofing strategies, and storage solutions that’ll make your shed both beautiful and incredibly functional.
- Maintenance and Prevention: Simple routines to keep your shed in great shape and catch small problems before they become big headaches.
As we dig deeper, you’ll get the inside scoop on foundation options that actually make sense for different soil types and climates. We’ll compare wood, metal, and composite materials honestly—because every choice has trade-offs you should know about. You might want to explore DIY pallet projects for some creative, budget-friendly building ideas. And if precision work intimidates you, checking out kitchen cabinet installation strategies can teach you techniques that transfer beautifully to shed construction.
By the time you finish reading this guide, you’ll have the confidence to tackle your shed project from start to finish. We’ve made sure everything is practical and doable, whether this is your first major DIY project or you’re just looking to refine your approach. Your backyard is waiting for that perfect addition—let’s make it happen!
So you’ve got the basic overview of DIY shed construction down—now let’s dig into the stuff that really matters. We’re talking about the decisions that’ll make or break your project before you even pick up a hammer. Location, materials, and knowing what you’re getting into step by step. Trust me, getting these fundamentals right isn’t just important—it’s everything. Miss these details, and you’ll be dealing with headaches (and expensive fixes) down the road. But nail them? You’ll have a shed that actually works for you and stands strong for years to come.
Planning Your Shed: Location and Material Selection
Here’s the thing about planning—it’s where most DIY shed projects either succeed brilliantly or fall apart completely. And honestly? It’s not as complicated as people make it out to be. You just need to think through three big questions: where exactly are you putting this thing, what are you building it with, and how will those choices work together over time?
Location isn’t just about finding an empty spot in your yard. You’ve got to think like the shed. Where will the sun hit it all day? (Your tools will thank you for natural light, but UV rays can be brutal on certain materials.) How’s the water going to behave when it rains? Because nothing kills a shed faster than poor drainage turning your foundation into a swamp. And can you actually get to it easily? Sounds obvious, but I’ve seen people build gorgeous sheds in spots they can barely reach with a wheelbarrow.
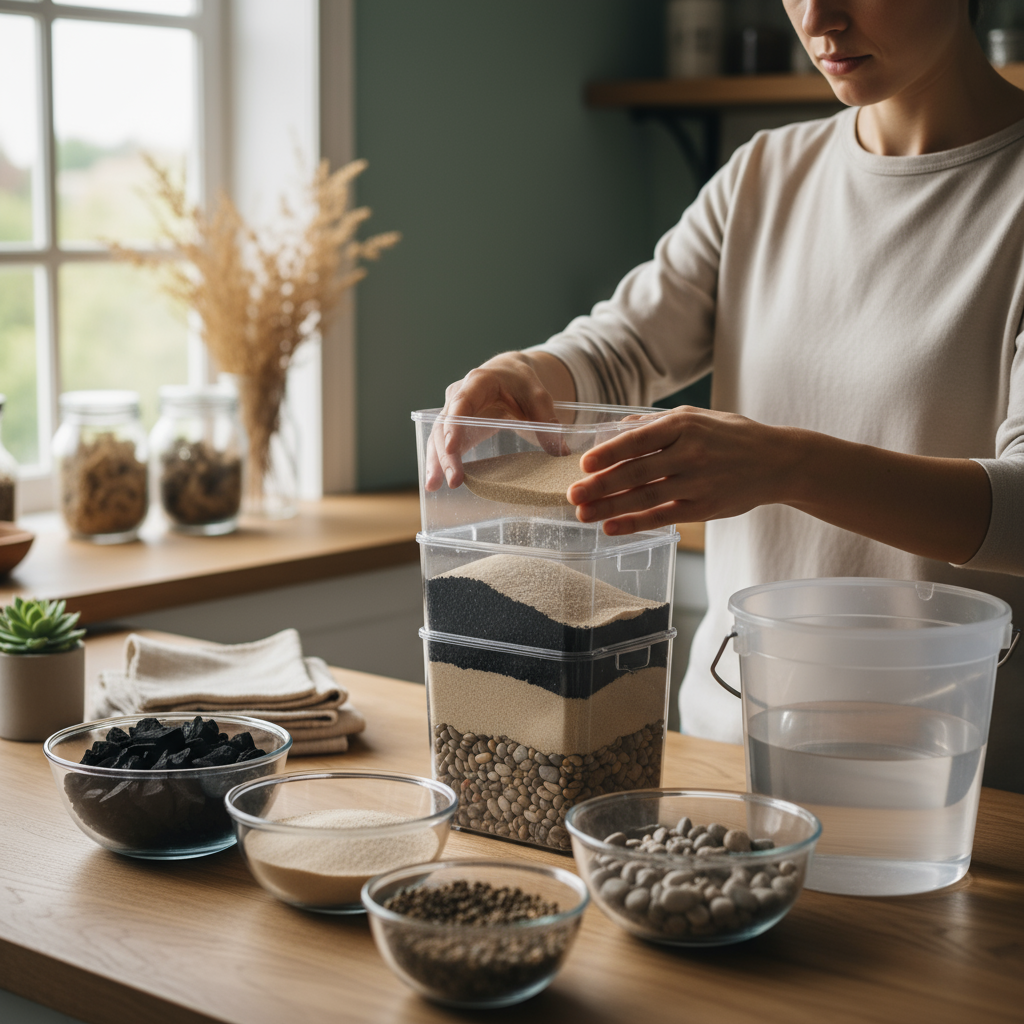
Then there’s the material game. Wood, metal, plastic—they all have their personalities. Wood looks great and insulates naturally, but it needs regular love in the form of staining and sealing. Metal? Tough as nails and low-maintenance, but it can turn into an oven in summer and might need rust protection depending on your climate. Plastic gets a bad rap, but the good stuff is practically bulletproof—just make sure it’s UV-resistant or the sun will turn it brittle in a few years.
The smart money is on taking your time here. Really think through how you’ll use this shed, what your climate throws at it, and what you’re comfortable maintaining. Because once you start building, changing your mind gets expensive fast. Plus, good planning often reveals stuff you hadn’t thought about—like permit requirements or utility lines you need to avoid.
Key Aspects of Shed Planning
Let’s break down the big decisions you need to make. These aren’t just boxes to check—they’re the foundation of everything that comes next:
- Location Evaluation: Scout your site like a detective. Watch how water moves during rain, see where shadows fall throughout the day, and make sure you can actually get materials to the spot. Good drainage isn’t optional—it’s survival.
- Material Durability and Maintenance: Be honest about what you’re willing to maintain. Love the look of wood but hate the idea of annual staining? Maybe metal or quality vinyl is your friend. Each material has a personality—pick one that matches yours.
- Accessibility and Convenience: Think beyond construction day. Will you curse yourself every time you need to haul something heavy to your shed? Can delivery trucks reach it? Sometimes the perfect spot isn’t so perfect when you factor in daily use.
- Budget and Aesthetic Preferences: Here’s where reality meets dreams. Cheaper materials might cost more in the long run if they need constant babysitting. Sometimes spending a bit more upfront saves you headaches and money later.
Planning isn’t a one-and-done thing. As you research and learn more about your options, you’ll probably circle back and adjust your thinking. That’s not indecision—that’s smart building.
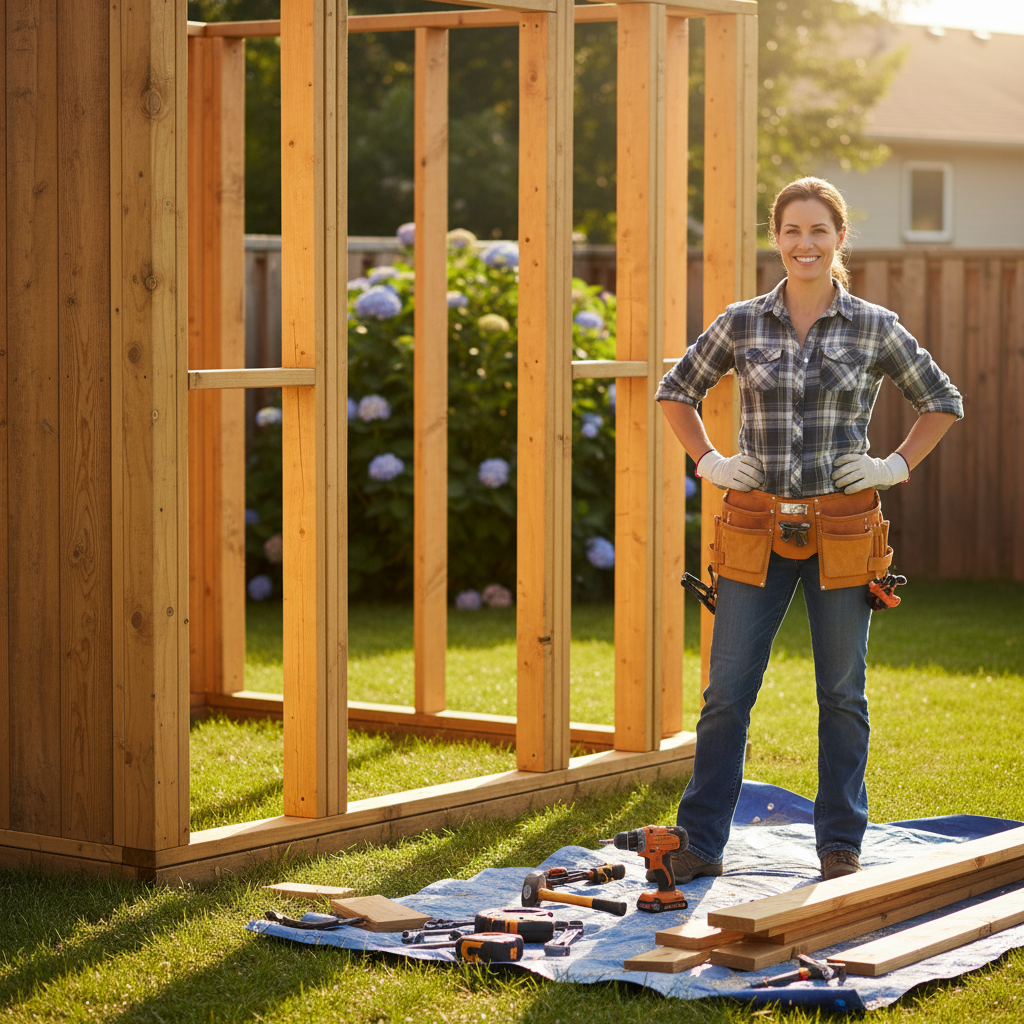
Once you’ve got your planning dialed in, it’s time for the fun part—actually building the thing. This is where your shed goes from idea to reality, and every step matters. Foundation work might not be glamorous, but it’s what keeps everything else from going sideways (literally). Then comes framing, which is basically building the skeleton that everything else hangs on. After that, you’re putting up walls, adding a roof, and watching your shed take shape. Each phase has its own rhythm and requirements, but don’t worry—we’ll walk through what you need to know to do this right.
Step-by-Step Construction Process: Foundation to Roof
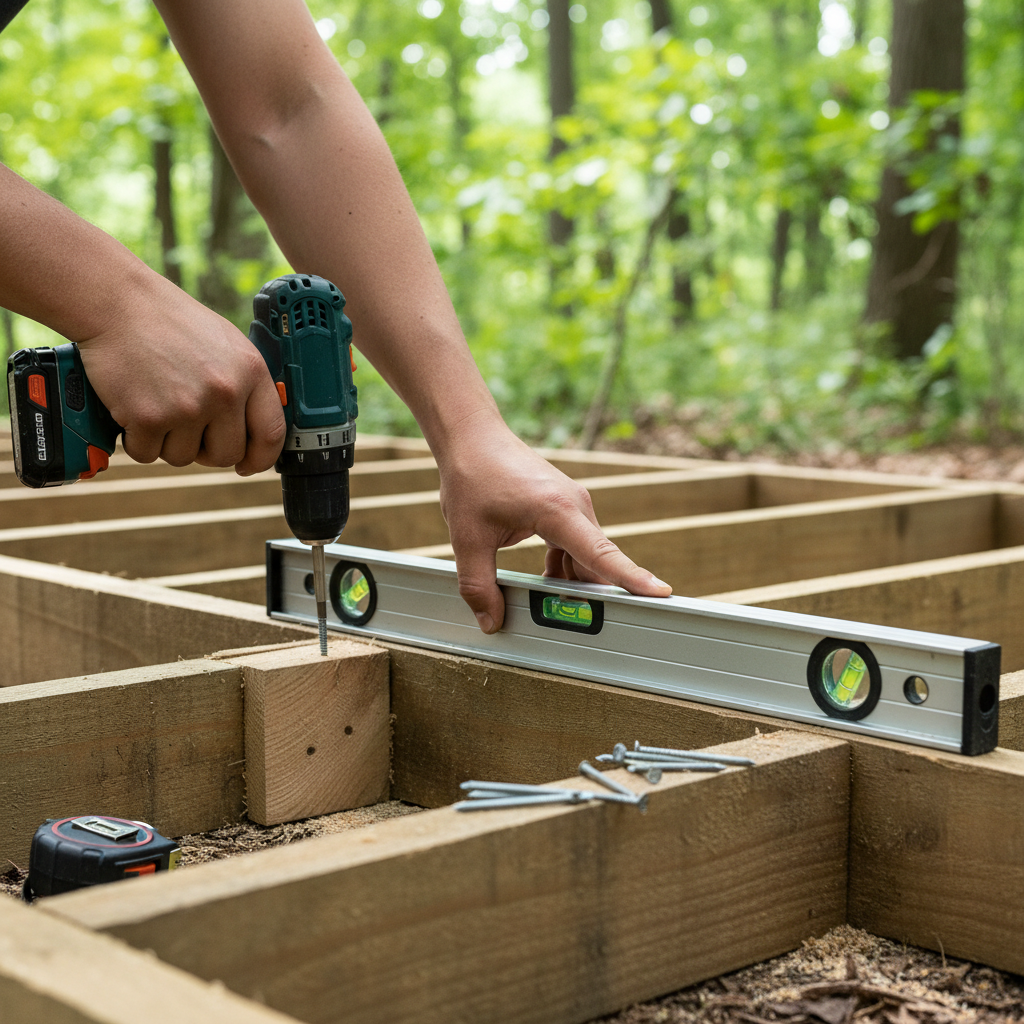
Let’s start with the foundation, because everything else literally depends on it. You’ve got options here—concrete slabs are rock-solid but overkill for smaller sheds, gravel beds work great for most situations and drain well, and pressure-treated wood frames give you flexibility and are DIY-friendly. The key is matching your foundation to your soil and your shed’s purpose. Building on soft, poorly-draining ground? You’ll want something more substantial than building on firm, well-draining soil.
Getting your foundation level and stable is non-negotiable. A wonky foundation will haunt you through every other step—doors that won’t close, gaps in walls, roof problems, you name it. Take your time here. Use a good level, double-check your measurements, and don’t rush it.
Next up is framing, which is like building the skeleton of your shed. This is where precision pays off big time. Square corners, plumb walls, and solid connections are what separate sheds that last from sheds that sag. Whether you’re using lumber or metal framing, the principles are the same: measure twice, cut once, and check everything with a square as you go.
Walls come next, and this is where your material choice from the planning phase really shows its stuff. Take your time with alignment and fastening—rushed wall work shows, and not in a good way. If you’re adding doors and windows, now’s when that extra planning pays off.
Finally, the roof ties everything together. Your material choice here depends on your climate, budget, and how much maintenance you want to deal with. Asphalt shingles are popular for good reason—they work well and most people can install them. Metal roofing lasts longer but costs more upfront. Whatever you choose, proper installation is everything. A leaky roof can destroy everything you’ve built underneath.
Key Aspects of the Construction Process
Here’s what you need to focus on during each major phase of construction:
- Foundation Setup: Match your foundation type to your ground conditions and shed size. Spend extra time on site prep and leveling—it’s way easier to fix problems now than after you’ve built on top of them. Good drainage isn’t just nice to have; it’s essential.
- Framing and Walls: Precision matters here more than speed. Use quality materials, keep everything square and plumb, and don’t skimp on fasteners. Your frame is what holds everything together, so build it like you mean it.
- Roof Installation: Choose materials that make sense for your climate and budget. Installation technique matters as much as material quality—even the best shingles won’t help if they’re installed wrong. Take your time and follow manufacturer guidelines.
- Safety and Code Compliance: Wear your safety gear, even when it feels like overkill. Check local building codes before you start—some areas have requirements you might not expect. Better to know upfront than get surprised by an inspector later.
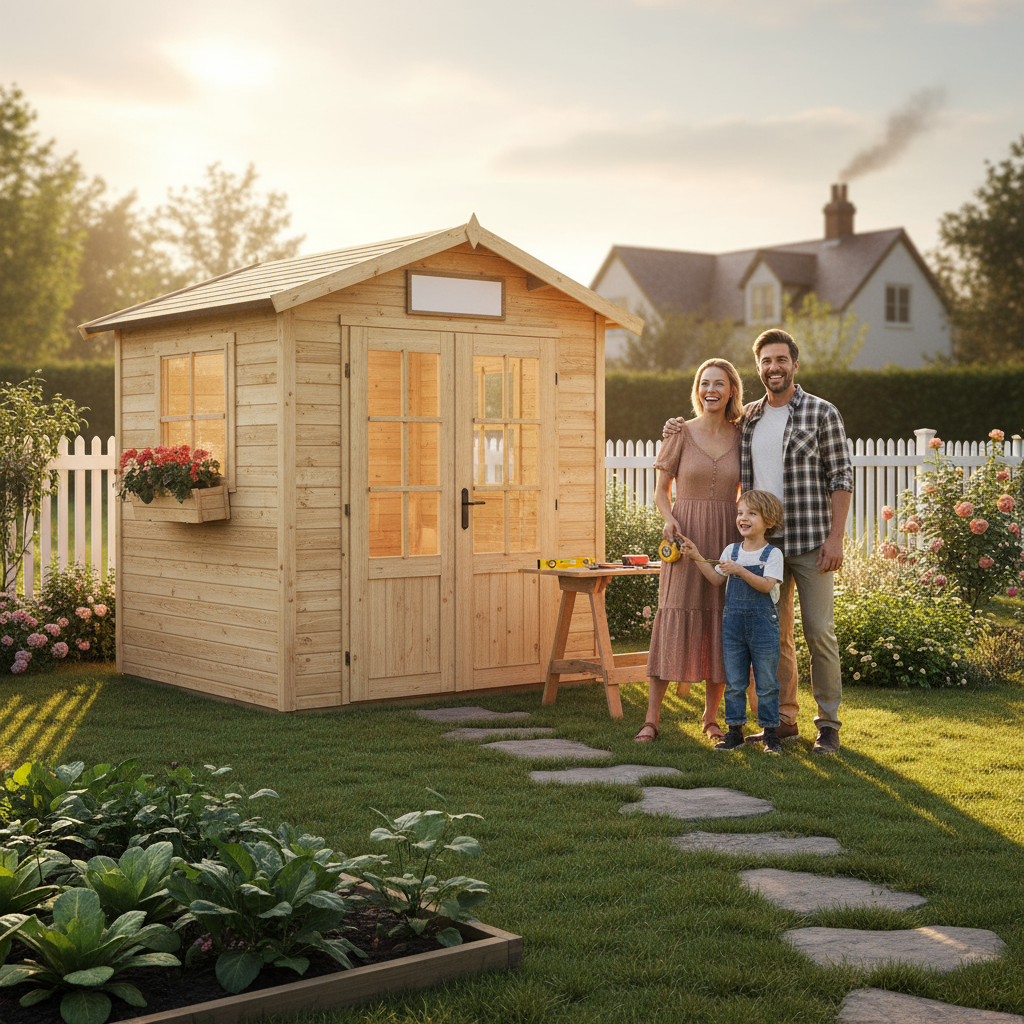
Building your own shed? It’s one of those projects that just feels right when you’re done. You’ve got this perfect blend of practical skills and creative freedom—and honestly, there’s nothing quite like stepping back and admiring something you built with your own hands. We’ve covered a lot of ground together in this guide, from the nitty-gritty details of site evaluation (drainage matters more than you think!) to choosing materials that won’t leave you cursing in five years. Location, sunlight, accessibility—these aren’t just checkboxes. They’re the difference between a shed you love and one that becomes a constant headache.
The actual building process? That’s where things get really interesting. Foundation work might not be glamorous, but it’s everything. Then comes framing, walls, roofing—each step demanding its own kind of precision. Take your time here. Really. The patience you invest now pays dividends later when your shed stands strong through whatever weather throws at it. And those finishing touches—the paint, storage solutions, weatherproofing—they transform your basic structure into something that’s genuinely yours.
Here’s something you can’t skip: maintenance. (I know, I know—nobody wants to think about this part when they’re excited about building.) But those routine check-ups and weatherproofing touch-ups? They’re what keep small issues from becoming expensive nightmares. And don’t be afraid to call in professionals when things get complex. Sometimes the smartest DIY move is knowing when you’re in over your head. Your safety and your investment are worth it.
Ready to take this even further? You’ve got options. Check out DIY woodworking plans to add custom features that make your shed uniquely yours. Want to get creative on a budget? DIY pallet projects can spark some brilliant ideas for outdoor additions that complement your new space perfectly. Planning to make your shed look as good as it functions? Our DIY house painting guide has the insider tips you need for prep work and application. And if you want to keep your project financially on track, this home renovation cost calculator is a game-changer for planning expenses. Thinking compact and efficient? Our guide on DIY tiny house projects shares techniques that work beautifully for shed construction too.
You’ve got everything you need now. The knowledge, the plan, the confidence—it’s all there. Every great project starts with that first cut, that first nail, that moment when you decide to stop planning and start building. Combine smart preparation with hands-on action, and you’re going to create something amazing. This isn’t just about adding storage space to your property. You’re building skills, solving problems, and creating something that’s completely yours. Trust the process, enjoy the journey, and get ready to watch your dream shed become reality in your own backyard.
Frequently Asked Questions
-
How long does it take to build a shed?
- Time varies based on the size and complexity, but typically a basic shed can be built over a weekend, with larger or more intricate projects taking several weeks.
-
What tools do I need for DIY shed construction?
- Basic carpentry tools such as a hammer, saw, drill, and level are essential. Additional tools may be needed depending on the materials and customization chosen.
-
Do I need a permit to build a shed?
- Permit requirements vary by location. Always check your local building codes before starting construction to ensure compliance and avoid fines.
-
Can I customize my shed?
- Absolutely. Sheds can be customized with paint, windows, shelving, and other features to suit your personal needs and preferences.