
Build a Roof? Pro Tips for Beginners
Roofing is one of the most critical components of any home, protecting your family and possessions from the elements for decades to come. Whether you’re planning a complete roof replacement, adding a new structure, or simply curious about the roofing process, understanding the fundamentals will help you make informed decisions and communicate effectively with contractors. For many DIY enthusiasts, roofing represents both an exciting challenge and a significant responsibility that demands respect for safety protocols and building codes.
This comprehensive guide walks you through the essential knowledge you need before tackling a roofing project. From material selection to installation techniques, we’ll cover the professional practices that separate quality roofs from problematic ones. While roofing can be physically demanding and requires working at heights, many beginners successfully complete smaller projects like roof repairs or shed construction with proper preparation and the right mindset. Understanding timelines, safety considerations, and when to call professionals will set you up for success.
Understanding Roof Types and Materials
The first step in any roofing project involves selecting appropriate materials that match your climate, budget, and aesthetic preferences. Asphalt shingles remain the most popular choice for residential roofing due to their affordability, ease of installation, and 15-25 year lifespan. Three-tab and architectural shingles offer different durability levels, with architectural varieties providing enhanced wind resistance and a more dimensional appearance.
Metal roofing has gained popularity among DIY builders for its longevity (40-70 years), energy efficiency, and modern aesthetic appeal. Standing seam metal roofs require precise installation techniques and specialized tools, making them more challenging for beginners compared to traditional shingles. Wood shakes and shingles offer natural beauty but demand regular maintenance and present fire hazard concerns in certain regions. Slate and tile roofing represent premium options with exceptional durability but require substantial structural support and professional installation expertise.
Before selecting materials, consult your local International Code Council building codes and verify that your chosen materials comply with regional wind speed ratings and fire classifications. Your roof pitch, climate zone, and existing structural capacity all influence which materials are viable for your specific location.

Essential Tools and Safety Equipment
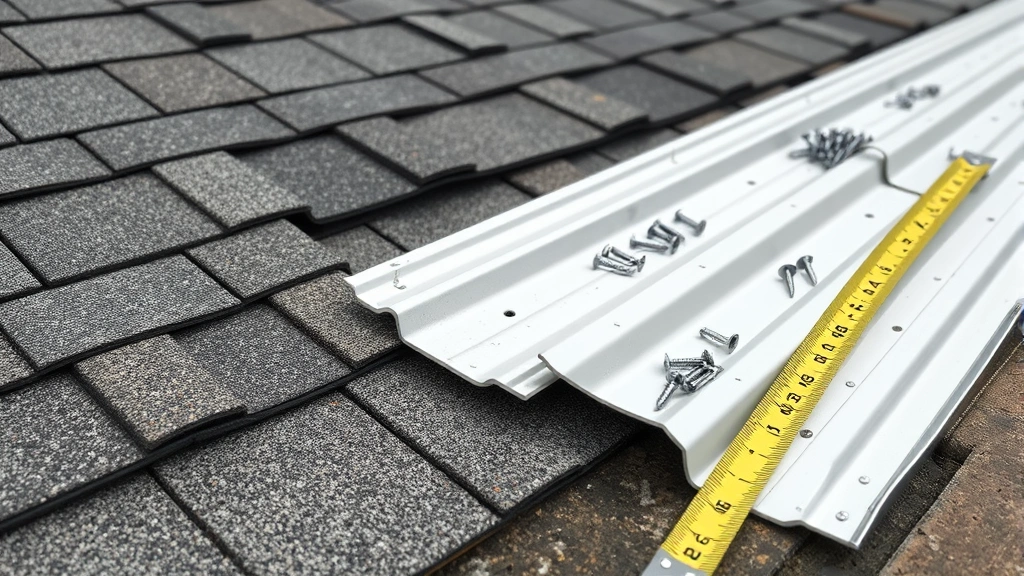
Proper tool selection separates amateur attempts from professional-quality work. Safety equipment comes first—never compromise on this investment. A quality harness system, roof brackets, and fall protection equipment are non-negotiable when working at heights. Steep-pitched roofs demand additional precautions including rope systems and spotters.
Core roofing tools include:
- Roofing hammer with magnetic nail holder for efficient fastening
- Pry bar for removing old shingles and nails during tear-offs
- Chalk line for maintaining straight rows and proper alignment
- Utility knife with fresh blades for cutting shingles cleanly
- Tape measure (25-foot minimum) for accurate material calculations
- Circular saw or power shears for cutting metal roofing efficiently
- Ladder stabilizer to prevent slipping and ensure secure positioning
- Nail gun (pneumatic or electric) for faster installation on larger projects
- Roofing shovel with rounded blade for removing old roofing materials
- Ventilation equipment including respirator masks when handling old asbestos materials
Rent specialized equipment like roof jacks and scaffolding rather than purchasing items you’ll use once. Quality equipment rental from local contractors’ supply stores typically costs far less than buying and provides access to professional-grade tools.
Site Preparation and Planning
Successful roofing begins long before you climb the ladder. Thorough site preparation prevents accidents, protects landscaping, and ensures efficient workflow. Start by establishing a clear project timeline and checking weather forecasts—roofing should never proceed during rain, high winds, or extreme temperatures.
Protect your property by:
- Installing tarps and plywood on ground areas where debris will fall
- Removing outdoor furniture, grills, and decorative items from the roof perimeter
- Trimming tree branches that overhang the roof to prevent damage and improve access
- Scheduling the project during seasons with favorable weather in your region
- Notifying neighbors in advance about the noise and activity duration
- Arranging for a dumpster or debris removal service for old roofing materials
Calculate material quantities precisely by measuring roof dimensions and accounting for waste. Most professionals add 10-15% extra to material orders for mistakes, cuts, and overlaps. Organizing materials on tarps near the work area reduces fatigue from constant trips to supply locations.
Structural Considerations
Before installing a new roof, verify that your home’s framing can support the material weight. Asphalt shingles weigh approximately 2.5-3 pounds per square foot, while metal roofing weighs 0.5-1.5 pounds per square foot. Tile and slate roofing can exceed 10-15 pounds per square foot, requiring reinforced framing. If your home is older or has experienced structural issues, consult a structural engineer before proceeding.
Inspect roof decking (the layer beneath shingles) for rot, water damage, or inadequate fastening. Soft or spongy spots indicate moisture damage that must be replaced before new roofing installation. Check for proper ventilation—most building codes require continuous soffit ventilation and ridge venting to prevent moisture accumulation and premature deterioration. If you’re unfamiliar with ventilation requirements, reference your local National Frame Builders Association standards.
Flashing around chimneys, skylights, and wall penetrations represents a critical detail that prevents water intrusion. Even small gaps or improper overlaps cause expensive interior water damage. Many roofing failures originate from inadequate flashing rather than shingle defects.
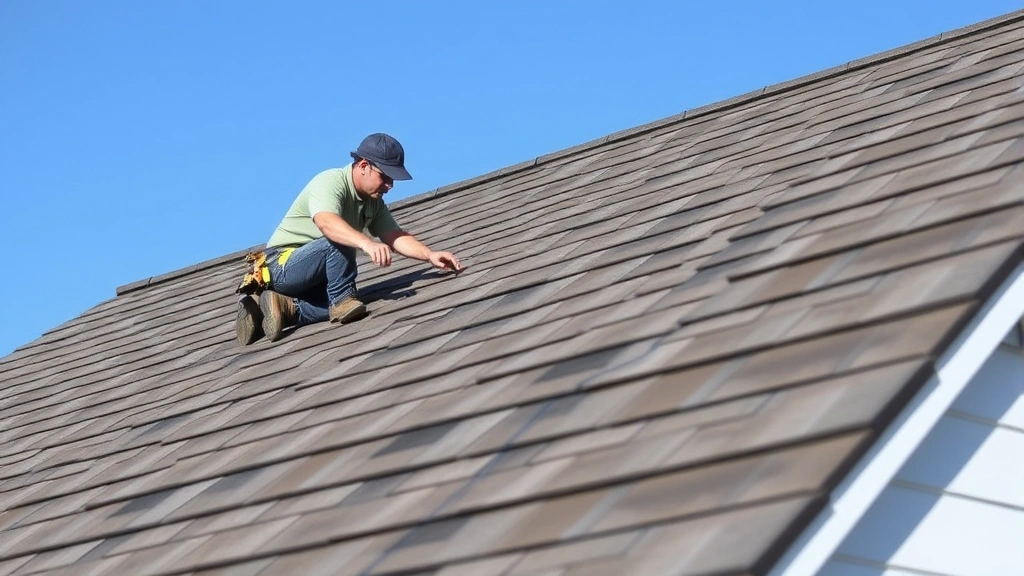
Installation Techniques for Beginners
The installation process varies significantly based on material choice. For asphalt shingle installation, begin at the roof’s lower edge and work upward, creating horizontal rows. Snap chalk lines to maintain alignment—crooked rows are immediately visible and indicate poor craftsmanship. Most shingles require 4-6 fasteners per shingle, placed in manufacturer-specified locations to ensure proper wind resistance.
Starter shingles—specialized strips installed along the eave—provide a clean appearance and proper water drainage. Never skip this step or substitute standard shingles for starters. Overlap each shingle row by 5-6 inches, allowing water to cascade downward rather than seeping behind shingles. In high-wind areas (above 90 mph), apply roofing cement under shingle tabs for enhanced wind resistance.
When working with metal roofing, precise alignment is essential because misaligned panels create visible gaps and water infiltration points. Use manufacturer-provided fasteners—mixing fastener types or brands compromises performance. Pre-drill holes when required and avoid over-tightening fasteners, which causes metal buckling and water pooling.
For any material type, maintain consistent fastener spacing and placement. Fasteners that are too shallow won’t hold during high winds, while over-driven fasteners tear through shingles or metal panels, creating leak pathways. Many professionals use nail guns with adjustable depth settings to achieve consistency across large areas. If you’re planning a complete home renovation, understanding roofing fundamentals integrates well with other structural improvements.
Common Mistakes to Avoid
Inadequate fastening represents the most common beginner error, resulting in premature shingle blow-off during storms. Verify fastener quantities match manufacturer specifications exactly. Using too few fasteners is a false economy that creates warranty issues and safety hazards.
Poor ventilation installation leads to moisture accumulation, premature deterioration, and mold growth in attic spaces. Don’t block soffit vents with insulation or debris. Ensure ridge venting runs continuously along the roof peak without gaps or obstructions.
Cutting corners on flashing creates expensive water damage that may not appear until significant moisture has accumulated. Take extra time installing flashing properly—it’s worth the effort. Improper slope installation on flat or low-pitch roofs causes water pooling rather than drainage, accelerating material breakdown.
Mixing old and new materials during repairs often fails because different materials have different expansion rates and compatibility. When patching roofing, try to match existing materials exactly. If that’s impossible, consult manufacturer guidelines or professional roofers about compatible alternatives.
Many beginners underestimate project timelines, leading to rushed work and safety compromises. A typical residential roof replacement takes 2-5 days with experienced crews, or 1-2 weeks for careful beginners. Weather delays, unexpected structural issues, and learning curves extend timelines further. Similar to other DIY projects requiring multiple steps, rushing roofing work creates problems that cost far more to fix than time invested in doing it right initially.
Timeline and Realistic Expectations
Roofing project duration depends on roof size, material choice, weather conditions, and your experience level. Small repairs or single-section additions might take 1-3 days for beginners. A 2,000-square-foot residential roof typically requires 3-7 days for someone new to roofing, compared to 1-2 days for experienced crews.
Weather significantly impacts timelines. Rain forces project suspension until surfaces dry completely—attempting to work on wet roofing is dangerous and produces poor results. Wind can prevent material installation on high-pitched roofs due to safety concerns. Plan projects during seasons with favorable weather patterns in your region.
Material preparation adds time that beginners often overlook. If removing old roofing, add 1-2 days for tear-off and debris removal. Repairing structural damage discovered during removal extends timelines unpredictably. Budget extra time for learning proper techniques—your first section will take significantly longer than subsequent areas as muscle memory develops.
Consider whether your project is genuinely DIY-appropriate. Complex roof geometries, steep pitches, metal roofing installation, or tile work typically demand professional expertise. Simpler projects like asphalt shingle replacement on moderate-pitch residential roofs are more accessible for motivated beginners. If you’re uncertain about your abilities, start with simpler DIY projects to build confidence and skills before tackling roofing.
Before starting, consult your local building department about permit requirements. Most jurisdictions require roofing permits and inspections to ensure compliance with National Roofing Contractors Association standards. Permits ensure work meets safety codes and protects your home’s insurability. Unpermitted work may void insurance coverage if damage occurs.
FAQ
What’s the best roofing material for beginners?
Asphalt shingles are the most beginner-friendly option due to their straightforward installation, affordability, and widespread availability. They require basic tools and techniques compared to metal roofing or specialty materials. Many DIY resources and tutorials focus on asphalt shingle installation, making it easier to find guidance when you encounter challenges.
Can I roof over existing shingles?
Building codes typically allow one layer of roofing over existing shingles, but this isn’t recommended. New roofing over old material hides structural problems, reduces installation accuracy, and adds unnecessary weight. Professional roofers almost always recommend complete tear-off for quality results. Additionally, most warranties require removal of existing roofing.
How do I know if my roof needs replacement?
Signs indicating replacement needs include missing shingles, visible granule loss, curling or buckling shingles, interior water stains, and sagging roof sections. Most asphalt roofs last 15-25 years depending on climate and maintenance. If your roof approaches this age range, start planning replacement even if damage isn’t obvious yet.
What safety precautions are absolutely essential?
Fall protection is non-negotiable—use proper harnesses, roof brackets, and anchor points. Wear slip-resistant footwear and avoid working during rain, high winds, or extreme temperatures. Never work alone on roofing projects. Use properly positioned ladders and take regular breaks to prevent fatigue-related accidents. When in doubt about safety, consult professionals or your local OSHA office for guidance.
Should I hire professionals or DIY my roof?
This depends on project complexity, roof pitch, your physical condition, and available time. Small repairs, simple roof additions, and asphalt shingle replacement on moderate-pitch roofs are often DIY-appropriate. Complex geometries, steep pitches, metal roofing, or structural issues warrant professional installation. Consider also that professional warranties often exceed DIY reliability, and mistakes can be costly. Explore your DIY options thoroughly while recognizing professional expertise’s value for complex projects.
What’s the cost difference between DIY and professional roofing?
DIY roofing saves 50-70% compared to professional installation by eliminating labor costs. However, material costs remain similar. Factor in tool rental, potential mistakes requiring correction, and your time value when calculating true savings. Sometimes professional installation’s reliability and warranty protection justify the expense, especially for larger projects or complex designs.