Reverse Sear Steak: Chef-Approved Timing Guide
The reverse sear method has revolutionized how home cooks and professional chefs approach cooking premium steaks. Rather than searing meat first at high temperature, this technique flips the traditional approach: you slowly cook the steak at low temperature until it reaches your target internal temperature, then finish with a rapid, intense sear. This method delivers remarkably consistent results with a perfect edge-to-edge pink center and a restaurant-quality crust that rivals any steakhouse.
Understanding the precise timing for reverse searing is crucial for success. Whether you’re working with a thick-cut ribeye, New York strip, or filet mignon, the duration depends on several factors including steak thickness, oven temperature, starting temperature, and your desired doneness level. This comprehensive guide walks you through every step of the process, providing exact timing benchmarks that professional chefs use daily.
What Is the Reverse Sear Method
The reverse sear method inverts conventional steak cooking wisdom. Traditional techniques involve searing meat in a screaming-hot pan to develop a crust, then moving it to the oven to finish cooking through. The reverse sear does exactly the opposite: the low-and-slow cooking phase comes first, followed by the high-heat sear.
This approach offers several advantages over conventional methods. The low-temperature cooking phase allows heat to penetrate the steak gradually and evenly, eliminating the common problem of overcooked edges with an undercooked center. The Maillard reaction—the chemical process that creates that delicious brown crust—happens more efficiently when the steak’s surface moisture has been removed and the meat reaches the optimal temperature window. Additionally, this method provides a wider window of forgiveness; you can pull the steak from the oven at the exact internal temperature you want without worrying about carryover cooking ruining your perfect medium-rare.
Professional kitchens have adopted reverse searing for high-volume service because it allows them to cook steaks to precise temperatures ahead of time, then finish them to order in just seconds. For home cooks, this technique means less stress and more consistent results, even if you’re cooking for a dinner party where guests have different doneness preferences.
Equipment and Temperature Requirements
Successful reverse searing requires specific equipment and careful temperature management. You’ll need an accurate oven thermometer—not just the dial on your oven, as most home ovens have calibration errors of 10-25 degrees Fahrenheit. An instant-read meat thermometer is absolutely essential for monitoring internal steak temperature during the slow-cooking phase. Digital thermometers are more reliable than analog versions for this application.
A heavy-bottomed stainless steel or cast iron skillet is your searing vessel. Cast iron retains heat exceptionally well and develops an excellent crust, while stainless steel offers easier cleanup and more precise temperature control. Avoid non-stick pans, which cannot withstand the high temperatures required for proper searing and won’t develop the same crust quality.
For the slow-cooking phase, a standard home oven set to 200-275°F works perfectly. Some chefs prefer 225°F as a sweet spot that balances cooking speed with even heat distribution. The exact temperature affects timing significantly—a steak at 200°F will take longer than the same steak at 275°F. Your choice depends on how much time you have available.
You’ll also want a wire cooling rack placed over a baking sheet. The rack elevates the steak, allowing heat to circulate completely around it for even cooking. This setup is far superior to cooking directly on a baking sheet, where the bottom may cook slightly faster than the top.
Detailed Timing Guide by Steak Thickness
Steak thickness is the primary determinant of reverse sear timing. Thicker steaks take longer to reach target temperature during the slow-cooking phase but benefit most from this method. Thin steaks (under 1 inch) are generally not ideal candidates for reverse searing because they cook too quickly and don’t provide much advantage over traditional methods.
1.25-inch steaks at 225°F: These require approximately 25-35 minutes to reach 110°F internal temperature. This is the most common home-cook thickness and represents the minimum viable size for reverse searing. At 250°F, reduce time to 20-30 minutes.
1.5-inch steaks at 225°F: Plan for 35-45 minutes to reach 110°F. This is an excellent thickness for reverse searing, providing enough mass that the slow-cooking phase makes a meaningful difference. At 250°F, expect 28-38 minutes.
2-inch steaks at 225°F: The ideal steakhouse thickness, these premium cuts require 50-60 minutes at 225°F to reach 110°F internal temperature. At 250°F, reduce to 40-50 minutes. This thickness really showcases the reverse sear method’s ability to deliver even doneness throughout.
2.5-inch steaks at 225°F: These luxurious cuts need 70-85 minutes at 225°F. At 250°F, expect 55-70 minutes. Only attempt this thickness if you have adequate time; rushing the process defeats the purpose.
Remember that these times are estimates based on starting the steak at room temperature. If your steak comes directly from the refrigerator, add 5-10 minutes to these timings. Conversely, if you’ve brought it to room temperature over 30-45 minutes before cooking, subtract 5 minutes.
Step-by-Step Reverse Sear Process
Following this systematic approach ensures optimal results every time you reverse sear. Begin by removing your steak from the refrigerator 30-45 minutes before cooking. This step is genuinely important—it allows the meat’s temperature to equalize somewhat and improves heat distribution during cooking. While the steak reaches room temperature, prepare your equipment and preheat your oven.
Pat the steak completely dry with paper towels. This step cannot be overstated. Any surface moisture will interfere with the development of a proper crust during the final searing phase. Season generously with kosher salt and freshly ground black pepper on both sides. Some chefs prefer seasoning only just before searing, but applying salt 40+ minutes beforehand allows it to penetrate the meat rather than simply sitting on the surface.
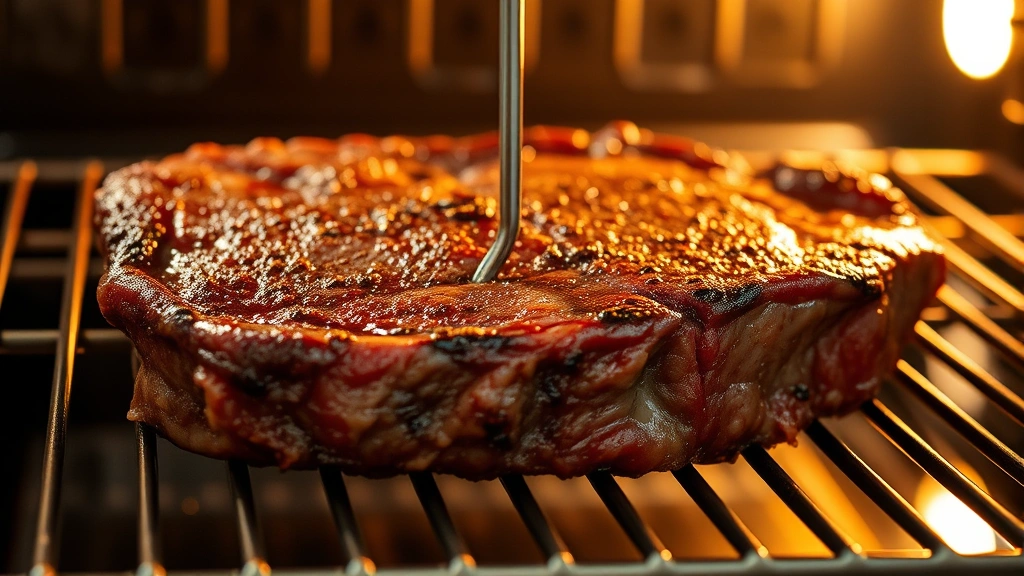
Place your wire cooling rack on a baking sheet and position your steak on the rack. Insert your meat thermometer into the thickest part of the steak, positioning the probe so it measures the very center without touching bone. Slide the baking sheet into your preheated oven set to 225°F.
Now begins the waiting phase. Check the steak’s internal temperature every 10 minutes, especially as it approaches your target temperature. The steak will cook slowly and steadily. Once it reaches 110°F for rare, 115°F for medium-rare, 120°F for medium, or 125°F for medium-well, remove it from the oven immediately. These temperatures are 5-10 degrees below your final target because carryover cooking will continue raising the temperature slightly, and the searing phase will add additional heat.
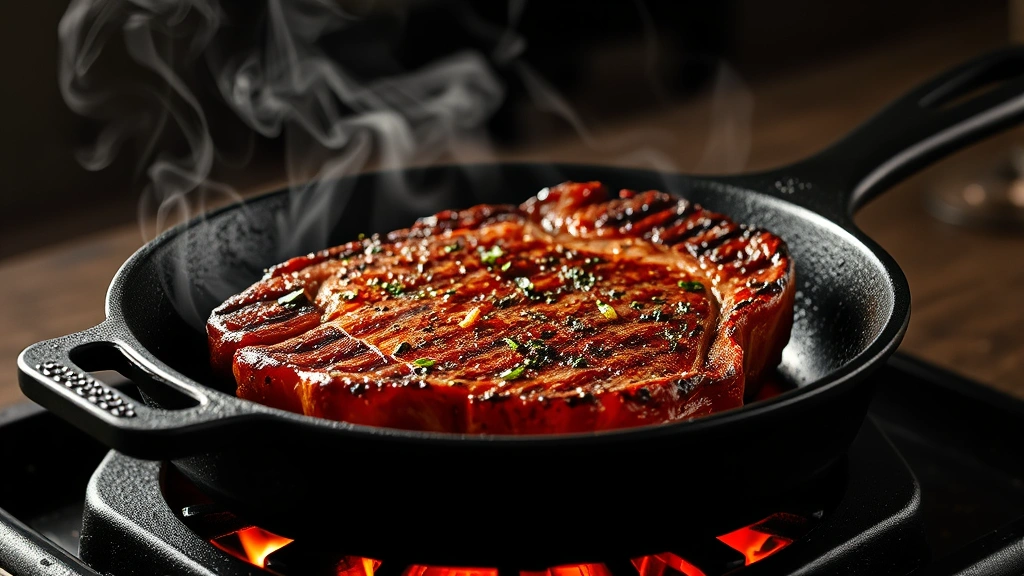
Let the steak rest at room temperature for 5 minutes while you heat your skillet. Place your cast iron or stainless steel pan over high heat until it’s screaming hot. You should see wisps of smoke coming from the surface. Add a high-smoke-point oil—avocado oil, vegetable oil, or clarified butter work well. Ghee is an excellent choice because it won’t burn at extreme temperatures.
Place the steak in the pan and sear for 60-90 seconds per side without moving it. Resist the urge to flip or press down on the steak. The longer you leave it undisturbed, the better the crust develops. Flip once and sear the other side for the same duration. If your steak has a fat cap, hold it with tongs and sear the edge against the pan’s side for 20-30 seconds.
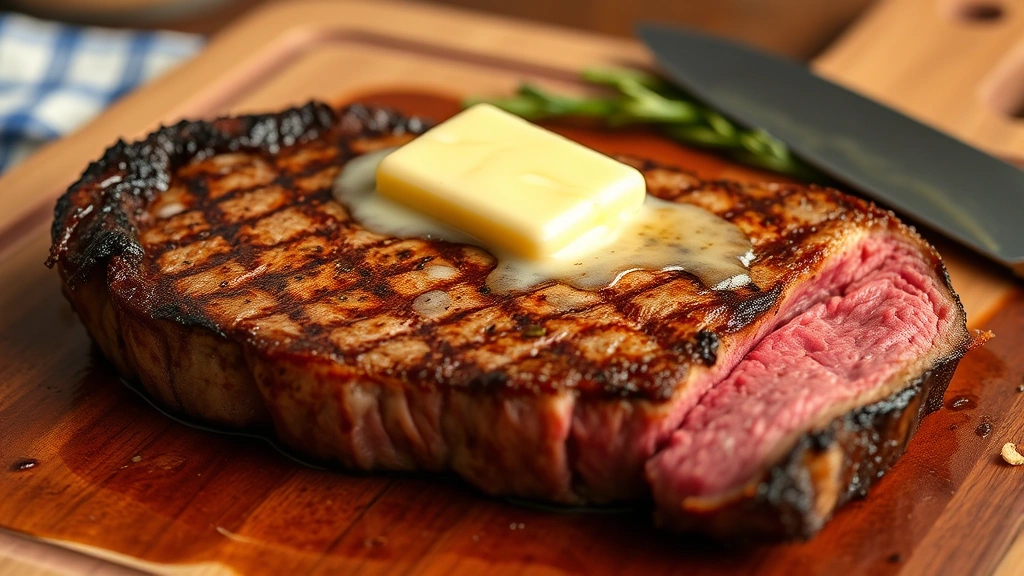
Transfer the finished steak to a clean plate and rest it for 5-10 minutes before cutting. This resting period allows the muscle fibers to relax and reabsorb the juices, resulting in a juicier, more tender bite. Cutting immediately after cooking causes the juices to run out onto the plate.
Internal Temperature Targets and Doneness
Understanding the relationship between internal temperature and perceived doneness is fundamental to reverse searing success. The USDA defines safe internal temperatures, but steakhouse doneness preferences are actually slightly lower than official guidelines recommend. Professional chefs know that customers expect medium-rare at 130-135°F, even though USDA guidelines suggest 145°F for beef.
For rare steaks, target 110°F before searing, which will reach approximately 120-125°F after the final crust develops. Rare steak should be cool red center with warm exterior.
Medium-rare, the most popular choice, involves targeting 115°F before searing. After the sear, it will reach 130-135°F. This doneness level provides a warm red center with a thin pink band surrounding it.
Medium steaks should be pulled from the oven at 120°F internal temperature, reaching 140-145°F after searing. The center will be warm pink throughout.
Medium-well requires an oven pull-temperature of 130°F, finishing at 150°F. There will be just a hint of pink in the very center.
Well-done steaks should reach 160°F+ final temperature, though this doneness level is generally not recommended for premium steaks, as the higher temperature can compromise tenderness and juiciness. If someone requests well-done, consider suggesting a different cooking method that won’t waste an expensive cut.
Always use an instant-read thermometer to verify temperatures rather than relying on the touch method or visual cues. Professional chefs use thermometers every single time, and home cooks should too.
Common Mistakes to Avoid
Understanding what goes wrong helps you achieve consistent success. The most common error is skipping the room-temperature resting phase. Cooking a steak directly from the refrigerator means the outer portions reach target temperature long before the center, often resulting in overcooked edges despite a perfect center temperature reading.
Another frequent mistake is using an inaccurate oven thermometer. If your oven is actually running 25°F hotter than the dial indicates, your steaks will cook much faster than expected and may finish overcooked. Invest in a reliable oven thermometer and verify your oven’s accuracy.
Inadequate pan heat during the searing phase is equally problematic. If your skillet isn’t hot enough, the steak will steam rather than sear, producing a gray crust instead of a golden-brown one. The pan should be almost uncomfortably hot to work with—if you can comfortably hold your hand near it, it’s not hot enough.
Flipping the steak repeatedly during searing prevents proper crust development. The Maillard reaction requires sustained contact between meat and hot surface. Flip once and resist the urge to check if it’s browning properly.
Many home cooks also fail to account for carryover cooking. Pulling the steak at the exact final temperature you want means it will overshoot by 5-10°F during resting. This is why pulling at 115°F for medium-rare (which finishes at 130-135°F) is correct.
Finally, avoid cutting into the steak immediately after cooking to check doneness. This releases all the flavorful juices and makes the meat drier. Trust your thermometer.
Resting Your Steak After Cooking
The resting period after cooking is just as important as any other phase of the reverse sear process. When muscle fibers heat up, they contract and squeeze out moisture. Resting allows these fibers to relax and reabsorb that moisture, resulting in a noticeably juicier, more tender steak. This is why understanding proper resting periods matters across all meat cookery.
After you finish searing, transfer the steak to a clean cutting board or plate. Tent it loosely with aluminum foil if you’re concerned about temperature loss, though this isn’t strictly necessary for the 5-10 minute resting period. The steak will retain enough heat to stay warm.
During this resting phase, avoid the temptation to cut into the meat to check doneness. The thermometer reading is your guide. Cutting releases the flavorful juices that you worked hard to preserve throughout the cooking process.
Some chefs place a pat of compound butter on top of the resting steak. As the butter melts over the warm meat, it adds richness and flavor. A simple combination of softened butter mixed with minced garlic, fresh herbs, and sea salt creates an elegant finishing touch.
After 5-10 minutes of resting, the steak is ready to serve. It will have cooled slightly from its peak temperature but will still be hot and perfectly tender. The internal temperature will have stabilized, and the meat will be at its absolute best.
FAQ
Can I reverse sear a frozen steak?
Technically yes, but it’s not recommended. A frozen steak will require significantly longer in the low-temperature oven—potentially adding 20-30 minutes to the cooking time. The results are usually less consistent than starting with thawed meat. Plan ahead and thaw steaks in the refrigerator overnight whenever possible.
What’s the difference between reverse searing and sous vide?
Reverse searing uses a conventional oven at low temperature, while sous vide involves vacuum-sealing the steak and cooking it in a precisely temperature-controlled water bath. Both methods deliver even doneness, but sous vide requires specialized equipment and provides less control over the final crust. Reverse searing is more practical for home cooks without sous vide equipment.
Can I reverse sear other cuts of meat?
Absolutely. The method works excellently with thick-cut chops, roasts, and other premium cuts. The same timing principles apply—adjust for thickness and target temperatures. Many cooks successfully reverse sear chicken thighs and other poultry, though the target temperatures differ.
Should I oil the steak before cooking?
No. During the low-temperature oven phase, oil isn’t necessary and will simply drip off. Add oil only to the searing pan. This approach gives you better control over the final sear’s quality.
What if I don’t have a meat thermometer?
Invest in one. Seriously. An instant-read meat thermometer costs $15-30 and is the single most important tool for consistent results. The touch method and visual cues are unreliable, and guessing is how steaks get overcooked. This is a non-negotiable tool for proper reverse searing.
Can I reverse sear a thin steak?
Thin steaks (under 1 inch) cook too quickly during the oven phase to benefit meaningfully from reverse searing. For thin cuts, traditional searing methods work better. Reserve reverse searing for steaks 1.25 inches or thicker.
What oil should I use for searing?
Use oils with high smoke points: avocado oil (520°F), vegetable oil (450°F), or clarified butter/ghee (450°F). Olive oil and butter have lower smoke points and will burn at the extreme temperatures required for proper searing. Food & Wine Magazine provides excellent guidance on cooking oils for high-heat applications.
How does steak thickness affect total cooking time?
Thickness is the primary factor determining reverse sear duration. A 1.5-inch steak takes roughly 40 minutes total, while a 2-inch steak needs about 55-60 minutes. This is why accurate measurement and thermometer use are essential—you can’t estimate thickness reliably by eye.


