
Can You DIY a Deck? Expert Tips & Timeline
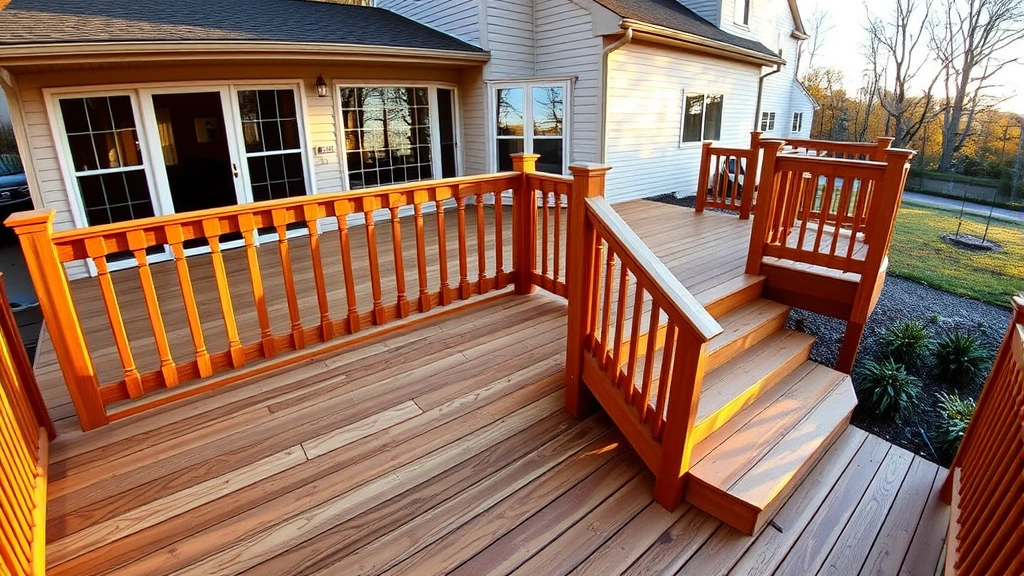
Building a deck is one of the most rewarding DIY projects homeowners can tackle. A well-constructed deck adds significant value to your property, creates an outdoor living space for entertaining, and provides a sense of accomplishment that comes with completing a major home improvement project yourself. However, deck building requires careful planning, proper understanding of building codes and permits, and honest self-assessment of your skills and available time.
The question isn’t simply whether you can DIY a deck—many homeowners successfully do—but rather whether you’re prepared for the commitment. This comprehensive guide walks you through the realistic timeline, essential skills, safety considerations, and step-by-step process to help you decide if deck building is right for you.
Realistic Timeline for DIY Deck Building
The most common question homeowners ask is: how long will it take? The honest answer depends on several variables, but understanding typical timelines helps set realistic expectations.
For a small to medium deck (12×16 feet or smaller), expect 4-6 weeks of active work spread across 8-12 weeks of calendar time. This assumes you’re working weekends and occasional weekday evenings. A larger deck (16×20 feet or bigger) typically requires 8-12 weeks of actual labor, potentially extending to 16-20 weeks in real time.
Breaking this down by phase:
- Planning and permits: 2-4 weeks (includes design, drawings, permit application, and approval)
- Site preparation: 2-4 days (clearing, leveling, marking post locations)
- Foundation and posts: 3-5 days (digging holes, setting posts, allowing concrete to cure—24-48 hours minimum)
- Framing: 5-7 days (installing ledger board, beams, joists, and blocking)
- Decking: 4-6 days (installing deck boards, typically the most time-consuming visible work)
- Stairs and railings: 3-5 days (varies greatly depending on complexity)
- Finishing: 2-4 days (staining, sealing, final details)
If you’re comparing your DIY timeline to professional construction, understand that contractors with crews can complete similar projects in 2-3 weeks. Your timeline will be longer, but your cost savings can be substantial—typically 40-60% less than hiring professionals.
Skill Requirements and Experience
Before committing to a deck project, honestly evaluate your current skill level. You don’t need to be an expert carpenter, but certain competencies are essential.
Essential skills include:
- Basic measurement and math (calculating angles, distances, material quantities)
- Using fundamental power tools safely (circular saw, drill, miter saw)
- Reading and interpreting building plans or creating simple sketches
- Understanding basic structural concepts (load distribution, span limits)
- Ability to work at heights safely
- Physical capability to lift and position heavy materials (pressure-treated lumber can weigh 40-50 pounds per 8-foot board)
If you’ve completed projects like basement finishing or woodworking projects, you likely have foundational skills that transfer well to deck building. However, deck construction has unique requirements—particularly regarding post footings, frost lines, and load calculations—that differ from interior projects.
Consider taking a workshop or watching comprehensive video tutorials from reputable sources before starting. Many local community colleges offer evening classes on deck building that accelerate your learning curve dramatically.
The Planning Phase: Foundation of Success
The planning phase determines whether your deck will be a safe, long-lasting structure or a liability. This phase cannot be rushed.
Step 1: Design and Layout
Sketch your deck design, including dimensions, height, and features (stairs, railings, built-in benches). Consider sight lines from your home, sun exposure, and how the deck connects to your landscape. Visit the American Wood Council for design guidelines and span tables that specify how far joists and beams can span based on lumber grade and spacing.
Step 2: Permits and Building Codes
This step is non-negotiable. Check with your local building department about permit requirements. Most jurisdictions require permits for decks over 30 inches high or covering more than 200 square feet. Building codes dictate:
- Post footing depth (typically below frost line to prevent heaving)
- Railing height and baluster spacing (usually 4 inches maximum)
- Stair dimensions and handrail requirements
- Load capacity requirements (typically 40 pounds per square foot for live load)
- Ledger board attachment specifications (critical for deck safety)
Non-compliance isn’t just about fines—it’s about safety. Improper footings cause decks to shift and settle unevenly. Inadequate ledger board fastening is the leading cause of deck collapse. Visit NACHI for inspection standards that reveal common code violations.
Step 3: Site Assessment
Evaluate your yard for:
- Drainage patterns (avoid building where water pools)
- Underground utilities (call 811 before digging to locate gas, electric, water lines)
- Soil conditions (affects post footing depth and type)
- Slope and grading
Materials and Tools You’ll Need
Budget approximately $30-50 per square foot for materials on a basic pressure-treated deck, or $50-100+ per square foot for composite or premium wood decking.
Essential Materials:
- Pressure-treated lumber (posts, beams, joists, ledger board)
- Decking boards (pressure-treated wood, composite, or tropical hardwood)
- Concrete (for post footings)
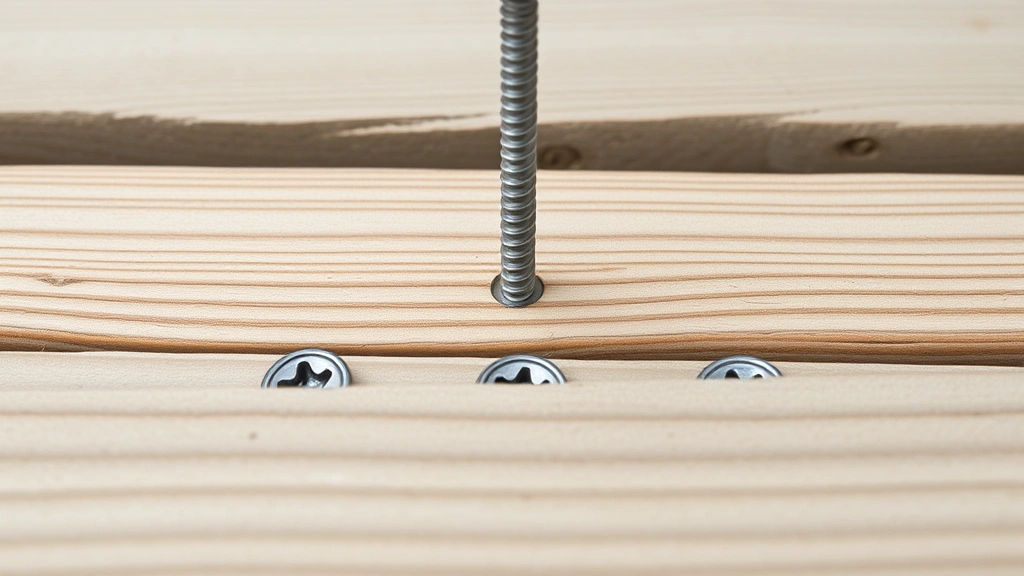
- Stainless steel or hot-dipped galvanized fasteners (nails, screws, bolts, hangers)
- Flashing for ledger board connection
- Balusters and railings
- Stain or sealant (essential for wood protection)
Required Tools:
- Power drill with various bits
- Circular saw or miter saw
- Reciprocating saw (helpful for notching)
- Level (4-foot and 24-inch)
- Tape measure (25-foot minimum)
- Square (speed square and framing square)
- Shovel and post hole digger
- Adjustable wrench and socket set
- Safety equipment (glasses, gloves, dust mask)
Many tools can be rented from home improvement stores, reducing upfront costs significantly.
Step-by-Step Construction Process
Phase 1: Foundation Work
Mark post locations using string lines and batter boards. Dig holes to your local frost line depth (typically 36-48 inches in northern climates). Install cardboard or plastic sleeves to keep concrete above grade, preventing wood-to-soil contact that causes rot.
Pour concrete footings and allow proper curing time—at least 24 hours, ideally 48 hours before loading. Set posts level and plumb in the concrete. This foundational work determines whether your entire deck will be square and stable.
Phase 2: Ledger Board Installation
The ledger board—where your deck attaches to the house—is critical. Remove siding where it attaches. Install flashing to direct water away from your home’s rim joist. Use galvanized bolts (½ inch diameter) spaced 16 inches apart, installed through the rim joist into solid blocking. This connection must be rock-solid.
Phase 3: Framing
Install beams on posts using appropriate connections (post bases, bolts, or lag bolts depending on your design). Space joists according to code (typically 12, 16, or 24 inches on center depending on joist size and wood species). Install blocking and rim joists to create a rigid frame.
Check that your frame is square by measuring diagonals—they should be equal. Make adjustments before proceeding to decking.
Phase 4: Decking Installation
Install decking boards perpendicular to joists, leaving consistent gaps (typically ⅛ to ¼ inch) for expansion and drainage. Use appropriate fasteners—stainless steel or hot-dipped galvanized screws are superior to nails. Offset board joints and avoid aligning them on the same joists to prevent stress concentration.
This is where your deck’s appearance comes together. Take time with spacing and fastening—visible gaps or misaligned boards detract from your final product.
Phase 5: Stairs and Railings
Build stairs with consistent rise and run dimensions (typically 7-inch maximum rise, 10-inch minimum run). Ensure handrails meet code height requirements (usually 34-38 inches). Install balusters with maximum 4-inch spacing to prevent child entrapment.
Phase 6: Finishing
Once construction is complete, sand rough edges and apply stain or sealant. This step protects your investment—wood exposed to weather deteriorates rapidly without protection. Plan to reapply sealant every 2-3 years.
Critical Safety Considerations
Deck safety isn’t optional. According to the Consumer Product Safety Commission, thousands of people are injured annually in deck-related accidents.
Structural Safety:
- Never undersize posts, beams, or joists to save money. Undersized framing leads to sagging, movement, and potential collapse
- Ensure all fasteners are corrosion-resistant—galvanized hardware in contact with pressure-treated lumber can corrode prematurely
- Install adequate bracing for decks over 4 feet high
- Test guardrails by applying 200-pound force—they must not move or flex excessively
Personal Safety During Construction:
- Wear safety glasses when cutting or fastening
- Use fall protection when working at heights above 6 feet
- Never operate power tools while fatigued
- Keep work area clear of tripping hazards
- Lift properly—ask for help with heavy materials rather than risking back injury
Long-term Safety:
- Inspect your deck annually for rot, loose fasteners, and structural issues
- Replace any rotted wood immediately
- Maintain proper drainage under the deck to prevent water accumulation
- Pressure-treat any new wood to match existing lumber
Common Mistakes and How to Avoid Them
Mistake 1: Inadequate Post Footings
Installing posts directly on soil or concrete pads above grade causes frost heave and settling. Always dig below the frost line and use proper footings. This single mistake accounts for countless deck failures.
Mistake 2: Poor Ledger Board Connection
Nailing a ledger board to your house is asking for disaster. The ledger must be bolted through the rim joist into solid framing. Improper ledger connections cause catastrophic collapses where decks separate from homes.
Mistake 3: Ignoring Building Codes
Codes exist because people died learning lessons the hard way. Railing requirements, stair dimensions, and load capacity specifications aren’t suggestions—they’re based on engineering principles and safety data.
Mistake 4: Using Incorrect Fasteners
Regular nails and screws corrode in pressure-treated lumber, creating rust stains and weakening connections. Use stainless steel or hot-dipped galvanized fasteners exclusively.
Mistake 5: Skipping Permits and Inspections
Unpermitted decks create liability, complicate insurance claims, and can be ordered demolished. Permit costs are minimal compared to potential problems. Inspections catch mistakes before they become expensive or dangerous.
Mistake 6: Inadequate Slope and Drainage
Decks should slope slightly (¼ inch per foot) to shed water. Without proper drainage, water pools under the deck, causing rot and creating mosquito habitat. Install ground cloth under your deck to minimize weed growth.
Frequently Asked Questions
How much does it cost to DIY a deck?
Material costs range from $30-50 per square foot for basic pressure-treated decks to $80-100+ per square foot for composite or premium wood. A 16×20-foot deck (320 square feet) costs approximately $9,600-32,000 in materials. Professional installation would cost $15,000-50,000 total, so DIY saves significant money.
Do I need a permit for my deck?
Most jurisdictions require permits for decks exceeding 30 inches in height or 200 square feet in area. Check with your local building department—permits are non-negotiable for safety and legal reasons. Even if your deck doesn’t technically require a permit, getting one provides documented approval and protection.
Can I build a deck on uneven ground?
Yes, but you’ll need adjustable post bases or varied footing depths. Sloped terrain is manageable with proper planning. Sketch your site, measure elevation changes, and plan post heights accordingly. This adds complexity but is entirely doable for DIYers with moderate experience.
What’s the best wood for deck building?
Pressure-treated lumber is affordable and durable. Composite decking requires no maintenance but costs more upfront. Tropical hardwoods (like ipe) are extremely durable but difficult to work with. For most DIYers, pressure-treated wood offers the best balance of cost, workability, and durability. Learn more about building timelines that include material selection.
How long does a DIY deck last?
A properly constructed and maintained pressure-treated wood deck lasts 15-20 years. Composite decking lasts 25-30 years. The key is maintenance—resealing every 2-3 years extends life significantly. Decks built with improper footings or inadequate fasteners fail much sooner.
Can I build a deck myself if I’ve never done this before?
Yes, but start with a smaller deck (12×12 feet or smaller) and invest in learning. Watch comprehensive tutorials, take a workshop, and consult building code resources. Many first-time builders successfully complete deck projects by respecting the learning curve and taking their time during the planning phase.
What’s the difference between a DIY deck and a professional deck?
Professional decks are built faster and usually have perfect finishes. DIY decks take longer but are equally structurally sound if you follow code requirements. The main differences are time investment and aesthetic perfection. Safety and durability depend on technique, not whether you’re professional or DIY.
How do I know if my deck is safe?
Perform annual inspections looking for rot, loose fasteners, and movement. Apply 200-pound force to railings—they shouldn’t move noticeably. Check for gaps between boards and the ledger board (indicates movement). If you’re unsure, hire a professional inspector. Safety is non-negotiable.
Building a deck yourself is achievable and rewarding. By understanding realistic timelines, respecting building codes, and committing to proper technique, you can create a beautiful outdoor space that adds value to your home. The key is honest self-assessment, thorough planning, and patience during execution. Whether you tackle this project depends on your skills, available time, and willingness to learn. If you’re ready to commit, you can absolutely DIY a deck successfully.


