Excel spreadsheets are fundamental tools for organizing data, tracking budgets, managing project timelines, and countless other applications in both professional and personal settings. However, many users struggle with one of the most basic yet essential formatting tasks: adjusting row height. Whether you’re working with text that spills beyond cell boundaries, creating visually organized data presentations, or simply trying to improve readability, understanding how to properly adjust row height in Excel is a skill that will significantly enhance your productivity and document quality.
Row height adjustment might seem like a minor formatting detail, but it plays a crucial role in data presentation and accessibility. When cells contain lengthy text, multiple lines, or important information that needs emphasis, improper row heights can make your spreadsheet difficult to read and unprofessional in appearance. This comprehensive guide will walk you through multiple methods to adjust row height in Excel, from the simplest manual approaches to advanced automation techniques. We’ll explore practical scenarios where row height adjustments matter most and provide troubleshooting tips for common challenges you might encounter.
Understanding Row Height Basics
Before diving into the mechanics of how to adjust row height in Excel, it’s important to understand what row height actually is and why it matters. Row height refers to the vertical measurement of a spreadsheet row, typically expressed in points (a typographic unit where 72 points equal one inch). Excel’s default row height is usually set to 15 points, which accommodates standard single-line text with most common fonts at standard sizes.
The row header—the gray area on the left side of your spreadsheet containing row numbers—is where you’ll interact with row height controls. This is also where you’ll find the boundary between rows, which serves as your primary tool for manual adjustments. Understanding the distinction between default row height, minimum row height, and optimal row height will help you make informed decisions about formatting your spreadsheets.
Row height becomes particularly important when working with wrapped text, which allows long content to display across multiple lines within a single cell. When text wrapping is enabled but row height hasn’t been adjusted accordingly, your data becomes hidden and inaccessible. This is why learning to properly adjust row height in Excel is essential for anyone who works with data regularly. Similar to how you might adjust door closer mechanisms to ensure proper function, adjusting row height ensures your spreadsheet functions optimally for data display and accessibility.
Manual Row Height Adjustment Methods
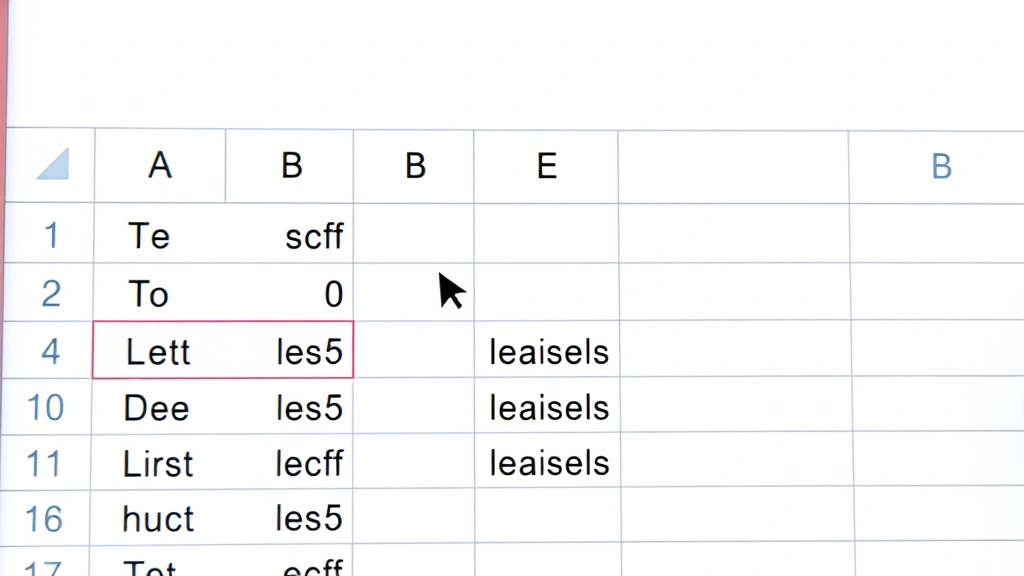
The most straightforward way to adjust row height in Excel involves using your mouse to directly manipulate the row boundary. Position your cursor on the border between two row numbers in the row header area. You’ll notice your cursor changes to a resize cursor (a double-headed arrow pointing up and down). Click and drag this border upward to decrease row height or downward to increase it. This intuitive method gives you complete control over the exact height you want and provides immediate visual feedback.
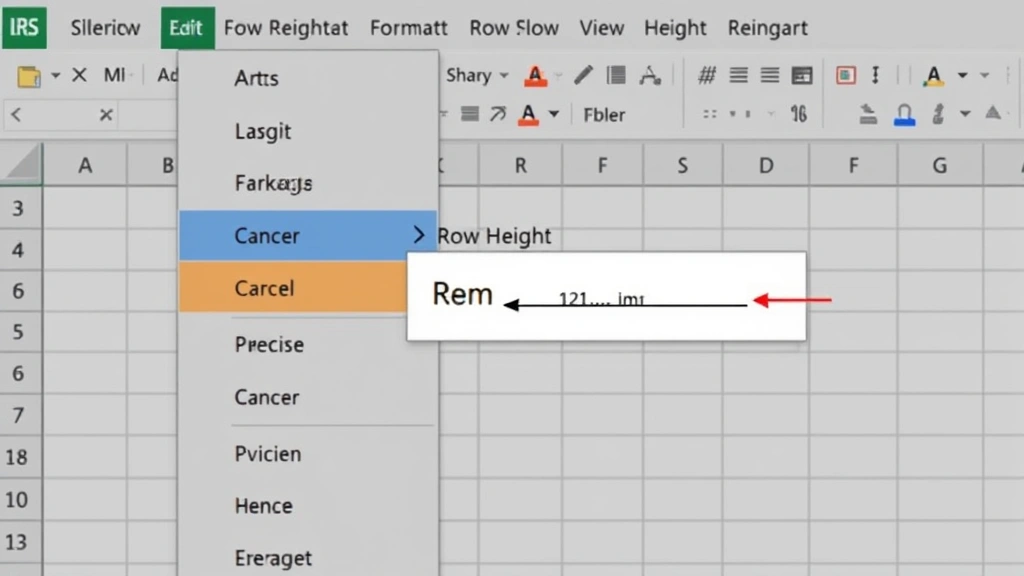
For more precise control, you can use the Format menu to set exact row height measurements. Right-click on any row number to open the context menu, then select “Row Height.” A dialog box will appear where you can enter a specific measurement in points. This method is ideal when you need consistent heights across multiple rows or when working with templates that require exact specifications. The dialog box approach eliminates guesswork and ensures professional consistency throughout your document.
Another manual method involves double-clicking the row boundary. This performs an automatic fit function, which we’ll discuss in more detail in the next section. However, this quick method is useful when you want to rapidly adjust a single row to fit its content without opening any dialog boxes or menus. Many experienced Excel users rely on this technique for daily work because it’s fast and efficient.
When adjusting row height manually, keep in mind that Excel measures from the top of the text to the bottom, including any descenders (the parts of letters like ‘g’ or ‘y’ that extend below the baseline). This is why sometimes you might need to add slightly more height than you initially expect to accommodate all your content comfortably.
Using AutoFit for Automatic Height Adjustment
AutoFit is one of the most powerful features in Excel for managing row heights automatically. Rather than manually measuring and adjusting, AutoFit analyzes the content in your cells and adjusts row height to perfectly accommodate that content. To use AutoFit, select the rows you want to adjust, then go to the Home tab on the ribbon. In the Cells group, click Format, then select “AutoFit Row Height” from the dropdown menu.
The beauty of AutoFit lies in its intelligence. It examines all the text in your selected rows, considers font size, text wrapping settings, and other formatting parameters, then calculates the optimal height. This is particularly valuable when working with spreadsheets that contain mixed content—some cells with single lines and others with multiple wrapped lines. Rather than manually adjusting each row individually, AutoFit handles everything in seconds.
You can also access AutoFit through the row header context menu. Right-click on any row number and look for “Optimal Height” or similar options depending on your Excel version. Some versions of Excel also provide a quick AutoFit option by double-clicking the boundary between row numbers, which instantly adjusts that row to fit its content.
However, AutoFit does have limitations. It might occasionally add more space than necessary, especially if you have exceptionally tall graphics or unusually formatted content. In these cases, you might want to fine-tune the result with manual adjustments. Additionally, AutoFit doesn’t account for future content you might add to cells, so it’s a snapshot of your current data rather than a dynamic solution.

” alt=”Spreadsheet showing row height adjustment with cursor positioned at row boundary” style=”max-width:100%;height:auto;”>
Adjusting Multiple Rows Simultaneously
When you need to adjust row height for several rows at once, Excel provides efficient methods to handle this task without individual adjustments. First, select all the rows you want to modify by clicking on the first row number, then holding Shift while clicking on the last row number. You can also select non-consecutive rows by holding Ctrl and clicking individual row numbers. Once you have your selection, you can adjust all selected rows to the same height using any of the methods previously discussed.
The Format menu approach works particularly well for multiple rows. After selecting your rows, right-click and choose “Row Height,” then enter your desired measurement. All selected rows will immediately adjust to that exact height. This is especially useful when creating structured spreadsheets where consistent row heights contribute to a professional appearance, much like how consistent crown molding installation maintains visual harmony throughout a room.
For even more sophisticated control, you can use the AutoFit function on multiple selected rows. Select your desired rows, then choose Format > AutoFit Row Height. Excel will adjust each selected row individually to accommodate its specific content, resulting in a visually organized spreadsheet where row heights vary based on content needs rather than being uniform.
When selecting entire columns of data, you might want to apply AutoFit to all rows at once. Click the Select All button (the intersection of row and column headers in the top-left corner), then apply AutoFit. This instantly optimizes your entire spreadsheet’s row heights, which is particularly useful when importing data from external sources where formatting is unknown.
Advanced Row Height Techniques
For users working with complex spreadsheets, advanced row height techniques can streamline workflows and ensure consistency. One powerful approach involves setting a standard minimum row height for your entire spreadsheet. This prevents rows from becoming too compressed and ensures minimum readability. You can accomplish this by selecting all cells and setting a specific row height that serves as your baseline.
Excel also allows you to create custom row heights based on specific criteria. For instance, you might want header rows to be taller than data rows for visual distinction. Select your header row and set it to a specific height (perhaps 25 points), then select your data rows and set them to a standard height (perhaps 18 points). This creates visual hierarchy without requiring excessive manual adjustments.
When working with merged cells—cells that span multiple rows or columns—row height becomes more complex. Excel typically uses the height of the first row in a merged cell range, so adjusting individual rows within a merge might not produce expected results. In these cases, you’ll need to adjust the entire merged cell range or unmerge cells if you need more granular control. Understanding this behavior prevents frustration when working with complex cell structures.
For spreadsheets that will be shared with others or converted to different formats, consider the implications of your row height choices. PDF conversion, for example, might render row heights differently depending on your settings. Test your spreadsheet in its final format to ensure row heights translate properly. Additionally, some versions of Excel or alternative spreadsheet programs might interpret row heights slightly differently, so building in a small buffer of extra space is often wise.
” alt=”Excel spreadsheet with multiple rows showing varied heights accommodating different content” style=”max-width:height:auto;”>
Troubleshooting Common Row Height Issues
Despite your best efforts to adjust row height in Excel properly, you might encounter issues. One common problem is text that remains hidden even after adjusting row height. This usually occurs when text wrapping isn’t enabled. If your cell contains text that should wrap across multiple lines but appears cut off, right-click the cell, select “Format Cells,” go to the Alignment tab, and check “Wrap text.” Then adjust your row height accordingly.
Another frequent issue involves rows that seem to reset their heights unexpectedly. This might happen if you’re using a spreadsheet template or if certain Excel features are automatically adjusting formatting. Check whether AutoFit is enabled in your Format menu settings, and verify that no conditional formatting rules are affecting row heights.
If you’re having difficulty selecting row boundaries for manual adjustment, ensure your cursor is positioned precisely on the border between row numbers. Sometimes the selection area is quite narrow, so patience and precision are necessary. If you’re using a laptop trackpad, this task can be particularly challenging; consider using a mouse for more reliable control.
When sharing spreadsheets with others, row height discrepancies might occur if different versions of Excel interpret measurements differently. To minimize these issues, use the Format Cells dialog box to set precise measurements rather than relying on visual manual adjustments. This ensures consistency regardless of the software version used to open your file.
For spreadsheets containing images or graphics, row height might not automatically adjust to accommodate these elements. You’ll typically need to manually adjust row height to ensure images display fully without being cropped. This is particularly important when creating professional documents that combine data with visual elements, similar to how a well-organized home security system requires proper planning and organization.
FAQ
What is the default row height in Excel?
Excel’s default row height is typically 15 points, though this can vary slightly depending on your font selection and operating system. This standard height accommodates most single-line text entries with common fonts at standard sizes.
Can I set a minimum row height to prevent rows from becoming too small?
While Excel doesn’t have a direct “minimum row height” setting for individual rows, you can achieve this by selecting all cells and setting a specific row height as your baseline. Additionally, you can create row height standards within your spreadsheet by formatting specific row ranges consistently.
How do I adjust row height for an entire column of data at once?
Select all rows containing your data by clicking the first row number, holding Shift, and clicking the last row number. Then use Format > AutoFit Row Height to adjust all selected rows based on their content, or right-click and select Row Height to set them all to the same measurement.
Why is my text still hidden even after increasing row height?
Your text wrapping might not be enabled. Right-click the cell, select Format Cells, go to the Alignment tab, and check “Wrap text.” Then adjust your row height to accommodate the wrapped text. Without text wrapping enabled, increasing row height alone won’t help display multi-line content.
Does adjusting row height affect column width?
No, row height and column width are independent properties. Adjusting row height only affects vertical spacing, while column width controls horizontal spacing. You’ll need to adjust these separately to properly format your spreadsheet.
Can I undo row height changes?
Yes, you can use Ctrl+Z to undo row height changes immediately after making them. However, if you’ve made other changes since adjusting row heights, undoing might affect those changes as well. Use the undo function carefully in complex spreadsheets.
What’s the maximum row height in Excel?
Excel allows row heights up to 409 points (approximately 5.7 inches), which is sufficient for virtually any content including large graphics or multiple lines of wrapped text. In practice, most spreadsheets use much smaller heights.


