
How to Adjust Ski Bindings: Expert Tips Inside
Ski binding adjustment is one of the most critical safety procedures you can perform on your skis. Whether you’re a seasoned backcountry explorer or a weekend resort enthusiast, understanding how to properly adjust your bindings ensures optimal performance and reduces the risk of serious injury. Bindings that are too loose may release unexpectedly during normal skiing, while bindings that are too tight can fail to release during a fall, potentially causing knee injuries or other trauma.
Proper binding adjustment requires precision, the right tools, and knowledge of your specific binding model. This comprehensive guide walks you through every step of the adjustment process, from understanding binding mechanics to making fine-tuned modifications that match your skiing style and physical characteristics. We’ll also explore common mistakes that skiers make and how to avoid them, ensuring your equipment performs safely season after season.
Understanding Ski Binding Basics
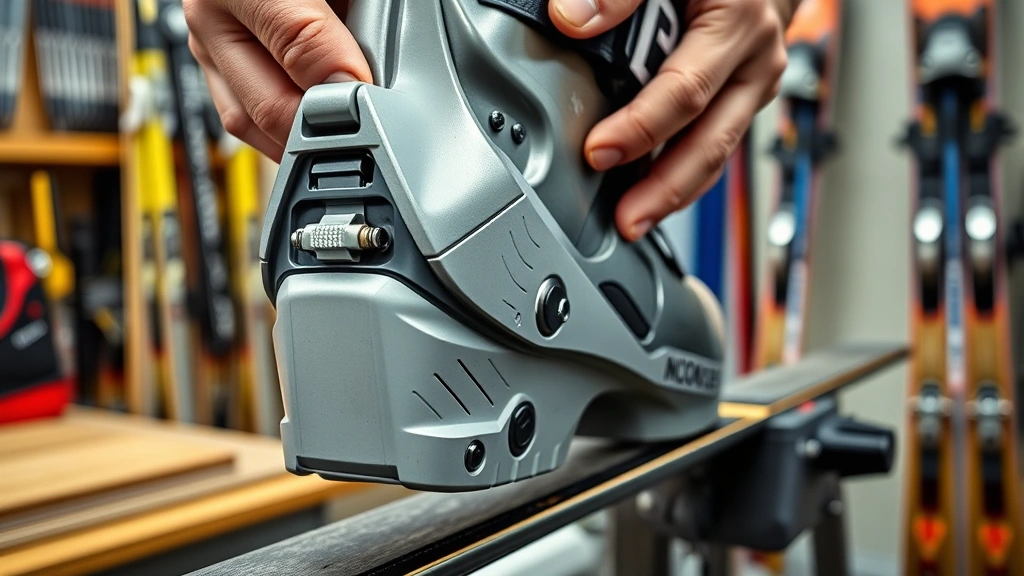
Ski bindings are mechanical devices designed to release your boot from the ski when you experience a fall, preventing your leg from twisting or bending in unnatural ways. The binding consists of several key components: the toe piece (where your boot’s toe attaches), the heel piece (which holds your heel and includes the release mechanism), and the brake (which prevents your ski from sliding away after you fall).
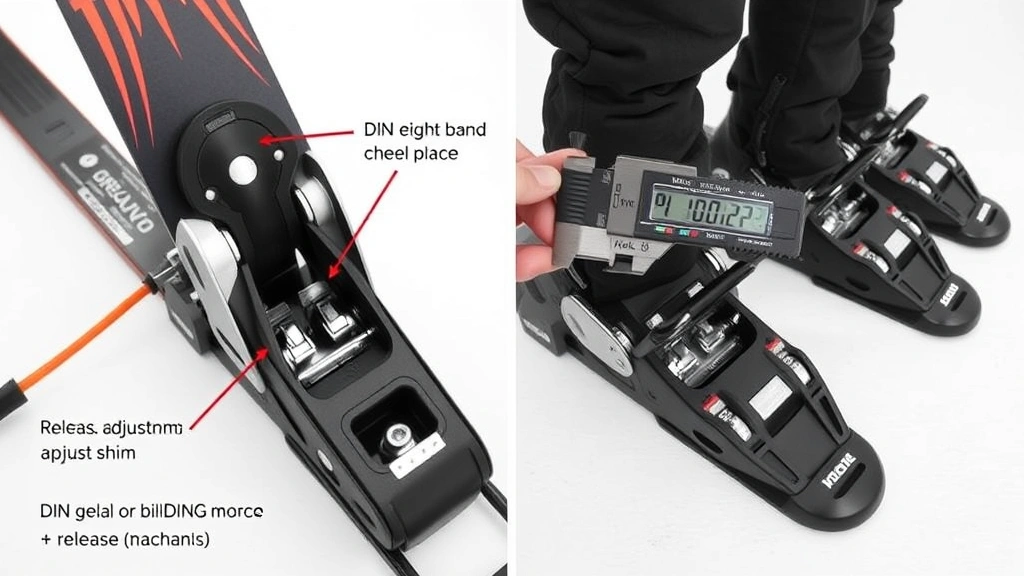
The most important measurement in binding adjustment is the DIN setting, which stands for Deutsches Institut für Normung. This German standardization system determines how much force is required to release your binding during a fall. DIN settings typically range from 0 to 18, with higher numbers requiring greater force to release. Your appropriate DIN setting depends on several factors including your weight, height, age, skiing ability, and shin circumference. The International Ski Federation provides official DIN standards that most manufacturers follow.
Understanding binding geometry is equally important. Your binding has specific angles and pressure points that must be calibrated correctly. The forward pressure controls how tightly the toe piece grips your boot, while heel height affects the angle of your foot and plays a crucial role in achieving the correct DIN release value. When you’re learning DIY home improvement techniques, precision matters just as much as it does with ski binding adjustment.
Tools and Equipment Needed
Before you begin adjusting your bindings, gather the proper tools. You’ll need a binding adjustment tool kit specific to your binding model—most manufacturers like Salomon, Marker, and Look provide these kits with your skis or sell them separately. These kits typically include hex wrenches, screwdrivers, and specialized adjustment tools designed for your binding’s unique mechanisms.
Essential tools include:
- Binding adjustment wrench or tool kit – specific to your binding manufacturer
- DIN gauge or scale – measures the force required to release your binding
- Heel height gauge – ensures proper heel elevation
- Screwdrivers (Phillips and flathead) – for adjusting various components
- Hex keys – for tightening and loosening bolts
- Boot and ski manual – contains manufacturer specifications and adjustment procedures
- Protective eyewear – safety first when working with mechanical components
A binding vise or ski brake holder is highly recommended to stabilize your skis while making adjustments. This prevents slipping and allows you to work with both hands safely. Many ski shops have professional binding presses that apply precise pressure during adjustment, but quality home setups work well for routine maintenance and adjustments.
Measuring Your DIN Setting
Calculating your correct DIN setting is the foundation of safe binding adjustment. The National Ski Areas Association recommends consulting DIN setting charts available from binding manufacturers. These charts use your weight, height, age, and ability level to determine your ideal setting.
To measure DIN accurately, you’ll need a DIN scale or gauge. Place your boot in the binding and slowly increase pressure until the heel piece releases. Record this value—this is your current DIN setting. Compare it to the manufacturer’s recommended range for your body measurements and skiing style. If you’re between two values, skiers of intermediate ability typically choose the lower number, while advanced skiers may select the higher value.
Age is a significant factor in DIN determination. Children and seniors require lower DIN settings because their bodies have different injury thresholds. Intermediate skiers should select a mid-range DIN, while aggressive skiers demand higher settings to prevent unwanted releases during moguls or carving turns. Document your DIN setting with a permanent marker on your ski edges for future reference.
When adjusting complex systems like spreadsheet configurations, precision matters. Similarly, DIN settings demand accuracy—even small variations can significantly impact safety and performance. If your calculated DIN differs dramatically from your current setting, make adjustments gradually over multiple sessions to allow your body to adapt.
Adjusting Forward Pressure
Forward pressure, also called toe piece tension or toe box pressure, controls how firmly your boot’s toe is gripped by the binding’s toe piece. Proper forward pressure ensures your boot doesn’t shift during skiing while allowing safe release during falls. Most bindings have a forward pressure adjustment screw located on the toe piece.
To adjust forward pressure, locate the adjustment screw on your toe piece—typically marked with a plus (+) and minus (−) symbol. Turn the screw clockwise to increase pressure and counterclockwise to decrease pressure. Make small quarter-turn adjustments and test the fit after each change. Your boot should seat firmly without excessive pressure that’s uncomfortable or restricts boot flexing.
Insert your boot into the binding and attempt to twist or shift it side to side. There should be minimal movement—typically less than a quarter-inch of lateral play. If your boot shifts excessively, increase forward pressure. If the binding feels painfully tight or restricts your foot’s natural movement, decrease pressure slightly. Remember that forward pressure also affects your DIN release value, so retest your DIN setting after making forward pressure adjustments.
Professional ski shops use sophisticated binding presses that apply standardized pressure during forward pressure adjustment. If you’re adjusting bindings at home, apply consistent hand pressure when tightening the adjustment screw. Over-tightening forward pressure can damage your boot and binding, so exercise restraint and make incremental changes.
Heel Height Adjustment
Heel height, also called ramp angle or heel lift, is critical for achieving proper DIN release values and boot comfort. This measurement refers to the angle created between your foot’s heel and toe when seated in the binding. Most bindings allow heel height adjustment through shims or adjustable heel pieces.
Heel height directly affects your binding’s DIN value—increasing heel height typically increases the DIN setting, while decreasing it lowers the DIN. This relationship exists because heel height changes the mechanical leverage of your binding’s release mechanism. Proper heel height also ensures your foot sits naturally in the binding, distributing pressure evenly across your boot.
To adjust heel height, locate the heel piece adjustment mechanism on your binding. Some bindings use removable shims (thin metal or plastic wedges) that fit under the heel, while others feature adjustable heel pieces. If using shims, remove the heel piece, place the appropriate shim underneath, and reinstall the heel piece, ensuring all bolts are tightened securely. Consult your binding manual for the correct shim thickness—typically ranging from 0 to 4 millimeters.
After adjusting heel height, retest your DIN setting using your DIN gauge or scale. Heel height changes can alter your DIN by 1 to 3 points, so verification is essential. Also verify that heel height adjustment doesn’t interfere with your brake function—the brake should move freely when your heel releases from the binding.
Lateral and Vertical Adjustment
Beyond forward pressure and heel height, most bindings offer lateral (side-to-side) and vertical (up-and-down) positioning adjustments. These fine-tuning adjustments ensure your boot is centered in the binding and that your foot sits at the correct height relative to your ski’s surface.
Lateral adjustment prevents your boot from sitting too far forward or backward in the binding. Locate the lateral adjustment bolts on your toe and heel pieces—these typically appear on the binding’s sides. Loosen these bolts slightly and slide your boot into the binding. Position your boot so it sits centered with equal space on both sides. Tighten the bolts firmly while maintaining this centered position. Verify that your boot doesn’t shift when you apply downward pressure.
Vertical adjustment affects your foot’s height above the ski surface. Some bindings feature adjustable platforms or shims that raise or lower the entire binding assembly. This adjustment is particularly important for skiers wearing different boot models, as boot sole thickness varies significantly. Consult your boot and binding manuals to determine the correct vertical spacing—typically 15 to 25 millimeters depending on your specific equipment.
When making lateral and vertical adjustments, photograph your binding setup before making changes. This provides a reference point if adjustments feel incorrect after testing. Small positioning errors can cause discomfort and affect your skiing technique, so invest time ensuring these adjustments are precise. Much like adding precision to technical configurations, binding adjustments demand careful attention to detail.
Testing Your Adjustments
After making binding adjustments, thorough testing is essential before you hit the slopes. Begin with static testing in your home or garage. Place your boot in the binding and attempt to twist, push, and pull it in multiple directions. Your boot should remain firmly seated with minimal movement. Next, test the release mechanism by applying downward and rotational pressure to your heel—the heel piece should release smoothly when you reach your DIN setting.
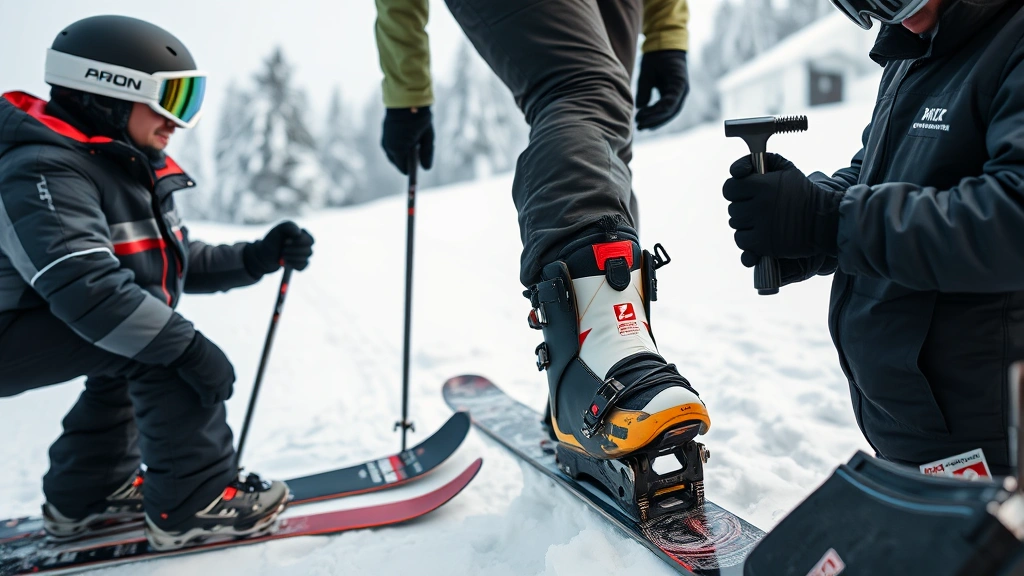
Conduct initial on-snow testing in a safe, low-traffic area with gentle terrain. Make several runs at moderate speed, paying close attention to how your bindings feel. Listen for any unusual clicking or popping sounds that might indicate improper adjustment. If your bindings feel loose or unstable, return to the base area and increase forward pressure or DIN settings slightly.
Test your bindings’ release function by intentionally falling in a safe manner—sit back on your skis to apply rotational pressure to your heel. Your bindings should release cleanly without requiring excessive force. If you must struggle to release your bindings, your DIN setting is too high. Conversely, if your bindings release during normal skiing maneuvers, your DIN is too low.
Perform release testing multiple times throughout the season, as binding components can settle and shift with use. Professional ski shops offer free or low-cost binding checks that verify your DIN setting and overall binding condition. These checks are worthwhile investments in your safety and should be performed at least annually.
Common Mistakes to Avoid
Many skiers make critical errors when adjusting their bindings. The most dangerous mistake is setting your DIN too high to prevent unwanted releases. While it’s frustrating to have bindings release during aggressive skiing, excessively high DIN settings can cause severe leg injuries during falls because your binding won’t release when it should. Always prioritize safety over performance preferences.
Another common error is neglecting to verify DIN settings after making other adjustments. Forward pressure, heel height, and lateral positioning changes all affect your DIN value. Failing to retest after these adjustments can result in bindings that don’t perform as intended. Keep a DIN gauge at home and test regularly—it’s a small investment that prevents dangerous situations.
Over-tightening bolts and screws damages binding components and can cause permanent deformation. When tightening forward pressure screws, heel piece bolts, or lateral adjustment bolts, apply firm pressure but stop before the screw becomes difficult to turn. If a screw feels stuck or requires excessive force, you’ve likely overtightened it—back off slightly and check for stripped threads.
Failing to consult your specific binding model’s manual is a significant oversight. Different binding manufacturers—Salomon, Marker, Look, and others—have unique adjustment procedures and specifications. Using incorrect tools or following generic instructions can damage your bindings or result in improper adjustment. Locate your binding manual online if you’ve lost the physical copy, and follow its exact procedures.
Many skiers ignore seasonal maintenance and adjustment needs. Bindings settle with use, and DIN values can shift slightly throughout the season. Additionally, if you change boot models, you may need to readjust lateral and vertical positioning. Just as vehicle maintenance requires regular attention, binding maintenance demands consistent care to ensure safety and performance.
Attempting binding adjustment without proper tools or knowledge is dangerous. If you’re uncomfortable with any step of the adjustment process, visit a professional ski shop. Technicians have specialized equipment, expertise, and liability insurance that protects you. The small cost of professional adjustment is worthwhile insurance against injury.
FAQ
What is the correct DIN setting for my skis?
Your correct DIN setting depends on your weight, height, age, ability level, and shin circumference. ISO standards provide official DIN calculation charts available from binding manufacturers. Consult these charts with your measurements to determine your recommended range, then select a value within that range based on your skiing style and preferences. When in doubt, choose the lower value for safety.
How often should I adjust my ski bindings?
Professional ski shops recommend having your bindings checked and adjusted annually, ideally before the season begins. Additionally, if you change boot models, experience a significant change in weight or ability level, or notice your bindings aren’t releasing properly, you should have them adjusted immediately. Perform visual inspections monthly during the season to ensure no visible damage or loosening has occurred.
Can I adjust my own bindings or should I use a professional?
If you have mechanical aptitude and proper tools, you can adjust basic binding settings like forward pressure and DIN. However, heel height and lateral adjustments require more precision and should ideally be performed by professionals with binding presses. If you’re unsure about any adjustment, consult a professional rather than risk improper setup.
Why did my bindings release during normal skiing?
Bindings that release unexpectedly during normal skiing indicate your DIN setting is too low for your skiing style. However, before increasing DIN, verify that your bindings aren’t damaged. Broken springs or bent components can cause premature release. If your binding appears undamaged, gradually increase your DIN setting by 0.5 to 1 point and test again.
What does forward pressure do in ski bindings?
Forward pressure controls how tightly the toe piece grips your boot. Proper forward pressure keeps your boot stable during skiing while allowing your heel to release cleanly during falls. Too little forward pressure allows your boot to shift and slide within the binding, while excessive forward pressure can restrict your boot’s natural flexing and make release difficult.
Is heel height the same as boot heel height?
No. Boot heel height refers to the height of your boot’s heel itself, while binding heel height (ramp angle) refers to the angle adjustment made within the binding. Binding heel height affects your DIN release value and foot positioning, while boot heel height is a fixed characteristic of your specific boot model. Both measurements matter, but they’re separate adjustments.
What should I do if my binding won’t tighten properly?
If screws or bolts won’t tighten, you may have stripped threads—a common result of over-tightening. Stop immediately and examine the bolt for damage. If the bolt spins freely without tightening, the threaded hole is likely stripped. Contact the binding manufacturer for replacement parts, or visit a ski shop for professional repair. Never use excessive force trying to tighten damaged bolts.
How do I know if my bindings need professional service?
Visit a professional ski shop if your bindings are visibly damaged, make unusual sounds, won’t release cleanly, or if you’re uncomfortable adjusting them yourself. Additionally, if your DIN setting has shifted significantly from your calculated value without adjustment changes, your binding may have internal damage requiring professional service. Professional technicians can inspect, clean, and service your bindings thoroughly.