DIY Temporary Tattoo Application: Expert Tips for Perfect Results
Temporary tattoos offer a fun, commitment-free way to express yourself without the permanence of real ink. Whether you’re exploring design ideas, preparing for an event, or simply enjoying body art experimentation, knowing how to apply temporary tattoo designs correctly ensures they look professional and last as long as possible. This comprehensive guide walks you through every step of the application process, from preparation through aftercare.
The key to successful temporary tattoo application lies in proper skin preparation, correct technique, and understanding the specific requirements of different tattoo types. With the right approach, your temporary tattoo will adhere smoothly, display vibrant colors, and maintain its appearance throughout wear. Let’s explore the detailed process that professional applicators and satisfied users recommend.
Preparing Your Skin for Application
Proper skin preparation is absolutely critical before applying any temporary tattoo. Your skin’s condition directly impacts adhesion quality, color vibrancy, and longevity. Start by thoroughly cleaning the area where you plan to apply the tattoo. Use warm water and gentle soap to remove dirt, oils, and dead skin cells that could interfere with bonding.
After washing, pat the skin completely dry with a clean towel. Moisture is the enemy of temporary tattoo adhesion, so ensure no dampness remains. If you have particularly oily skin, consider using an alcohol-based wipe or astringent to remove excess sebum. This step proves especially important for individuals with naturally oily complexions or those applying tattoos in warm, humid environments.
Exfoliate gently if your skin appears dry or flaky. Use a soft exfoliating cloth or mild scrub to remove dead skin cells that prevent smooth adhesion. However, avoid aggressive scrubbing that might irritate or redden the skin. If you’ve recently shaved or waxed the application area, wait at least 24 hours before applying a temporary tattoo to allow skin irritation to subside.
Consider the location carefully. Curved body areas like shoulders, calves, or inner arms often present application challenges due to skin contours. Flat areas like forearms, upper chest, or thighs provide ideal surfaces for smooth, even application. Avoid applying temporary tattoos over scars, birthmarks, or areas with significant skin texture variations, as these compromise adhesion and appearance.
Water-Transfer Temporary Tattoos
Water-transfer temporary tattoos represent the most common type available commercially. These designs feature a printed image on a water-soluble backing that transfers to skin when moistened. Understanding the correct application technique ensures optimal results with this popular format.
Begin by cutting out your selected design, leaving minimal white space around the edges. Some designs come pre-cut, but custom or sheet tattoos require careful trimming. Use sharp scissors for clean edges that won’t interfere with transfer quality. Place the tattoo face-down on clean, dry skin in your desired location. This reversal matters for designs with text or directional elements.
Fill a small cup or bowl with lukewarm water. Some experts recommend adding a tiny amount of soap to reduce surface tension, though this remains optional. Dampen a sponge or soft cloth and thoroughly saturate the paper backing of the tattoo. The water needs to penetrate completely to dissolve the transfer layer. Hold the wet backing against your skin for 30-45 seconds, maintaining steady pressure.
Gently lift one corner of the backing to check if the design has transferred. If it remains stuck to the paper, apply more water and wait another 15-20 seconds. Once the image begins transferring, slowly peel away the backing at a low angle, continuing to apply light pressure with your other hand to guide the transfer. If portions stick to the backing, gently re-wet and try again rather than forcing removal.
After complete transfer, pat the area gently with a dry cloth to remove excess moisture. Allow 2-3 minutes of air-drying before applying any protective coating or allowing the tattoo to contact clothing. Many people apply a clear topcoat or setting spray to extend wear duration and protect against friction.
Adhesive and Glitter Tattoos
Adhesive-backed and glitter temporary tattoos offer an alternative to water-transfer designs, providing longer-lasting wear and vibrant finishes. These self-adhesive options work differently and require distinct application techniques for success.
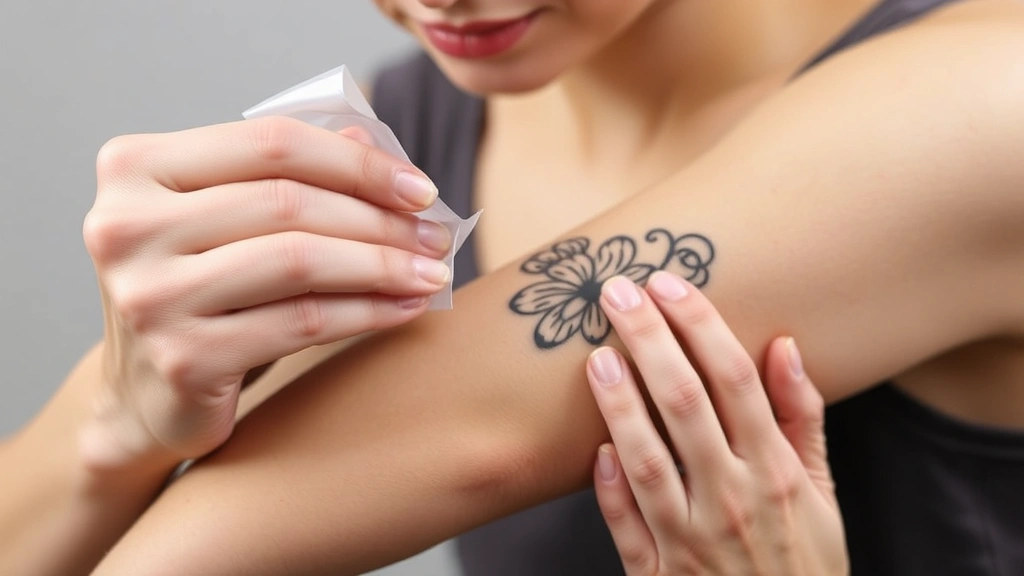
Remove the protective backing from the adhesive side of your tattoo. Unlike water-transfer types, these designs stick immediately upon contact, so positioning accuracy matters greatly. Take time to determine exact placement before pressing the tattoo onto skin. If you make a mistake, carefully peel away and reposition, though repeated repositioning reduces adhesive effectiveness.
Press the tattoo firmly against clean, dry skin using steady pressure across the entire design. Smooth out any air bubbles by working from the center outward with your fingers or the edge of a credit card. Air pockets create weak spots prone to peeling and reduce the overall appearance quality. Spend at least 30-60 seconds ensuring complete contact across every section of the design.
Glitter temporary tattoos require special attention. The glitter particles rest in a gel or adhesive base that bonds to skin. After applying the backing, leave the protective clear film in place for 2-3 minutes before carefully peeling it away. This allows the adhesive to set properly and prevents glitter displacement during removal. Peel the film slowly at a low angle, supporting the design with your other hand.
These adhesive tattoos typically last 3-7 days with proper care, significantly longer than water-transfer varieties. Avoid excessive water exposure and friction against clothing to maximize longevity. When ready to remove, use warm water and gentle rubbing to gradually lift the edges, or apply baby oil to dissolve the adhesive.
Henna Temporary Tattoos
Henna represents a natural alternative to synthetic temporary tattoos, offering earthy tones and cultural significance. Applying henna requires different techniques and patience compared to transfer or adhesive varieties. For guidance on natural skincare approaches, consider exploring complementary DIY methods.
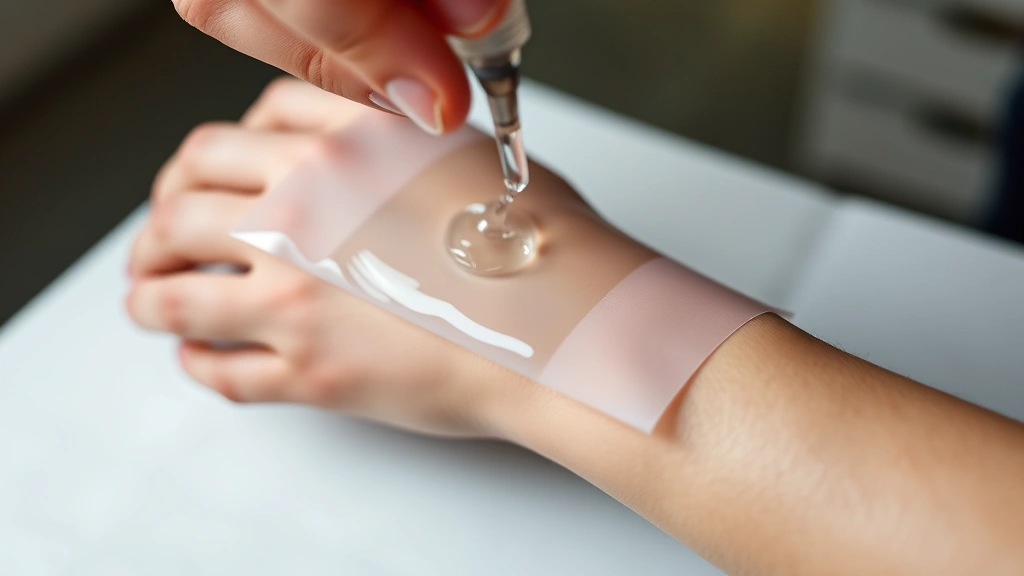
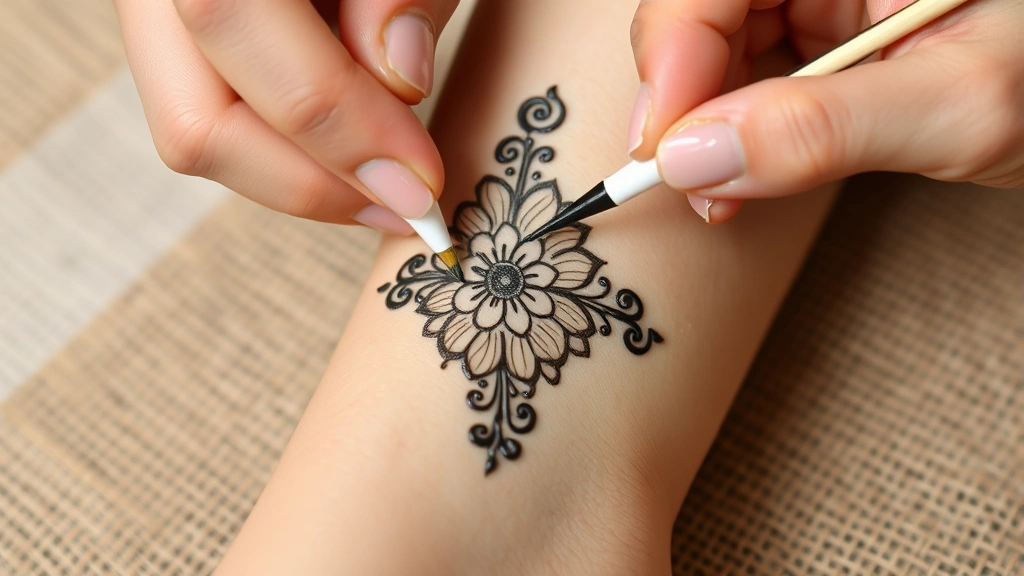
Prepare high-quality henna paste following package instructions or purchasing pre-made henna. The consistency should resemble thick peanut butter—thick enough to hold shape but fluid enough to apply smoothly. Ensure your skin is clean, dry, and free of oils or lotions that impede henna absorption.
Using an applicator bottle, fine brush, or applicator cone, carefully draw your desired design onto skin. Work slowly and deliberately, as henna won’t transfer or adjust like other temporary tattoos. Maintain steady hand pressure to create even lines. Complex designs benefit from light pencil sketching first to guide application.
Allow the henna to dry completely before any contact or movement. This typically requires 4-6 hours, though overnight application produces optimal color development. During this time, avoid touching the design or allowing it to contact clothing or bedding. Some people wrap the area loosely with plastic or cloth to prevent accidental disturbance.
Once fully dry, gently scrape away the henna paste with a blunt edge. The dried paste should flake off, leaving behind a reddish-brown stain on your skin. This stain continues darkening for 24-48 hours after application, reaching full color intensity. Henna stains typically last 1-2 weeks, gradually fading as skin naturally exfoliates.
Airbrush Temporary Tattoos
Professional airbrush temporary tattoos offer custom designs and artistic quality unmatched by commercial options. While professional application remains most common, understanding the technique helps you appreciate the process or attempt DIY airbrush application with proper equipment.
Airbrush temporary tattoos utilize specialized airbrush equipment and body-safe paint or stain formulas. The process begins with meticulous skin preparation as described in earlier sections. Artists typically apply a stencil or freehand spray the design using compressed air and pigmented liquid.
If attempting DIY airbrush application, invest in a quality airbrush system designed for body art and food-safe, hypoallergenic paints. Practice on paper or synthetic skin before attempting actual application. Maintain consistent distance and pressure to achieve even color distribution. Multiple light coats produce better results than single heavy applications.
Allow airbrush temporary tattoos to dry for 5-10 minutes before clothing contact. Apply a setting spray or clear topcoat to enhance longevity and protect against rubbing and moisture. These custom designs typically last 5-10 days depending on placement and care.
Aftercare and Maintenance
Proper aftercare significantly extends your temporary tattoo’s lifespan and maintains its appearance throughout wear. Understanding how to care for your temporary tattoo ensures maximum enjoyment and color retention.
During the first 24 hours after application, minimize water exposure. Avoid swimming, long showers, or soaking the tattooed area. Brief contact with water during normal handwashing or bathing proves acceptable, but prolonged submersion weakens adhesion and causes premature fading. Pat the area dry gently rather than rubbing.
Avoid tight clothing that creates friction against your temporary tattoo. Elastic waistbands, tight sleeves, and snug socks accelerate wear and cause peeling. Looser clothing allows your temporary tattoo to remain undisturbed and last longer. Consider the placement location when choosing your outfit to minimize friction.
Apply moisturizer around the tattoo edges but avoid applying lotion directly over the design. Excess moisture and oils accelerate fading and peeling. If you must apply sunscreen, use a broad-spectrum SPF 30 or higher to prevent fading from UV exposure. Reapply sunscreen every 2-3 hours if spending extended time outdoors.
Avoid petroleum jelly, heavy oils, and thick creams on or around your temporary tattoo. These products break down the adhesive and transfer layer, causing premature deterioration. Similarly, avoid exfoliating the tattooed area or using rough washcloths during daily cleansing.
Troubleshooting Common Issues
Even with proper technique, temporary tattoo application sometimes presents challenges. Understanding common problems and their solutions helps you achieve better results and troubleshoot effectively.
Incomplete Transfer: If your water-transfer tattoo doesn’t fully transfer to skin, the backing paper may have dried too quickly. Reapply water and allow additional soaking time before attempting another transfer. Ensure you’re using enough water and maintaining adequate pressure during the transfer process.
Air Bubbles: Trapped air beneath your temporary tattoo creates visible blemishes and weak adhesion points. Use a credit card edge or your fingernail to smooth these bubbles outward from the center. If bubbles persist, carefully lift the affected area, apply additional water or adhesive as appropriate for your tattoo type, and smooth again.
Premature Peeling: Inadequate skin preparation causes temporary tattoos to peel prematurely. Ensure you’ve thoroughly cleaned and dried the application area. Oily skin may require additional preparation with an astringent or alcohol wipe. Avoid applying temporary tattoos immediately after moisturizing.
Color Fading: Rapid color loss typically results from excessive water exposure or UV damage. Minimize swimming and prolonged water contact. Apply sunscreen to protect against UV fading, particularly if spending extended time outdoors. Some color fading naturally occurs over several days regardless of precautions.
Skin Irritation: Allergic reactions or skin sensitivity occasionally occur with temporary tattoos. Discontinue use immediately if you experience redness, itching, swelling, or other adverse reactions. Perform a patch test on a small area before applying larger designs. Consider natural skincare alternatives if you have sensitive skin.
Uneven Application: Curved body areas or uneven skin texture sometimes result in uneven temporary tattoo appearance. Apply extra pressure to problem areas during the transfer process. Consider alternative placement locations with flatter, more even skin surfaces for future applications.
FAQ
How long do temporary tattoos typically last?
Duration varies by type: water-transfer tattoos last 3-5 days, adhesive tattoos last 5-7 days, henna lasts 1-2 weeks, and professional airbrush designs last 5-10 days. Individual results depend on placement, care, skin type, and daily activities.
Can I apply temporary tattoos over existing tattoos?
Yes, but results may appear less vibrant. Clean and dry the area thoroughly, then apply using standard techniques. The temporary tattoo’s appearance depends on the underlying skin tone and existing tattoo design contrast.
Are temporary tattoos safe for sensitive skin?
Most temporary tattoos are safe for sensitive skin, though allergic reactions can occur. Perform a patch test 24 hours before full application. Choose hypoallergenic varieties and avoid products with known irritants. Discontinue use if any adverse reactions develop.
Can I customize my own temporary tattoos?
Yes, several methods exist: water-transfer tattoo sheets allow printing custom designs, henna offers artistic freedom, and airbrush systems enable professional customization. Online services also offer custom temporary tattoo printing with various design options.
How do I remove temporary tattoos?
Water-transfer and henna tattoos fade naturally over time. Accelerate removal by exfoliating gently, applying rubbing alcohol, or using baby oil. Adhesive tattoos can be peeled away carefully or dissolved with baby oil or makeup remover.
What’s the best body location for temporary tattoos?
Flat areas like forearms, upper chest, thighs, and upper arms provide ideal surfaces. Avoid curved areas, joints, and areas subject to constant friction. Consider your wardrobe and daily activities when selecting placement.
Can I swim with a temporary tattoo?
Swimming shortens temporary tattoo lifespan significantly. Avoid water for the first 24 hours after application. If you must swim, minimize submersion time and pat dry immediately afterward. Waterproof varieties offer extended water resistance.


