Build a DIY Shed: Carpenter-Approved Guide
Building your own shed is one of the most rewarding DIY projects you can tackle. Whether you need extra storage for garden tools, a workshop space, or a retreat from the daily grind, a well-constructed shed adds both functionality and value to your property. This comprehensive guide walks you through every step of the process, from initial planning through the final touches, using proven carpenter techniques and best practices.
A DIY shed project requires careful planning, proper materials selection, and adherence to local building codes. Unlike smaller projects, shed construction demands attention to structural integrity, weatherproofing, and safety considerations. With the right approach and realistic expectations, even first-time builders can create a sturdy, long-lasting structure that will serve their needs for decades.
Planning Your Shed Project
Before breaking ground, spend time on the planning phase. Sketch your shed design, considering dimensions, roof style, door placement, and window locations. A typical starter shed ranges from 8×10 feet to 12×16 feet, providing adequate space without overwhelming complexity. Think about your shed’s primary purpose—storage requires different considerations than a workshop or hobby space.
Assess your property carefully. Check for utility lines, drainage patterns, tree coverage, and access requirements. Ensure the location receives adequate sunlight if you plan to work inside, but also consider privacy and neighborhood aesthetics. Measure twice and mark the area with string to visualize the final footprint before committing to the location.
Budget planning is crucial. Material costs vary significantly by region and quality, but a basic 10×12 shed typically costs between $2,000 and $5,000 in materials. Factor in tool rentals, permits, and potential labor assistance. Many builders find that consulting woodworking plans helps refine their budget estimates and material lists.
Understanding Building Codes and Permits
This step cannot be skipped, regardless of how eager you are to start building. Contact your local International Code Council (ICC) or building department to understand shed requirements in your area. Most jurisdictions require permits for structures exceeding 100-120 square feet or those with permanent foundations.
Building codes address critical safety factors including:
- Foundation requirements—concrete pads, frost lines, or post supports depending on climate
- Wind and snow load calculations—essential for roof design and framing specifications
- Electrical requirements—if you plan outlets or lighting, proper wiring and grounding are mandatory
- Setback distances—minimum distances from property lines, typically 5-10 feet
- Height restrictions—many areas limit shed height to 15-20 feet
Consult the National Fire Protection Association (NFPA) guidelines for shed construction, particularly if you plan to store flammable materials. Getting permits upfront prevents costly fines, insurance complications, and issues when selling your property.
Gathering Materials and Tools
Create a detailed materials list based on your design. For a basic 10×12 shed with gable roof, you’ll need:
- Foundation materials—concrete (if pouring pads), gravel, or pressure-treated posts
- Framing lumber—2x4s for studs and joists, 2x6s or 2x8s for beams
- Roofing—plywood sheathing, underlayment, shingles or metal roofing
- Siding—plywood, board-and-batten, vinyl, or metal panels
- Hardware—nails, screws, bolts, hinges, and fasteners rated for outdoor use
- Weatherproofing—caulk, sealant, paint, and flashing materials
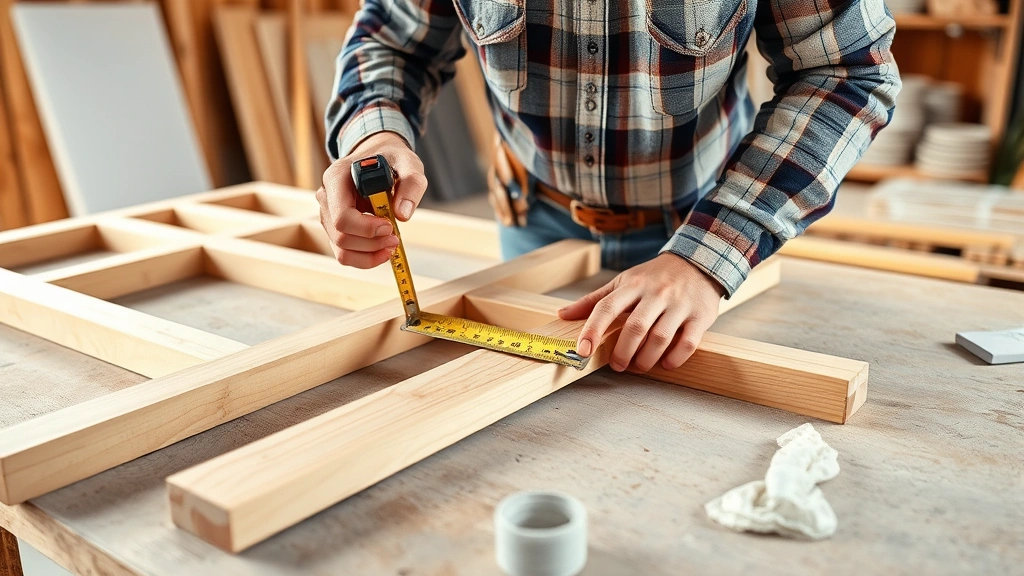
Essential tools include a circular saw, drill-driver, level, tape measure, square, reciprocating saw, and safety equipment. Consider renting expensive items like a pneumatic nailer or scaffolding. Quality tools make the job safer and more enjoyable. For inspiration on project organization, review guides on DIY home projects that emphasize systematic approaches.
Foundation Installation
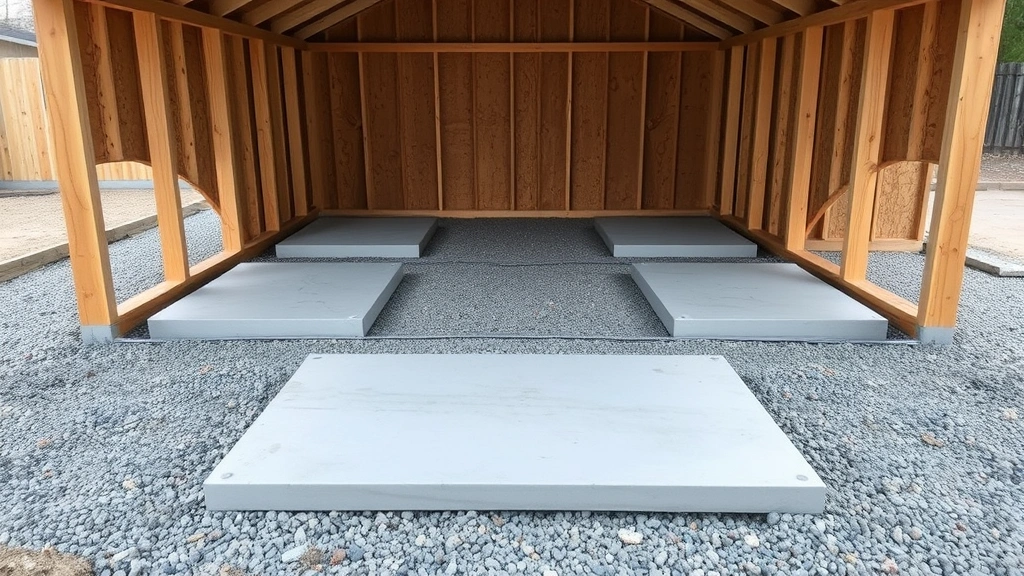
A proper foundation prevents rot, settling, and structural failure. Three common options exist:
Concrete Pad Foundation: Most durable and permanent. Excavate 4-6 inches deep, add gravel base, and pour concrete 4 inches thick. This method suits most climates and provides excellent drainage. Allow concrete to cure 7 days before building.
Gravel Base with Posts: Economical alternative using pressure-treated 4×4 posts set on concrete piers or gravel pads. Ensure posts sit on stable, well-draining ground. This method works well in moderate climates but requires annual inspections.
Skid Foundation: Uses two parallel pressure-treated beams as a base, allowing future relocation. Popular for portable sheds, though less permanent than concrete. Ensure ground is level and compacted.
Regardless of method, ensure the foundation is level and square. Use a transit level or laser level to check elevation across all points. Uneven foundations cause door misalignment, water intrusion, and structural stress. This foundational step determines your entire project’s success.
Framing the Structure
Framing creates the shed’s skeleton. Start with the floor frame if using a skid or pad foundation. Lay out 2×4 joists 16 inches on center, creating a rectangular perimeter. Use joist hangers for solid connections and ensure proper spacing.
Build wall sections on the ground, then raise them into place. Create frames for front, back, and both sides with studs spaced 16 or 24 inches on center. Include rough openings for doors and windows—typically 32-36 inches wide for entry doors. Brace walls temporarily with diagonal supports until permanently fastened.
Install the roof structure using either rafters or trusses. Rafters require on-site calculations and assembly, while pre-made trusses simplify installation but cost more. Ensure proper overhang (12-18 inches) to protect walls from weather. Use metal hurricane ties or straps to secure rafters to walls—this critical connection prevents wind damage.
Check that all framing is square, level, and plumb using a level and square. Crooked framing causes problems cascading through every subsequent step. Many experienced builders reference foundation and framing guides to ensure precision.
Roofing Your Shed
The roof is your shed’s primary defense against weather. Start by installing plywood sheathing over rafters, securing with nails or screws spaced 6-8 inches apart. Check local codes—some areas require 1/2-inch plywood, others allow thinner material depending on rafter spacing.
Install underlayment next, typically 30-pound felt paper or synthetic material. This adds a moisture barrier and protects sheathing until final roofing material is applied. Overlap courses by 2-3 inches and secure with cap nails.
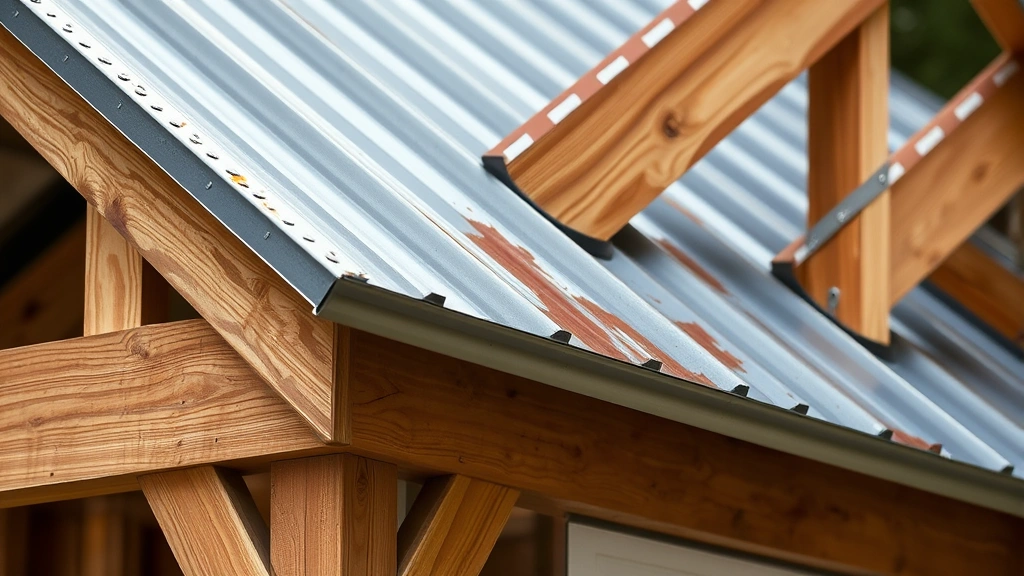
For asphalt shingles, snap chalk lines to ensure straight rows. Start at the bottom and work upward, overlapping shingles by 5 inches. Use roofing nails (not regular nails) rated for the shingle type, typically 4 nails per shingle. Metal roofing offers superior longevity (50+ years) but requires special fasteners and flashing expertise.
Install flashing where the roof meets vertical surfaces like walls or vents. Flashing prevents water from running behind siding into the structure—a common source of rot and mold. Use quality metal flashing materials appropriate for your roofing type.
Siding and Weatherproofing
Siding protects framing from weather while defining your shed’s appearance. Options include:
- Plywood siding—economical and quick to install, requires painting for protection
- Board-and-batten—attractive traditional look using 1×6 or 1×8 boards with narrow battens covering seams
- Vinyl or metal panels—maintenance-free, durable, though less authentic than wood
- Corrugated metal—industrial appearance, extremely durable, easy installation
Before siding, wrap walls with house wrap or felt paper to create a weather barrier. This prevents wind-driven rain from reaching framing while allowing moisture vapor to escape. Overlap all seams 6 inches and secure with cap nails.
Install siding from bottom to top, ensuring each course is level before securing. Leave 1/2-inch gaps at corners and around openings for caulk. Seal all joints, seams, and fasteners with exterior-grade caulk or sealant—this step dramatically extends your shed’s lifespan.
Paint or stain siding within the first few months of construction. Bare wood exposed to weather deteriorates quickly. Quality exterior paint or stain provides both protection and aesthetic appeal. Plan on repainting every 5-7 years depending on climate and paint quality.
Interior Finishing and Organization
Once the weathertight shell is complete, consider interior improvements. Insulation adds comfort for year-round use—fiberglass batts or spray foam between studs work well. Interior walls can be simple plywood or drywall, though plywood is more durable in storage sheds.
Install flooring appropriate for your use. Concrete works for tool storage, while plywood or vinyl works for hobby spaces. Ensure adequate drainage sloping slightly away from walls to prevent standing water.
Add electrical wiring if desired, but hire a licensed electrician unless you’re experienced with electrical codes. Proper grounding and GFCI outlets are essential safety requirements. Install ventilation using soffit vents or a small exhaust fan to prevent moisture accumulation and mold growth.
Organize interior space with shelving, workbenches, and wall-mounted storage. Building custom storage solutions aligns with DIY project principles and maximizes functionality. Use pegboards, wall-mounted cabinets, and ceiling-mounted racks to keep tools accessible and floors clear.
FAQ
Do I need a permit to build a shed?
Most jurisdictions require permits for sheds exceeding 100-120 square feet or those with permanent foundations. Some areas permit smaller structures without permits. Always check with your local building department—permits protect your property investment and ensure code compliance.
How long does a DIY shed project take?
A typical 10×12 shed takes 3-6 weeks for experienced DIYers working weekends, or 2-3 weeks full-time. Timeline depends on weather, complexity, and your experience level. Budget extra time for permits, material ordering, and unexpected issues.
What’s the most critical part of shed construction?
The foundation is paramount. A poor foundation causes cascading problems affecting framing, doors, and weatherproofing. Invest time and resources ensuring your foundation is level, stable, and properly constructed.
Can I build a shed on my own?
Many tasks can be solo projects, but some phases benefit from assistance. Raising walls and roof framing are significantly easier with a helper. Consider recruiting friends or family for these phases, or hire temporary labor if needed.
What’s the best roofing material for a shed?
Asphalt shingles offer good value and durability (15-20 years). Metal roofing costs more but lasts 40-50 years and requires minimal maintenance. Choose based on budget, climate, and aesthetic preferences. Check roofing industry standards for your region.
How do I prevent rot and mold in my shed?
Proper ventilation, adequate drainage, and quality weatherproofing prevent rot and mold. Install soffit vents or exhaust fans, ensure water drains away from the foundation, and seal all joints and seams. Use pressure-treated lumber for ground-contact applications.
Should I insulate my shed?
Insulation depends on your climate and intended use. For storage-only sheds in moderate climates, insulation is optional. For workshops or year-round use in cold climates, insulation adds comfort and protects stored items. Ventilation remains important even in insulated sheds to prevent moisture accumulation.


