
Center Text Vertically in Word: Editor’s Tips
Microsoft Word remains one of the most widely used document editors for professional and personal projects. Whether you’re formatting a title page, creating a cover sheet, or designing a flyer, knowing how to center text vertically can significantly improve your document’s visual appeal and professionalism. This skill is particularly valuable when working on DIY project documentation or creating instructional materials that require precise formatting.
Vertical text centering might seem like a simple task, but many users struggle with this feature because it operates differently than horizontal centering. Unlike horizontal alignment, which is readily accessible in the toolbar, vertical centering requires understanding page setup options and section formatting. This comprehensive guide will walk you through multiple methods to achieve perfect vertical alignment, ensuring your documents look polished and professional every time.
Understanding Vertical Alignment Basics
Before diving into specific methods, it’s essential to understand what vertical alignment means in the context of Word documents. Vertical alignment refers to positioning text between the top and bottom margins of a page or section. This differs fundamentally from horizontal centering, which positions text between the left and right margins.
Word offers four primary vertical alignment options: top (default), center, justified, and bottom. Each serves different purposes depending on your document type. For cover pages, title sheets, and formal documents, centered vertical alignment creates a balanced, professional appearance. When working on basement finishing guides or other instructional content, proper text formatting helps readers focus on essential information.
The key to mastering vertical centering is recognizing that Word treats this as a page or section property rather than a character or paragraph property. This means you’ll need to access formatting options through the page setup menu rather than standard text formatting buttons.
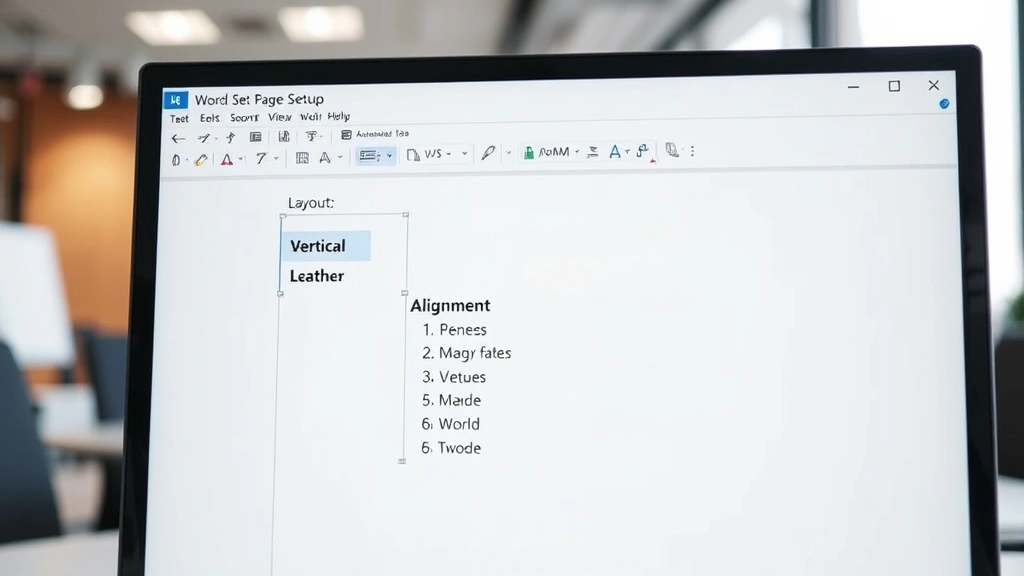
Method 1: Using Page Setup Dialog
The most straightforward approach to center text vertically involves the Page Setup dialog box. This method works best when you want to center content on an entire page or specific section. Follow these steps carefully:
Step 1: Access the Page Setup Menu
Click on the “Layout” tab in the ribbon menu. Look for the “Page Setup” group, which typically appears on the left side of the ribbon. Click the small arrow icon in the corner of this group to open the full Page Setup dialog box.
Step 2: Navigate to the Layout Tab
The Page Setup dialog opens with multiple tabs. Ensure you’re on the “Layout” tab, which contains vertical alignment options. You’ll see a dropdown menu labeled “Vertical alignment.”
Step 3: Select Center Alignment
Click the “Vertical alignment” dropdown and select “Center” from the available options. This setting will apply to the current section or entire document, depending on your selection.
Step 4: Apply and Confirm
Click “OK” to apply the changes. Your text should now be centered vertically on the page. If you only want this formatting on specific pages, use section breaks to isolate those pages before applying the vertical centering.
This method is particularly useful when creating formal documents, cover pages, or title sheets. Many professionals use this technique when preparing home security documentation or other important materials that require a polished presentation.
Important Consideration: Vertical centering via Page Setup applies to the entire section. If your document contains multiple sections with different vertical alignment needs, you’ll need to create section breaks between them. This allows you to apply different formatting to different parts of your document without affecting the entire file.
Method 2: Utilizing Table Centering
Another effective approach involves creating a single-cell table that spans the entire page. While this might sound unconventional, it’s remarkably effective for achieving precise vertical centering, especially when you need to center specific content rather than the entire page.
Creating the Table Structure
Insert a table with one row and one column that matches your page dimensions. Set the table height to match your page height (typically 9 inches for standard letter-size documents with default margins). This creates a container that spans the full vertical space of your page.
Formatting the Table Cell
Right-click the table cell and select “Table Properties.” Navigate to the “Cell” tab and choose vertical alignment as “Center.” This positions any content within the cell at the vertical center of the table, which now equals the page height.
Advantages of the Table Method
This approach offers superior control when you need to center specific content while keeping other page elements in their original positions. Unlike the Page Setup method, table-based centering doesn’t affect your entire document layout. This flexibility makes it ideal for complex documents with varying formatting requirements.
The table method also works exceptionally well when preparing instructional materials, such as those for building a bar or other construction projects, where you might need centered title pages alongside standard-formatted instructional sections.
Removing Table Borders
To maintain a professional appearance, remove the table borders. Select the entire table, access “Table Design” in the ribbon, and choose “Borders” > “No Border.” This creates the visual effect of centered text without visible table structure.
Method 3: Line Spacing and Paragraph Formatting
For users who prefer avoiding table structures or Page Setup modifications, paragraph formatting offers a creative alternative. This method uses strategic line spacing and paragraph breaks to push text toward the vertical center of the page.
Calculating Required Line Breaks
Determine how many blank lines you need above your text to achieve vertical centering. For a standard page with 1-inch margins, you’ll typically need approximately 5-6 blank paragraphs with specific line spacing settings. The exact number depends on your font size, line spacing, and page dimensions.
Implementing Line Spacing Adjustments
Set your paragraph spacing to “Exactly” with a specific point value rather than using automatic spacing. This gives you granular control over spacing between lines. Experiment with different values until your text reaches the approximate vertical center of your page.
Limitations and Best Practices
While this method works, it’s less precise than the previous approaches and becomes cumbersome when dealing with multiple pages or content changes. Use this method primarily for single-page documents or when you need quick, temporary centering without modifying document structure.
This approach can be useful when creating cover sheets for shower pan construction guides or other single-page project overviews where precision matters less than simplicity.
Advanced Techniques for Complex Documents
When working with sophisticated documents containing multiple sections, headers, footers, and varying content types, you’ll need advanced techniques to manage vertical alignment effectively.
Using Section Breaks for Selective Formatting
Section breaks allow you to apply different vertical alignment settings to different parts of your document. Insert a “Continuous” section break where you want the formatting to change. This preserves your page flow while allowing different vertical alignment settings for each section. For documents containing both cover pages and body content, this technique proves invaluable.
Combining Methods for Optimal Results
Many professionals combine multiple methods within a single document. Use Page Setup vertical centering for title pages, switch to standard alignment for body content, and employ tables for special emphasis sections. This hybrid approach maximizes flexibility while maintaining visual consistency.
Managing Headers and Footers
When working with vertically centered content, consider how headers and footers interact with your layout. Centered content might conflict with headers or footers on the same page. Use different header/footer settings for different sections to avoid overlap and maintain professional appearance.
Working with Styles for Consistency
Create custom paragraph styles that include vertical alignment settings. This ensures consistency across your document and allows you to update formatting globally. Access the Styles panel, create a new style, and include vertical alignment in your style definition. Apply this style to all sections requiring centered content.
These advanced techniques become essential when preparing comprehensive guides, such as those for DIY car repairs, where different sections require different formatting approaches.

Troubleshooting Common Issues
Text Not Centering Vertically
If your text refuses to center after applying vertical alignment settings, check whether section breaks are properly placed. Verify that your formatting is applied to the correct section. Sometimes, hidden formatting marks can interfere with alignment. Enable “Show/Hide” formatting marks (Ctrl+*) to identify problematic spacing.
Vertical Centering Affecting Headers and Footers
When vertical centering pushes content too close to headers or footers, adjust your margin settings or create section-specific header/footer configurations. Access “Header & Footer Tools” and use “Different First Page” or “Different Odd & Even Pages” options if applicable.
Page Break Issues After Centering
Content that was previously fitting on one page might shift after applying vertical centering. Adjust your font size, line spacing, or margin settings to accommodate the new layout. Consider whether your content truly needs to fit on a single page or if breaking across multiple pages would improve readability.
Compatibility Issues with Different Word Versions
Vertical alignment settings can behave differently across Word versions. If sharing documents with colleagues using older Word versions, test your formatting thoroughly. Some advanced formatting might not transfer perfectly between versions, requiring manual adjustments on recipient computers.
Printing Problems
Vertically centered content sometimes prints differently than it appears on screen. Always print a test copy to verify formatting before finalizing documents. Check your printer settings, particularly margin and scaling options, which can affect how centered content appears on paper.
FAQ
Can I center text vertically on just one page in Word?
Yes, absolutely. Insert section breaks before and after the page you want to center. Apply vertical centering only to that section using the Page Setup dialog. This isolates the formatting to a single page without affecting the rest of your document.
What’s the difference between horizontal and vertical centering?
Horizontal centering positions text between left and right margins using the alignment buttons in the toolbar. Vertical centering positions text between top and bottom margins through Page Setup options. Most users find horizontal centering intuitive, but vertical centering requires accessing less obvious menu options.
Does vertical centering work with text boxes?
Yes, but through different methods. Right-click a text box and select “Format Shape.” Navigate to “Text Options” and adjust the vertical alignment setting there. This approach works well for specialized layouts where text boxes provide the necessary flexibility.
How do I center text vertically in a table cell?
Right-click the table cell, select “Table Properties,” navigate to the “Cell” tab, and choose “Center” from the vertical alignment dropdown. You can apply this to individual cells or entire columns and rows depending on your selection before accessing the properties menu.
Will vertical centering affect my document’s page count?
No, vertical centering doesn’t change the actual content length or page count. It only repositions existing content between top and bottom margins. Your document maintains the same number of pages regardless of vertical alignment settings.
Can I undo vertical centering easily?
Absolutely. Return to the Page Setup dialog, change vertical alignment back to “Top,” and click OK. For table-based centering, simply delete the table and your content returns to normal alignment. This flexibility makes it safe to experiment with different formatting approaches.
What external resources help with Word formatting?
Microsoft’s official Office Support Center provides comprehensive documentation. Microsoft Word’s official page offers tutorials and updates. LinkedIn Learning provides professional training courses. TechSmith’s blog offers practical formatting tips. GCF Learn Free provides free tutorials covering Word fundamentals and advanced features.
Mastering vertical text centering in Word opens up numerous formatting possibilities for your documents. Whether creating professional cover pages, instructional materials, or specialized layouts, these techniques provide the control and precision necessary to achieve polished, visually appealing results. Start with the Page Setup method for simplicity, explore table-based approaches for more complex layouts, and combine techniques as your document requirements become more sophisticated. With practice, vertical centering becomes second nature, enabling you to create professional-quality documents that impress readers and effectively communicate your message.


