Crafting Fermented Spider Eye: Expert Tips Inside
Fermented spider eye is a fascinating potion ingredient that combines arachnid biology with advanced fermentation techniques. Whether you’re crafting potions for practical applications or exploring the depths of alchemical experimentation, understanding how to properly ferment spider eyes requires knowledge of both biological processes and safety protocols. This comprehensive guide will walk you through every step of the fermentation process, from ingredient selection to final storage.
The fermentation of spider eyes has been documented in alchemical texts for centuries, yet many modern crafters overlook the critical preparation stages that ensure quality results. By following expert techniques and understanding the science behind fermentation, you can create potent ingredients that elevate your potion-crafting capabilities to professional levels.
Understanding Spider Eye Selection and Preparation
The foundation of successful fermentation begins with selecting high-quality spider eyes. Not all spider eyes are suitable for fermentation—age, species, and harvesting conditions significantly impact the final product’s potency and shelf life. Expert crafters prioritize sourcing eyes from mature specimens, as they contain higher concentrations of the compounds necessary for effective fermentation.
When evaluating spider eyes for your project, examine them carefully for any signs of damage, discoloration, or contamination. Fresh eyes should display a lustrous appearance with consistent coloration throughout. If you’re sourcing from local suppliers, ask about the harvesting date—fresher ingredients yield superior fermentation results. The optimal window for beginning fermentation is within 24 to 48 hours of harvesting.
Preparation involves thorough cleaning using filtered water and a soft brush to remove any debris or residual matter. This step prevents unwanted bacterial contamination during fermentation. After cleaning, allow the eyes to air-dry completely on a clean cloth before proceeding. Some experienced crafters recommend a brief rinse with distilled water as a final step to eliminate mineral deposits that might interfere with the fermentation process.
Understanding the biological structure of spider eyes helps you appreciate why certain preparation techniques matter. The outer membrane contains natural protective compounds, while the interior holds valuable enzymatic material. Proper handling preserves these delicate structures, ensuring they remain viable throughout fermentation. As you develop your DIY crafting skills, you’ll discover how meticulous preparation directly correlates with fermentation success.
Essential Equipment and Materials
Creating fermented spider eyes requires specific equipment designed to maintain optimal fermentation conditions. Your primary vessel should be a glass jar with a secure, airtight lid—preferably one with a rubber gasket seal. Glass is essential because it’s inert and won’t interact chemically with your fermentation medium. Avoid plastic containers, as they can leach compounds into your mixture and compromise ingredient purity.
The fermentation medium itself is critical. Most expert crafters use a solution combining distilled water, sea salt, and specialized fermentation cultures. The salt concentration should measure between 3-5% by weight—too little allows harmful bacteria to proliferate, while excessive salt inhibits beneficial fermentation organisms. You’ll also need a reliable thermometer capable of measuring temperatures between 50-75°F, as temperature control directly affects fermentation speed and quality.
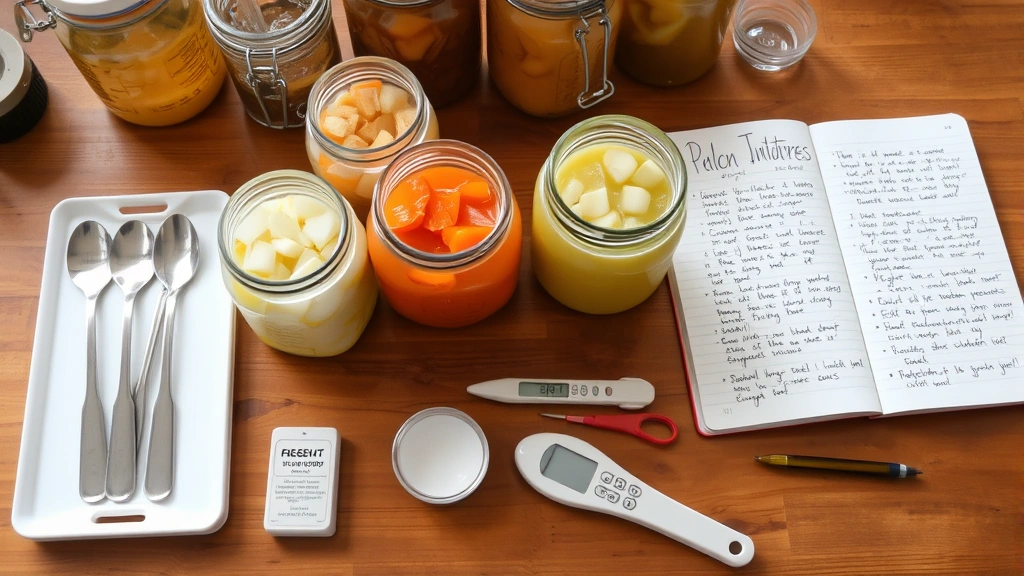
Additional materials include cheesecloth for covering your jar during initial fermentation stages, a pH testing kit to monitor acidity levels, and clean utensils for transferring ingredients. Many crafters invest in industry-standard fermentation guidelines resources to ensure they’re following best practices. Your workspace should be clean, well-organized, and free from potential contaminants.
Consider establishing a dedicated fermentation station within your home. This might include temperature-controlled shelving, organized storage for your materials, and a logbook for tracking batches. Proper organization prevents cross-contamination and helps you identify patterns in your fermentation outcomes. As you explore other DIY home projects, apply similar organizational principles to your fermentation workspace.
The Fermentation Process Step-by-Step
Begin by preparing your fermentation medium in a separate, sterilized container. Combine distilled water with your chosen salt concentration, stirring thoroughly until completely dissolved. Heat the solution to approximately 160°F for 15 minutes to eliminate any potential contaminants, then allow it to cool completely to room temperature. This sterilization step is non-negotiable if you want to prevent spoilage and ensure reliable fermentation.
Once your medium has cooled, add your prepared spider eyes to the jar, ensuring they’re completely submerged. Any exposed material risks mold growth and contamination. Use a clean weight—glass marbles or specialized fermentation weights work well—to keep ingredients beneath the surface. Cover the jar with cheesecloth secured with a rubber band, allowing gas exchange while preventing dust and contaminants from entering.
Place your jar in a location with consistent temperature, away from direct sunlight. Ideal fermentation occurs between 60-70°F. Fluctuating temperatures stress fermentation organisms and produce inconsistent results. During the first week, you’ll notice activity—bubbling, slight cloudiness, and aroma changes indicate healthy fermentation. This is completely normal and demonstrates that beneficial bacteria are actively processing your ingredients.
After the initial week, transition to an airtight lid. This anaerobic environment optimizes fermentation conditions for most cultures. Continue monitoring your batch daily, checking for any unusual smells (which might indicate spoilage) or unexpected color changes. A slight darkening is expected and typically indicates progress. The fermentation timeline typically extends 2-4 weeks, depending on your specific recipe and environmental conditions.
Many experienced crafters maintain detailed technical standards documentation throughout their fermentation process. Recording daily observations helps you develop intuition about your batches and troubleshoot problems more effectively. This scientific approach transforms fermentation from guesswork into a reproducible craft.
Monitoring Fermentation Progress
Effective monitoring separates successful fermentation from disappointing batches. Check your pH levels every 3-4 days using your testing kit—pH should gradually decrease from approximately 7.0 to 4.0-4.5 as fermentation progresses. This acidification indicates that beneficial bacteria are successfully metabolizing your ingredients. If pH drops too quickly or rises unexpectedly, your batch may be compromised.
Visual indicators provide valuable clues about fermentation health. The liquid should become increasingly opaque as fermentation progresses, with a slight sediment forming at the bottom. Spider eyes may darken slightly, and you might notice a thin film forming at the surface (called kahm yeast). While harmless, this layer should be removed regularly by skimming with a clean spoon. Never leave it undisturbed, as it can harbor mold spores.
Smell is perhaps your most reliable indicator. Healthy fermentation produces a pleasantly sour, slightly tangy aroma. If you detect any off-putting smells—musty, rotten, or vinegary scents—your batch has likely spoiled and should be discarded. Trust your instincts; your nose evolved to detect spoilage for good reason. A faint alcohol smell is normal and indicates successful fermentation by certain bacterial strains.
Taste testing should only occur after fermentation is complete and using proper safety protocols. Never taste your ingredients during active fermentation. Once fermentation concludes, a properly fermented batch should taste pleasantly sour with subtle umami notes. The texture of fermented spider eyes should be slightly softened but still maintain structural integrity.
Keep detailed records of temperature fluctuations, pH changes, and visual observations. Over time, these records reveal patterns specific to your environment and preferred techniques. This data-driven approach mirrors the methodology used in professional microbiological research standards, elevating your craftsmanship to technical excellence.
Storage and Preservation Techniques
Once fermentation reaches completion—typically indicated by stable pH readings and cessation of gas production—your fermented spider eyes require proper storage to maintain quality. Transfer your finished product to clean glass jars with airtight seals, ensuring ingredients remain completely submerged in their fermentation liquid. This liquid contains beneficial compounds and helps preserve your ingredients long-term.
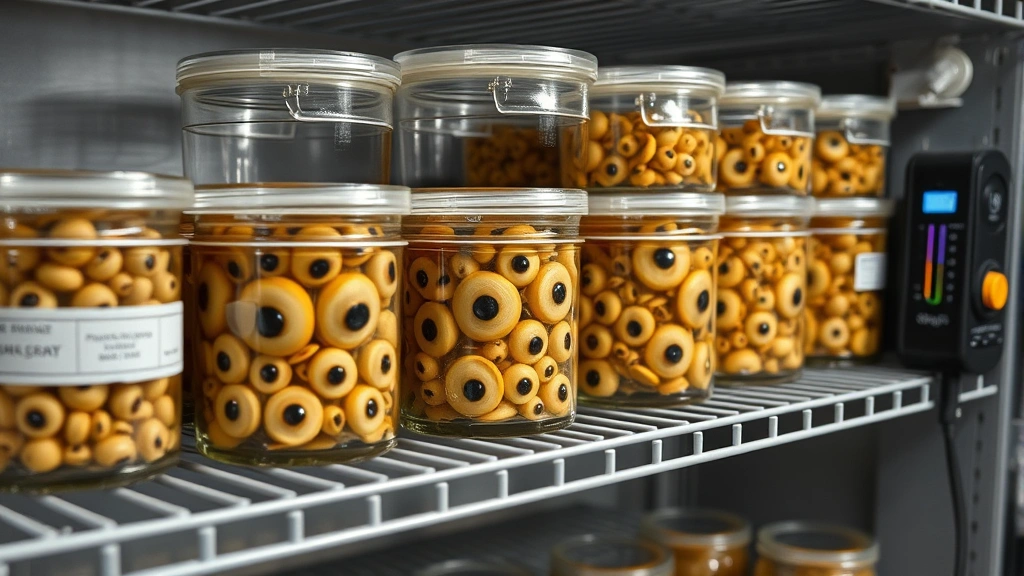
Store your fermented spider eyes in cool, dark conditions—ideally between 50-60°F. A basement, cellar, or dedicated storage closet works excellently. Avoid areas near heating sources, sunlight, or temperature fluctuations. Properly stored fermented spider eyes maintain quality for 6-12 months, though many crafters find that flavor and potency continue improving during this storage period.
Label all containers with fermentation dates and batch identifiers. This practice prevents confusion and helps you track which batches perform best for specific applications. If you maintain multiple fermentation projects, as many serious crafters do, clear labeling is essential for quality control and consistency. Consider implementing a simple inventory system to track your stock levels and rotation.
Environmental considerations matter significantly for long-term storage. Humidity should remain moderate—excessive moisture promotes mold growth, while extreme dryness can cause ingredient degradation. Some crafters use small packets of food-grade desiccant or salt to regulate humidity in storage areas. Ensure your storage space has adequate ventilation to prevent stale air conditions.
Before using stored fermented spider eyes, always inspect them carefully. Look for any signs of mold, unusual discoloration, or off-putting odors. If anything seems questionable, err on the side of caution and discard the batch. Quality control at this stage prevents problems downstream when using your ingredients in actual potion crafting. This commitment to safety mirrors best practices in professional workplace safety standards.
Common Mistakes and How to Avoid Them
One of the most frequent mistakes involves inadequate sterilization of equipment and materials. Many aspiring crafters underestimate the importance of this preliminary step, leading to contamination that ruins entire batches. Always sterilize your jars, utensils, and fermentation vessels using boiling water or a proper sterilization solution. Allow everything to air-dry completely before use.
Improper temperature control ranks among the top fermentation failures. Fluctuating temperatures stress fermentation organisms and produce unpredictable results. If your home temperature varies significantly between seasons, invest in a small temperature-controlled cabinet or fermentation chamber. Consistency matters far more than achieving the absolute perfect temperature—stable conditions at 65°F outperform ideal conditions with fluctuations.
Insufficient submersion represents another common problem. Ingredients exposed to air develop mold and become unsafe for use. Always use weights to keep all materials completely submerged. Check your jars regularly and add additional fermentation liquid if needed. This simple habit prevents countless batches from being lost to surface contamination.
Many novice crafters panic at the first sign of unusual activity and abandon their fermentation prematurely. Healthy fermentation can look and smell strange—this is normal. Conversely, some crafters continue fermentation far beyond completion, resulting in over-fermented products with undesirable characteristics. Learning to recognize the completion point comes with experience and careful attention to pH levels and sensory indicators.
Neglecting documentation leads to repeated mistakes without learning why problems occurred. Maintain a fermentation journal detailing every batch’s progression. Note environmental conditions, ingredient sources, and outcomes. This invaluable record helps you identify patterns and continuously improve your technique. Professional crafters treat their journals as essential business tools, and you should too.
Overlooking proper safety protocols in your workspace can lead to cross-contamination affecting multiple projects. Keep your fermentation area separate from food preparation zones and maintain strict hygiene standards. Wash your hands thoroughly before handling ingredients, and never allow fermentation materials to contact surfaces used for cooking.
Frequently Asked Questions
How long does fermented spider eye fermentation typically take?
Standard fermentation requires 2-4 weeks, though variables like temperature and salt concentration affect timeline. Cooler temperatures extend fermentation, while warmer conditions accelerate the process. Most crafters achieve optimal results within the 3-week timeframe under consistent 65°F conditions.
Can I use tap water instead of distilled water for fermentation?
Distilled water is strongly recommended because tap water contains minerals and chlorine that interfere with fermentation. These elements stress beneficial bacteria and produce inferior results. While some crafters report success with filtered tap water, distilled water eliminates variables and ensures consistency.
What does successful fermentation smell like?
Healthy fermentation produces a pleasantly sour, slightly tangy aroma reminiscent of aged vinegar or sauerkraut. A faint alcohol smell indicates successful bacterial fermentation. Any musty, rotten, or moldy odors signal spoilage—discard these batches immediately.
How do I know when fermentation is complete?
Fermentation completion is indicated by stable pH readings (typically 4.0-4.5), cessation of gas bubbling, and consistent sensory characteristics over several days. When pH stabilizes for 3-4 consecutive days without significant change, fermentation has essentially completed.
Can I reuse fermentation liquid from previous batches?
Some experienced crafters create perpetual fermentation systems by retaining liquid from successful batches. However, this advanced technique requires excellent hygiene and careful monitoring. Beginners should always use fresh fermentation medium to minimize contamination risks.
What temperature range is acceptable for fermentation?
Fermentation succeeds between 50-75°F, with optimal results occurring between 60-70°F. Temperatures below 50°F slow fermentation dramatically, while temperatures above 75°F can produce off-flavors and encourage undesirable microbial growth.
Should I stir my fermentation jar?
Avoid stirring actively fermenting batches. Introduce minimal disturbance to prevent disrupting beneficial bacterial colonies. Once fermentation is complete and you’ve transferred to storage containers, gentle stirring before use is acceptable.