Clean Lamp Shades: Expert Tips for Every Material
Lamp shades accumulate dust, pet hair, and debris faster than most home furnishings, yet many homeowners overlook this essential cleaning task. Over time, neglected shades reduce light output, harbor allergens, and develop stubborn stains that become increasingly difficult to remove. Whether your lamps feature delicate fabric, sturdy paper, or decorative pleated designs, understanding the proper cleaning method for each material prevents damage while restoring brightness and extending shade lifespan.
This comprehensive guide walks you through professional-grade techniques for cleaning every lamp shade material found in modern homes. From gentle dusting methods for antique silk to deep-cleaning strategies for synthetic blends, you’ll learn how to tackle common problems like water rings, smoke damage, and embedded dust without compromising structural integrity or finish quality.
Understanding Lamp Shade Materials
Lamp shades come in diverse materials, each requiring tailored cleaning approaches. Linen and cotton blends represent the most durable fabric options, tolerating water-based cleaning solutions and gentle scrubbing. Silk shades demand delicate handling; excessive moisture or harsh chemicals cause permanent discoloration and fiber degradation. Synthetic fabrics like polyester offer moderate durability, resisting fading better than natural fibers while remaining vulnerable to certain solvents.
Paper shades present unique challenges since water causes warping, wrinkles, and structural collapse. Many vintage and contemporary designs use treated paper that resists moisture but requires careful technique. Pleated shades combine structural complexity with material sensitivity; trapped dust between folds demands specialized removal methods. Parchment finishes mimic natural animal skin, requiring pH-balanced solutions that won’t strip protective coatings.
Identifying your shade’s material is the critical first step. Check manufacturer labels, inspect the backing, and feel the texture. When documentation is unavailable, test cleaning solutions on inconspicuous areas before full application. This precaution prevents costly mistakes and preserves valuable or sentimental lamp fixtures.
Pre-Cleaning Assessment and Safety
Before touching your lamp shade, establish a safe working environment. Disconnect the lamp from electrical outlets completely—never work on plugged-in fixtures, even if the bulb is off. Allow bulbs to cool for at least two hours if the lamp was recently in use; heat-sensitive materials become vulnerable to damage from temperature changes during cleaning.
Inspect the shade thoroughly for existing damage: loose seams, tears, weak spots, or separating trim. Document these issues with photos before cleaning, protecting yourself if damage progresses. Check for previous repair attempts that might indicate material fragility or incompatible adhesives.
Set up your cleaning station away from electrical sources. Gather all materials before beginning—working efficiently minimizes shade exposure to moisture and cleaning agents. For fabric shades, lay absorbent towels on your work surface to catch excess water. Position shades where air circulation prevents mildew growth during drying phases.
Test all cleaning solutions on hidden areas first. Apply a small amount to the shade’s interior or bottom edge, wait 15 minutes, and observe for discoloration, texture changes, or adverse reactions. This patch-test approach, similar to fabric care practices recommended by the American Association of Textile Chemists and Colorists, prevents catastrophic damage to visible surfaces.
Fabric Shade Cleaning Methods
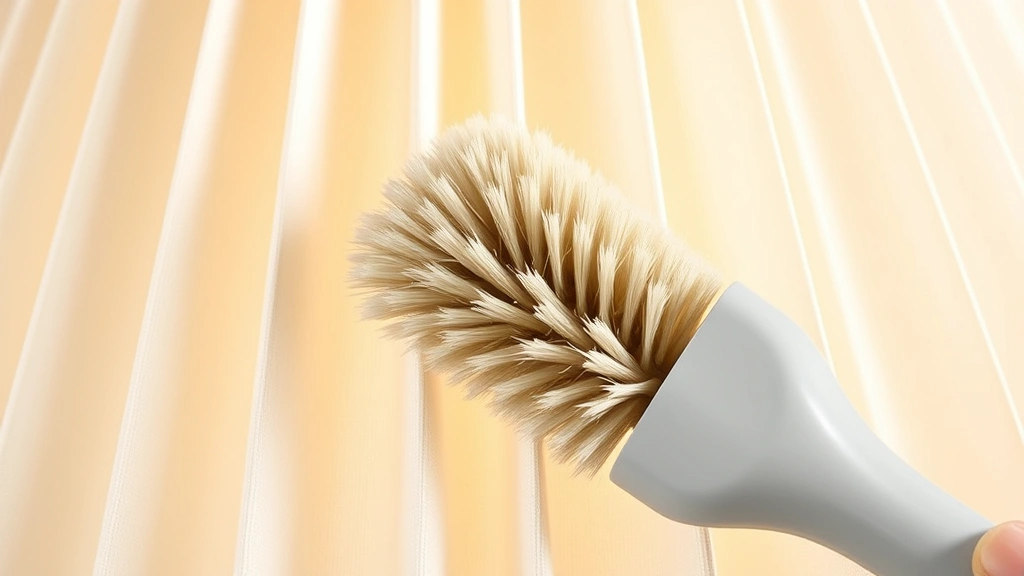
Fabric lamp shades benefit from a multi-stage cleaning approach that removes surface dust before addressing deeper soiling. Begin with dry dusting using a soft-bristled brush or lint-free cloth. Work gently in circular motions, following the fabric weave direction when possible. For pleated designs, use a soft brush to penetrate folds without forcing bristles between layers—aggressive brushing separates folds permanently.
Vacuum cleaning offers excellent dust removal without moisture. Use your vacuum’s upholstery attachment with the lowest suction setting. Attach a fine mesh screen over the hose opening to prevent fabric from being sucked into the opening. Hover the attachment 1-2 inches above the surface rather than making direct contact. This technique safely removes embedded pet hair and fine dust accumulation.
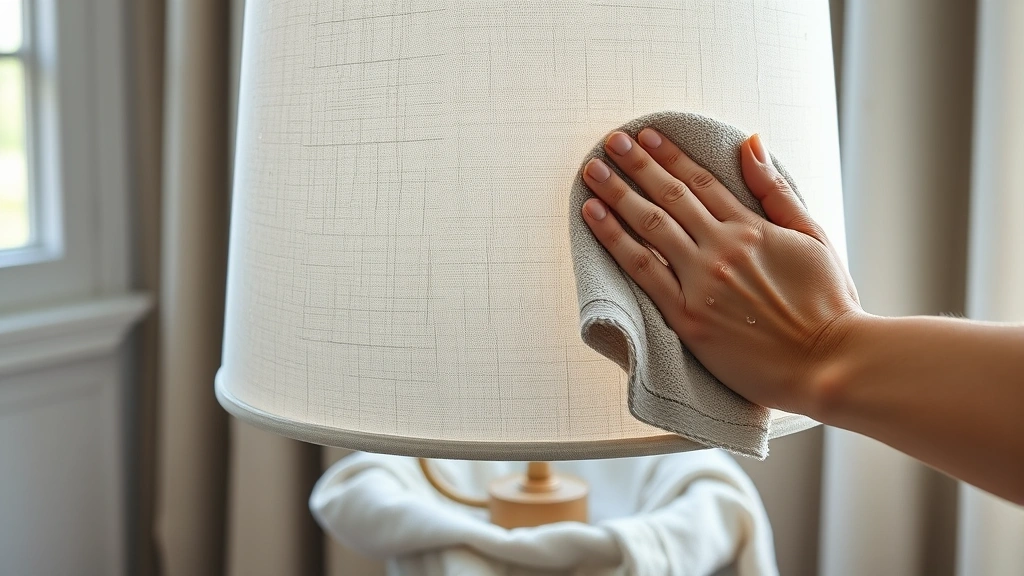
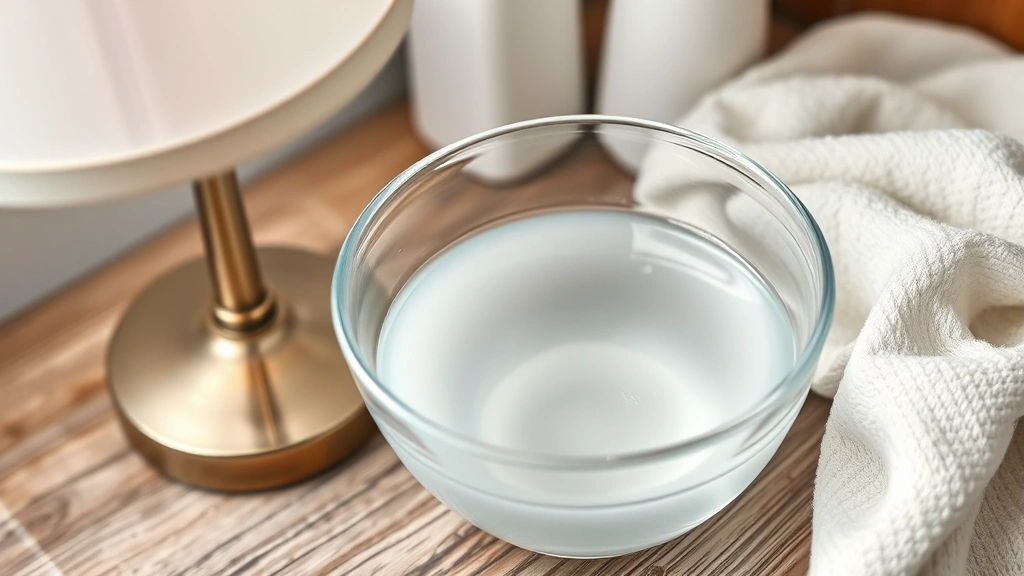
For wet cleaning, prepare a gentle cleaning solution using lukewarm distilled water and a small amount of pH-neutral dish soap—approximately 1 teaspoon per quart of water. Distilled water prevents mineral deposits that tap water often leaves behind. Submerge a soft sponge or microfiber cloth in the solution and wring thoroughly; the cloth should be damp, not wet.
Apply the damp cloth using gentle dabbing motions rather than rubbing or scrubbing. Work systematically from top to bottom, allowing gravity to assist drainage. Rinse using a separate cloth dampened with distilled water only, removing all soap residue. Incomplete rinsing leaves sticky buildup that attracts future dust accumulation.
Silk shades require extra caution with moisture. Use minimal water, test extensively beforehand, and consider dry-cleaning methods as safer alternatives. Many professional dry cleaners service lamp shades, and this investment prevents damage to valuable pieces. For light silk soiling, try specialized silk-cleaning products formulated to minimize water absorption and drying time.
Cotton and linen shades tolerate slightly more aggressive approaches. A solution combining equal parts white vinegar and distilled water cuts through soap buildup and mineral deposits while naturally disinfecting the fabric. Use this mixture only after initial soap cleaning, and ensure complete rinsing with plain water afterward.
Paper and Pleated Shade Care
Paper shades demand the most conservative cleaning approach since water exposure causes irreversible damage. Dry dusting remains the primary method for paper and pleated designs. Use a soft-bristled brush or specialized shade duster, working gently to avoid crushing delicate material. For pleated shades, position your brush parallel to the pleats, allowing bristles to slide along folds rather than pressing between them.
Pleated shade cleaning requires patience and proper technique. Begin at the top and work downward, supporting the shade’s weight with your non-brush hand. Never pull or stretch pleats during cleaning—this permanently damages the accordion structure. Specialized pleated shade cleaning tools feature soft brushes designed to glide through folds without friction damage.
For stubborn dust trapped in pleats, try the compressed air method. Use a can of compressed air (the type designed for computer keyboards) held 6-8 inches away from the shade. Gentle bursts dislodge dust without applying physical pressure. Work outdoors or in ventilated areas since this technique creates visible dust clouds.
Paper shades with minor stains sometimes respond to careful spot-cleaning with a barely damp cloth. Moisten a cloth with distilled water only—no soap—and gently blot stained areas. Work quickly to minimize water contact time, and allow complete air drying before rehanging the shade. Avoid rubbing motions that damage paper fibers and spread stains.
Parchment-finish shades benefit from specialized care products. Intertek’s furniture care guidelines recommend pH-neutral cleaners specifically formulated for treated materials. These products clean effectively while preserving protective surface coatings that give parchment its distinctive appearance and durability.
Specialty Materials and Finishes
Modern lamp shades incorporate diverse specialty materials requiring customized cleaning strategies. Beaded and sequined shades feature decorative elements that collect dust and require gentle handling. Dry brushing works best—avoid moisture that damages adhesives holding embellishments. If beads appear dull, a barely damp cloth with a tiny drop of mild soap can restore shine, but test this method on hidden areas first.
Brass, copper, and metal-trimmed shades need special attention to hardware while cleaning adjacent fabric or paper. Use a soft cloth to clean metal trim separately if needed, applying appropriate metal polish to the hardware only—never allow metal cleaners to contact fabric or paper materials. Wipe metal trim thoroughly before reattaching to the shade.
Shades with decorative linings require assessment of both exterior and interior materials. If the lining is delicate, cleaning should focus on the exterior only. For shades with sturdy linings, interior dust can be gently removed using the same methods applied to exterior surfaces, ensuring water doesn’t drip from interior to exterior.
Lampshade frames made from plastic or composite materials tolerate more aggressive cleaning than fabric coverings. Clean frames separately from coverings when possible. For integrated designs, focus cleaning efforts on the covering material and use minimal moisture near frame junctions where water can become trapped.
Fabric shades with plastic stiffening require careful moisture control. Water absorbed by plastic bases causes swelling, warping, and loss of shape. Limit wet cleaning to the fabric covering only, keeping moisture away from the plastic structure. Allow extended drying time—at least 24-48 hours—before rehanging to ensure complete moisture evaporation from all layers.
Stain Removal Techniques
Different stain types demand specific removal approaches. Dust and general soiling respond best to dry methods initially. Never apply water to unknown stains; this often sets them permanently. Instead, try dry dusting or gentle vacuuming first, then assess whether additional cleaning is necessary.
Grease stains require degreasing solutions. Mix a small amount of liquid dish soap with distilled water—this combination breaks down oil without damaging most fabrics. Apply sparingly using a cloth, work gently, and rinse thoroughly with plain water. For stubborn grease, try a solution of equal parts white vinegar and distilled water after initial soap treatment.
Water rings and mineral deposits respond well to white vinegar solutions. Mix equal parts white vinegar and distilled water, apply with a cloth, and allow to sit for 5-10 minutes before wiping with a plain water rinse. The acid in vinegar dissolves mineral buildup while the water base prevents damage to most fabrics. Avoid this method on delicate materials like silk without testing first.
Smoke and odor stains present complex challenges. Baking soda offers a gentle first approach—sprinkle it on the shade, allow it to sit for several hours (or overnight for severe odors), then vacuum thoroughly. For chemical odor removal, place the shade in a well-ventilated area with activated charcoal or crumpled newspaper nearby; these materials absorb odors naturally over 24-48 hours.
Pet stains and biological marks require enzymatic cleaners designed for upholstery. These products break down organic compounds that cause discoloration and odor. Apply according to product instructions, typically allowing contact time before rinsing. Test thoroughly on inconspicuous areas since enzymatic cleaners are more aggressive than mild soap solutions.
Ink and marker stains demand immediate attention before setting. For water-based markers, apply distilled water with a cloth immediately. For permanent markers, rubbing alcohol applied carefully to the stain sometimes prevents spreading, though complete removal may be impossible depending on the fabric and ink type. Avoid harsh scrubbing that drives ink deeper into fibers.
Drying and Restoration
Proper drying is as important as cleaning itself. Air drying remains the safest method for most lamp shade materials. Hang the shade in a well-ventilated area away from direct sunlight, heat sources, and humidity extremes. Position it so air circulates around all surfaces—don’t place cleaned shades directly against walls or inside cabinets where moisture becomes trapped.
Accelerate drying by directing a fan toward the shade from a distance (at least 3 feet away). This increases air circulation without applying concentrated heat that damages certain materials. Avoid hair dryers or heat guns; direct heat warps paper shades, causes fabric shrinkage, and can damage adhesives holding trim and linings in place.
Drying times vary significantly by material and moisture level. Fabric shades typically dry within 4-8 hours in favorable conditions. Paper and pleated shades may require 12-24 hours to ensure complete moisture evaporation from all layers. Parchment finishes need extended drying—allow 24-48 hours before rehanging to prevent water rings or mildew development.
Once dry, assess your cleaning results. If stains persist, resist the urge for aggressive re-cleaning. Instead, allow additional drying time and evaluate whether a second gentle application of appropriate cleaning solution is warranted. Multiple light treatments prove more effective than single intensive efforts.
Restoration of shade shape sometimes becomes necessary after wet cleaning. Gently reshape fabric shades while slightly damp, adjusting pleats and smoothing wrinkles. For paper shades that warped during cleaning, place heavy flat objects on either side of the shade (not directly on top) to encourage straightening as it dries. Remove weights once the shade is completely dry.
Professional restoration services exist for valuable, antique, or severely damaged lamp shades. The American Lamp Association provides resources for locating qualified restoration specialists in your area. Investment in professional cleaning often costs less than replacing damaged vintage shades.
FAQ
Can I use a washing machine to clean lamp shades?
Machine washing is generally not recommended for lamp shades since the agitation and spinning damage delicate materials, cause shrinkage, and can separate linings from frames. Hand cleaning using appropriate methods for your specific material provides superior results with minimal damage risk. Only shades made from sturdy synthetic materials with no attached trim might tolerate gentle machine washing on delicate cycles, but hand cleaning remains the safer approach.
What’s the safest solution for cleaning antique or vintage lamp shades?
For valuable antique shades, consult professional conservators before attempting any cleaning. If you proceed independently, use only distilled water for initial testing and gentle dry dusting. Avoid all chemical solutions, heat, and moisture exposure. Document the shade’s condition with photographs before cleaning, and consider professional dry cleaning services as a safer alternative to home cleaning methods.
How often should I clean my lamp shades?
Light dusting every 2-4 weeks maintains cleanliness and prevents heavy dust accumulation that requires intensive cleaning. Deep cleaning every 6-12 months keeps shades looking fresh and functioning optimally. Homes with pets, smokers, or high dust levels may require more frequent cleaning. Regular maintenance prevents the need for aggressive cleaning that risks damage to materials.
Can I use bleach on white lamp shades?
Avoid bleach on most lamp shade materials since it damages fibers, weakens structural integrity, and causes yellowing over time. Even on white shades, bleach often produces uneven discoloration. For white fabric shades with stubborn stains, try oxygen-based cleaners (like OxiClean) which are gentler than chlorine bleach while still providing whitening benefits. Always test on inconspicuous areas first.
What should I do if my lamp shade has a tear or hole?
Clean the shade before attempting repairs to avoid trapping dirt under patched areas. Small tears in fabric can be carefully hand-stitched if you have sewing skills, or patched using fabric glue designed for upholstery. For paper shades, specialized lamp shade repair patches and adhesives exist. Larger damage often requires professional repair or shade replacement. Avoid cleaning severely damaged shades since moisture may cause further deterioration.
Is it safe to clean lamp shades while they’re on the fixture?
No—always disconnect the lamp from electrical power before cleaning. Even with the bulb off, electricity poses shock hazards. Additionally, cleaning on the fixture risks water damage to electrical components and the lamp base. Remove the shade and clean it separately in a safe, well-lit workspace away from water sources and electrical outlets.


