How to Clean Refrigerator Water Dispenser: Expert-Approved Guide
Your refrigerator’s water dispenser is one of the most frequently used appliance features, yet it’s often overlooked during routine cleaning. Over time, mineral deposits, mold, and bacteria can accumulate in the water lines and dispenser nozzle, compromising both water quality and taste. A clean water dispenser ensures your family drinks safe, fresh-tasting water directly from your fridge, and it extends the lifespan of your refrigeration system.
This comprehensive guide walks you through professional-grade cleaning techniques that don’t require expensive service calls. Whether you’re dealing with cloudy water, strange odors, or visible buildup, you’ll learn exactly how to restore your water dispenser to like-new condition. We’ll cover everything from basic daily maintenance to deep-cleaning methods used by appliance technicians, ensuring your refrigerator water system stays pristine year-round.
Why Clean Your Water Dispenser Regularly
Understanding the importance of regular cleaning helps motivate consistent maintenance. The water dispenser system includes multiple components—the nozzle, internal tubing, water lines, and the filter housing—all of which can harbor contaminants. According to the NSF International, water dispensers can accumulate biofilm, a slimy layer of microorganisms that develops when bacteria colonize surfaces exposed to moisture.
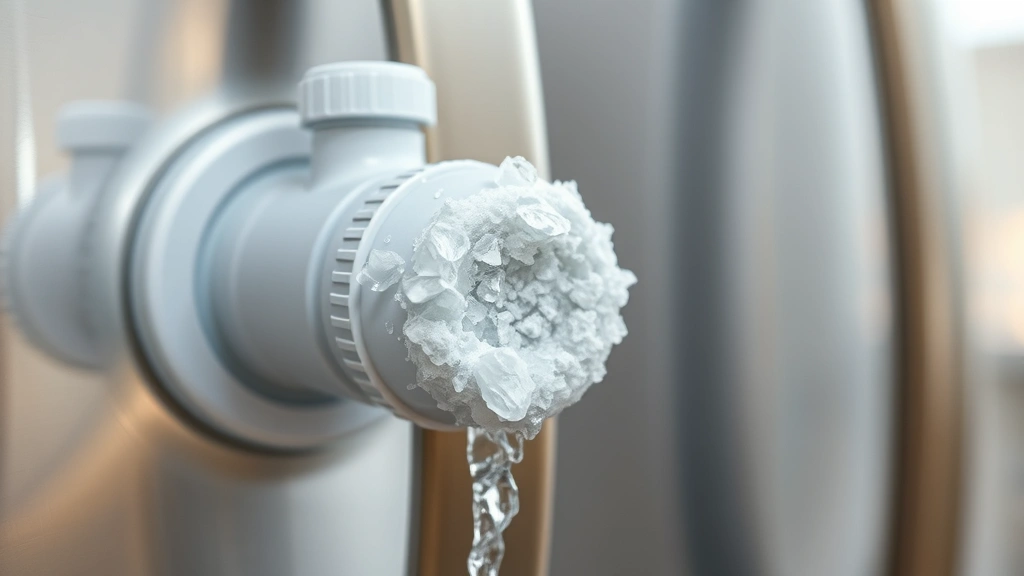
Mineral deposits from hard water create white, chalky buildup that not only looks unappealing but can restrict water flow and affect dispenser performance. Mold spores thrive in the moist environment of water lines, particularly in warm kitchens. If you notice your water tastes slightly off or smells unusual, these are clear signs your dispenser needs attention. Regular cleaning prevents these issues and maintains the effectiveness of your refrigerator’s seal and internal components.
Beyond taste and appearance, a clean water dispenser reduces the risk of consuming harmful bacteria like E. coli or Legionella. The CDC recommends regular cleaning of household water systems to prevent waterborne pathogens. This is especially important in homes with young children, elderly family members, or immunocompromised individuals who are more vulnerable to water-related illnesses.
Tools and Materials You’ll Need
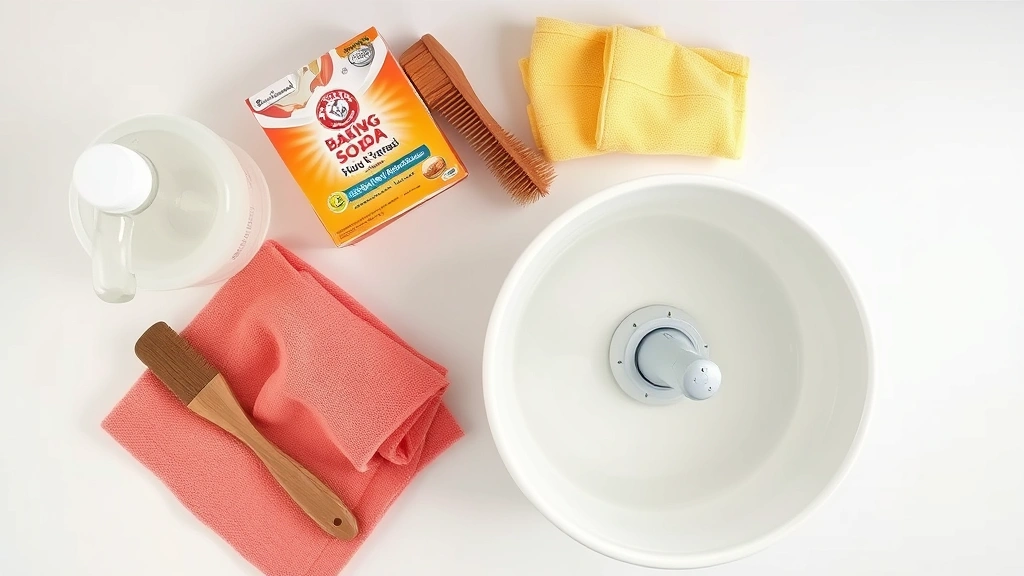
Before starting any cleaning project, gather the right supplies. Having everything on hand ensures an efficient, uninterrupted process. Here’s what professional appliance technicians recommend:
- White vinegar – The primary cleaning agent for mineral deposits and mild disinfection
- Baking soda – Gentle abrasive for scrubbing without damaging surfaces
- Dish soap – For general cleaning and degreasing
- Soft-bristled brushes – Various sizes for accessing tight spaces around the nozzle
- Clean cloths or microfiber towels – Non-abrasive wiping materials
- Sponges – Disposable or washable for scrubbing tasks
- Pipe cleaning brush – Specialized tool for internal water line access
- Turkey baster or syringe – For flushing cleaning solution through lines
- Bucket or large bowl – For soaking components
- Rubber gloves – Protects hands during cleaning
- Optional: Commercial water dispenser cleaner – Specialized products designed for refrigerator systems
For stubborn mineral buildup, you might consider manufacturer-approved cleaning solutions specific to your refrigerator model. Always check your appliance manual before using any cleaning products, as some materials may void your warranty or damage certain finishes.
Step-by-Step Cleaning Process
Follow these detailed steps for a thorough water dispenser cleaning. The process typically takes 30-45 minutes and requires no special skills or experience.
Step 1: Unplug and Prepare
Always disconnect your refrigerator from the electrical outlet before beginning any internal cleaning. This prevents accidental shock and ensures your safety. Allow the fridge to sit unplugged for at least five minutes. This cooling period allows any residual electrical charge to dissipate completely. Place towels on the floor beneath the water dispenser to catch any drips or spills during the cleaning process.
Step 2: Remove and Soak the Nozzle
The water dispenser nozzle is usually removable. Gently twist or pull the nozzle counterclockwise to detach it from the dispenser housing. If it’s stuck, apply a small amount of warm water around the base to loosen mineral deposits. Fill a bowl with equal parts white vinegar and warm water, then submerge the nozzle for 15-20 minutes. This soaking period dissolves mineral buildup and loosens trapped debris.
While the nozzle soaks, use a small brush to scrub the visible interior of the dispenser opening. Pay special attention to the edges and crevices where mold and mineral deposits accumulate. For detailed work, a soft toothbrush works excellently.
Step 3: Clean the Nozzle Thoroughly
Remove the nozzle from the vinegar solution and scrub it with a soft brush, working the bristles into every crevice. Use a cloth to wipe away loosened deposits. If mineral buildup remains, soak it for another 10 minutes. For stubborn deposits, create a paste using baking soda and vinegar, apply it to affected areas, and let it sit for five minutes before scrubbing again.
The water outlet holes at the tip of the nozzle are critical—they must be completely clear for proper water flow. Use a straightened paperclip or thin wire to gently clear any blockages from these small openings. Never use excessive force, as you could damage the nozzle opening.
Cleaning the Water Lines
The internal water lines are where most contamination accumulates. This section requires patience but is essential for truly clean drinking water.
Flushing with Vinegar Solution
After reattaching the clean nozzle, prepare a large batch of vinegar solution (one part white vinegar to three parts water). Using a turkey baster or large syringe, draw up the solution and carefully squirt it into the water dispenser opening. Work slowly to allow the solution to flow through the internal lines. Repeat this process 8-10 times, using approximately one cup of solution total.
Listen for the solution flowing through the system. You may hear gurgling sounds as air bubbles move through the lines—this is normal and indicates the solution is reaching the deeper passages. Allow the solution to sit in the lines for 15-20 minutes before flushing it out completely.
Thorough Flushing with Fresh Water
Reconnect your refrigerator and run fresh water through the dispenser for at least two minutes. This flushes out all vinegar solution and loosened debris. Discard the first pitcher of water—don’t drink it. Continue running water through the dispenser until you no longer smell vinegar. This typically requires 3-4 full minutes of continuous dispensing.
Deep Cleaning the Filter Housing
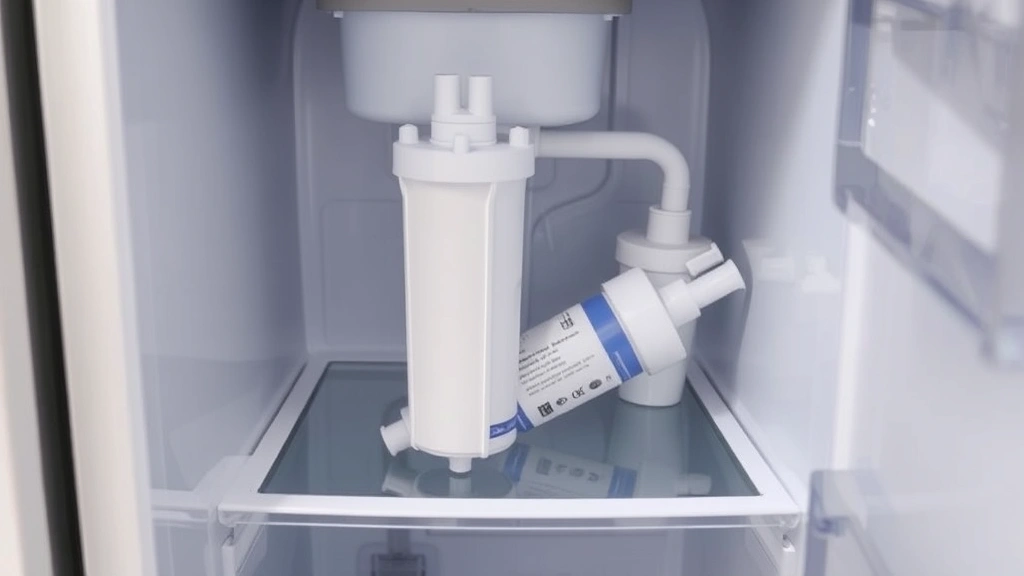
Locate your refrigerator’s water filter housing (usually inside the fridge or under the sink, depending on your model). Consult your manual to identify the exact location. Turn off the water supply valve before removing the filter. Place a bucket underneath to catch any residual water. Unscrew the filter housing and remove the old filter.
Rinse the filter housing interior with warm water, then spray it with vinegar solution. Use a small brush to scrub the interior walls, paying attention to the threaded areas where mineral deposits hide. Let the vinegar solution sit for 10 minutes, then rinse thoroughly with fresh water until no vinegar smell remains.
Install a fresh water filter according to your refrigerator’s specifications. High-quality filters are essential—they typically need replacement every 6 months for optimal performance. The EPA provides guidance on water filter effectiveness and certification.
Maintaining Your Dispenser
Consistent maintenance prevents the need for aggressive deep cleaning. Implement these simple habits to keep your water dispenser in excellent condition year-round.
Weekly Maintenance Routine
Every week, wipe down the nozzle and surrounding area with a damp cloth. This removes dust, fingerprints, and prevents buildup from accumulating. Check the water quality—if it becomes cloudy or develops an off-taste, it’s time for a cleaning cycle. Run water through the dispenser for 30 seconds daily to keep lines flowing and prevent stagnation, which encourages bacterial growth.
Monthly Deep Cleaning
Once monthly, perform a mini version of the full cleaning process. Soak the nozzle in vinegar solution for 15 minutes, scrub it clean, and flush the lines with vinegar solution followed by fresh water. This prevents mineral and bacterial buildup from reaching problematic levels.
Filter Replacement Schedule
Replace your water filter every 6 months, or according to your refrigerator manufacturer’s recommendations. Some high-use households may need replacement every 3-4 months. A clogged filter reduces water quality and puts stress on your refrigerator’s water pump. Keep replacement filters on hand so you never miss a scheduled change. Many retailers offer subscription services for automatic filter delivery.
Water Line Inspection
Periodically check visible water lines for cracks, kinks, or discoloration. Any damage compromises water quality and can lead to leaks. If you notice problems with your refrigerator’s water system, consult your manual or contact the manufacturer before attempting repairs. Improper water line repair can result in water damage to your kitchen flooring and cabinets.
Troubleshooting Common Issues
Even with regular maintenance, problems sometimes arise. Here’s how to diagnose and resolve common water dispenser issues.
Cloudy or Discolored Water
Cloudiness typically indicates mineral deposits or air bubbles in the lines. Run the dispenser continuously for 2-3 minutes to purge air. If cloudiness persists, perform the vinegar flush detailed in the water lines cleaning section. Discolored water (yellow, brown, or reddish tint) suggests rust or sediment in the lines—this requires immediate attention. Stop using the dispenser and contact a professional if the discoloration doesn’t clear after thorough flushing.
Slow Water Flow
Reduced flow usually means a clogged filter or mineral-blocked nozzle. First, check and replace your water filter if it hasn’t been changed recently. If flow remains slow, clean the nozzle thoroughly using the vinegar soak method. If water still drips slowly, mineral deposits may be blocking internal lines—perform the vinegar line-flushing procedure described above.
Strange Taste or Odor
Unpleasant tastes or smells indicate bacterial growth or mold in the system. This is your signal to perform a complete cleaning immediately. Run a vinegar flush through the lines, replace your water filter, and clean the nozzle thoroughly. If the problem persists after cleaning, the issue may lie deeper in your home’s water supply line—contact your water utility to have your supply tested.
Water Leaks
Leaks around the nozzle usually indicate improper reattachment or a damaged seal. Remove the nozzle, inspect the rubber gasket or seal for cracks, and check the threaded connection for debris. Clean these areas thoroughly and reattach the nozzle, ensuring it’s seated properly. If leaks continue, the gasket may need replacement—consult your refrigerator’s parts manual or contact the manufacturer for the correct replacement gasket.
Ice Maker Issues Related to Water Quality
If your ice maker produces cloudy or off-tasting ice, the problem originates in your water dispenser system. The same water supply feeds both features. Follow the complete cleaning process outlined in this guide to resolve the issue. Additionally, ensure your overall appliance maintenance routine includes regular attention to all water-using components.
FAQ
How often should I clean my refrigerator water dispenser?
For most households, a thorough cleaning every 3-6 months is sufficient. However, if you have hard water, live in a warm climate, or use the dispenser frequently, monthly cleaning is recommended. Weekly nozzle wiping and monthly vinegar flushes prevent major buildup regardless of your climate or usage patterns.
Is white vinegar safe for cleaning refrigerator water systems?
Yes, white vinegar is completely safe and is actually recommended by many appliance manufacturers. It’s food-grade, non-toxic, and effectively dissolves mineral deposits. Always flush thoroughly with fresh water after using vinegar to remove all traces before drinking the water. The acidity of vinegar makes it ideal for mineral removal without damaging plastic or metal components.
Can I use bleach to clean the water dispenser?
Bleach is not recommended for water dispenser cleaning. While it’s an effective disinfectant, it’s difficult to remove completely from water lines, and any residue poses health risks. Stick with vinegar, baking soda, or commercial products specifically designed for water system cleaning. If you’re concerned about bacterial contamination beyond normal levels, consult a professional water system technician.
What’s the difference between cleaning the nozzle and cleaning the water lines?
The nozzle is the visible spout where water comes out—it’s easily accessible and can be removed for soaking. The water lines are the internal tubes carrying water from the filter to the dispenser—they require flushing with solutions rather than direct scrubbing. Both require regular attention for optimal water quality, but they use different cleaning methods.
Do I need to replace my water filter if I’m cleaning the dispenser?
Not necessarily at the same time, but they’re related. If your filter is due for replacement (typically every 6 months), it’s an ideal time to perform a full dispenser cleaning. However, if you’ve just replaced the filter and notice water quality issues, focus on cleaning the dispenser itself. A good filter protects the dispenser from future contamination.
Why does my water still taste bad after cleaning?
If taste problems persist after thorough cleaning and filter replacement, the issue may lie outside your refrigerator. Test your home’s main water supply—the problem might be in your municipal water or home plumbing. Contact your local water utility for testing. Alternatively, you might need a whole-home water filtration system rather than just the refrigerator filter. Some refrigerator filters are designed for sediment removal but don’t address taste or odor issues caused by dissolved minerals or chlorine.
Is it normal for water to smell like vinegar after cleaning?
Yes, and it’s temporary. After vinegar cleaning, run water through the dispenser for 3-4 minutes to completely flush the vinegar solution. If vinegar smell persists beyond this, continue flushing. The smell should disappear entirely—if it doesn’t after 5+ minutes of flushing, you may have vinegar trapped in the lines. Consult your manual for proper line-flushing procedures specific to your model.
Can I clean my water dispenser without unplugging the refrigerator?
While external nozzle cleaning doesn’t require unplugging, it’s safest to unplug before any internal work. If you’re only wiping the exterior nozzle with a damp cloth, you can skip unplugging. However, for any internal component access or flushing solutions through the lines, unplugging prevents accidental electrical hazards and is the recommended safety practice.
What should I do if I find mold in my water dispenser?
Mold indicates your system needs immediate attention. Follow the complete cleaning process with extra emphasis on the vinegar soak and flush. Let vinegar solution sit in the lines for 20-30 minutes rather than the standard 15 minutes. After cleaning, run fresh water through the dispenser for 5 minutes. Replace your water filter immediately. If mold returns quickly, your water supply may have high moisture or the system may have a structural issue—contact a professional.
Are there any parts I shouldn’t clean myself?
The nozzle and accessible filter housing are safe for DIY cleaning. However, avoid disassembling water pump components or cutting into water lines unless you’re experienced with appliance repair. If problems persist after cleaning the nozzle and flushing the lines, consult your refrigerator’s manual or contact the manufacturer’s customer service. Improper internal repairs can damage your appliance and void your warranty.


