Table of Contents
Introduction
Here’s something that might surprise you: installing your own flooring isn’t just possible—it’s actually pretty rewarding. Sure, the idea might seem intimidating at first (I get it, we’ve all seen those home improvement disasters). But think about it this way: every time you walk across a floor you installed yourself, you’ll feel that little spark of pride. Plus, your wallet will thank you big time.
The thing about flooring is that it completely changes how a space feels. New floors can make an old room feel fresh again, or turn a boring space into something special. When you do it yourself, you get to pick exactly what you want—no compromising with contractors or settling for “close enough.” And honestly? There’s something pretty satisfying about learning a new skill along the way. It’s similar to tackling DIY car repairs—intimidating at first, but once you get the hang of it, you’ll wonder why you ever paid someone else to do it. The money you save by skipping labor costs? We’re talking hundreds, sometimes thousands of dollars back in your pocket.
Now, let’s be real here—success comes down to knowing what you’re doing before you start. You need to understand your material options (hardwood versus laminate versus tile), know which tools actually matter, and—this is crucial—prep your space properly. Skip the prep work, and you’ll regret it later. Trust me on this one. Taking time to remove old flooring correctly and get your subfloor level makes all the difference between a floor that looks professional and one that… well, doesn’t. We’ll walk through all of this together, drawing from the same kind of detailed approach you’d find in guides like how to refinish hardwood floors.
But here’s what nobody talks about enough: the mistakes. Even experienced DIYers mess things up sometimes. Forget to leave expansion gaps? Your floor might buckle. Miscalculate your measurements? You’re making another trip to the store. We’ll cover these common pitfalls so you can avoid them entirely. And yes, there are times when calling a professional makes sense—knowing when to wave the white flag can actually save you money in the long run. These lessons apply to other precision work too, like vinyl siding installation, where patience and attention to detail really pay off.
What You’ll Learn in This Guide
We’re going to cover everything you need to know to tackle this project successfully. From choosing materials to putting on the finishing touches, you’ll have all the knowledge and confidence you need. Here’s what we’ll dig into:
- Materials and Tools Essentials: We’ll break down your flooring options—hardwood, laminate, vinyl, and tile—plus show you exactly which tools you’ll actually use (and which ones are just marketing hype).
- Preparation and Planning: This is where most people mess up, so we’ll spend real time on properly prepping your space, taking accurate measurements, and planning your layout before you cut a single piece.
- Step-by-Step Installation Process: No confusing jargon here—just clear, practical steps for laying underlayment, installing your flooring, making clean cuts, and adding those finishing touches that make it look professional.
- Tips, Common Mistakes, and Professional Guidance: Real talk about what goes wrong, how to avoid it, how to maintain your new floor, and when it’s smart to call in backup.
As we work through this together, you’ll start feeling more confident about taking on bigger projects. And who knows? You might catch the DIY bug and want to try other creative projects like DIY pallet projects to keep personalizing your space.
Look, the goal here isn’t just to get new flooring. It’s about proving to yourself that you can learn something new, improve your home with your own hands, and create a space that feels genuinely yours. There’s real value in that beyond just the money you’ll save.
So if you’re ready to roll up your sleeves and see what you’re capable of, let’s get started. Your floors (and your confidence) are about to get a serious upgrade.
Ready to tackle a DIY flooring project? You’re in for quite the adventure! There’s something incredibly satisfying about transforming a room with your own two hands—not to mention the money you’ll save along the way. But here’s the thing: success comes down to planning and knowing what you’re doing before you start ripping up that old carpet. We’re going to walk through everything you need to know, from getting your space ready to putting down those final finishing touches. Trust me, with the right approach and a bit of patience, you can get results that’ll have people asking if you hired professionals.
Preparing Your Space for Successful DIY Flooring Installation
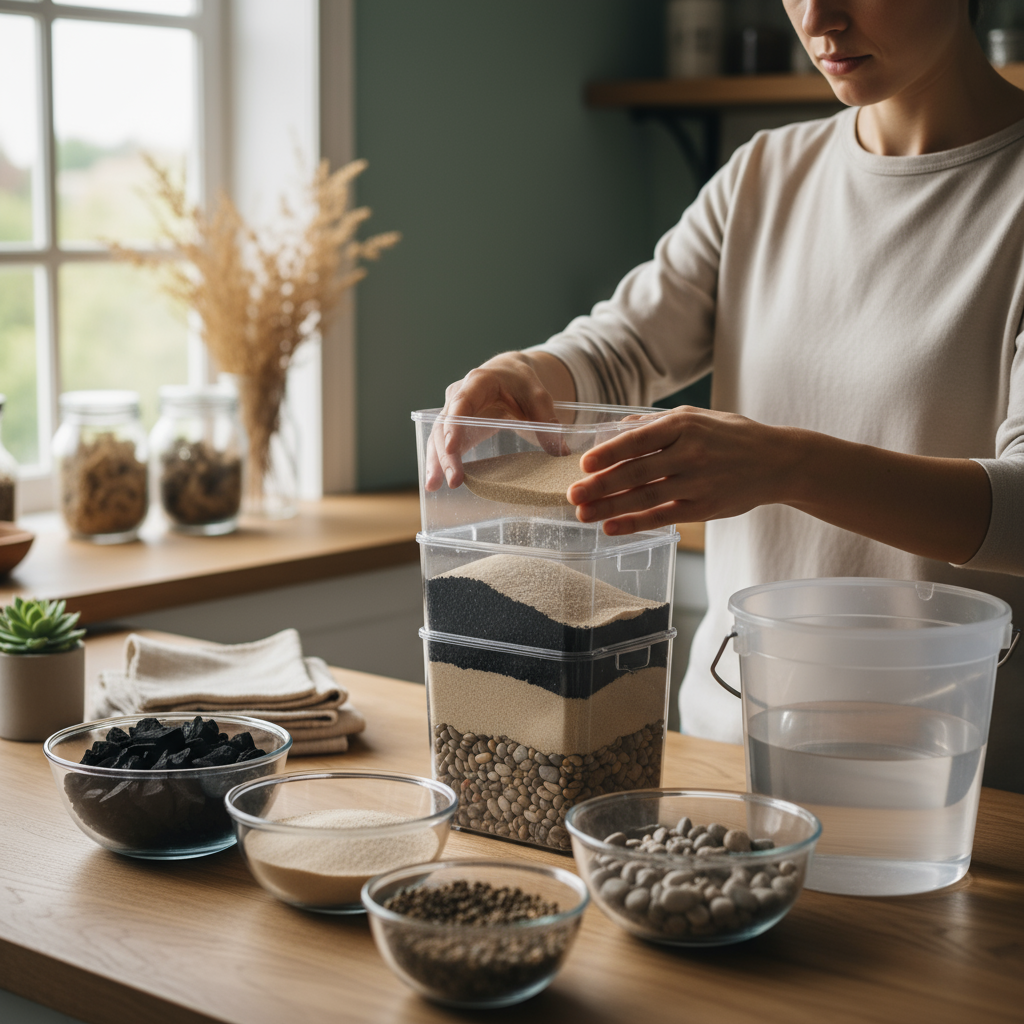
Here’s where most people want to rush—and where most mistakes happen. Before you even think about laying down new flooring, you’ve got to prep your space properly. Think of it like painting a wall: you wouldn’t just slap paint over dirt and holes, right? Same principle applies here. Start by clearing everything out—and I mean everything. Furniture, rugs, that random box you’ve been meaning to move for months. Once you’ve got a clean slate, it’s time to remove the old flooring. This part can be tough work (especially with old carpet that seems glued to the planet), but take your time to avoid damaging what’s underneath. Your subfloor is the foundation of everything, so treat it with respect. Level surfaces matter more than you might think—even small bumps can cause big problems down the road. You might need to patch holes, sand down high spots, or add leveling compound. It’s not glamorous work, but it’s absolutely crucial. If you want to understand why preparation matters so much in DIY projects, check out creative DIY pallet projects and the value of preparation. The lessons there apply to any project where shortcuts come back to bite you.
Now, let’s talk about something that trips up a lot of DIYers: moisture. If you’re installing hardwood or laminate, humidity is not your friend. Test moisture levels and don’t skip vapor barriers if you need them—especially in basements or anywhere dampness might be lurking. Here’s another pro tip: let your flooring materials hang out in the room for a few days before installation. They need to get used to the temperature and humidity, kind of like how you need to adjust when you move to a new climate. While your materials are acclimating, spend time planning your layout. Measure twice, cut once—it’s an old saying for a good reason. Figure out your pattern, think about how planks or tiles will look around doorways and corners. A little planning now saves you from those “oops” moments later. For more insights on why detail-oriented prep work pays off, take a look at how DIY bath salts making highlights attention to detail and material prep. The same careful approach makes all the difference.
Key Aspects of Preparing Your Space
Getting your space ready involves several important steps that work together for a smooth installation:
- Clearing and Cleaning: Remove all furniture, rugs, and existing flooring. Thoroughly clean the subfloor to eliminate dust, dirt, and residue, ensuring strong adhesion and a smooth surface.
- Subfloor Inspection and Leveling: Check for cracks, unevenness, or damage in the subfloor. Use patching compounds or sanding to level the surface and prevent long-term floor problems.
- Moisture Assessment and Protection: Measure moisture content and install vapour barriers if necessary, especially in basements or high-humidity areas, to extend flooring lifespan.
- Material Acclimation and Layout Planning: Allow flooring materials to acclimate to room conditions for several days. Plan your layout carefully, accounting for room shape and expansion needs to avoid installation errors.
Once you’ve nailed the prep work, you’re ready to move on to the actual installation. And honestly? This is where the fun really begins.
Step-by-Step Installation Process: From Measuring to Finishing
Alright, this is it—time to install your flooring! Start with measurements because running out of material halfway through is nobody’s idea of a good time. Grab a quality measuring tape and get exact dimensions. Then add about 5-10% extra for cuts, mistakes, and those inevitable “I measured that wrong” moments. We’ve all been there. Once you know how much material you need, think about your pattern. Going straight? Diagonal for something fancy? Herringbone if you’re feeling ambitious? Each choice affects both the look and the amount of cutting you’ll need to do. If you want to see how proper planning and measurement make or break a project, DIY car repairs tips offer great examples of why accuracy matters from the start.
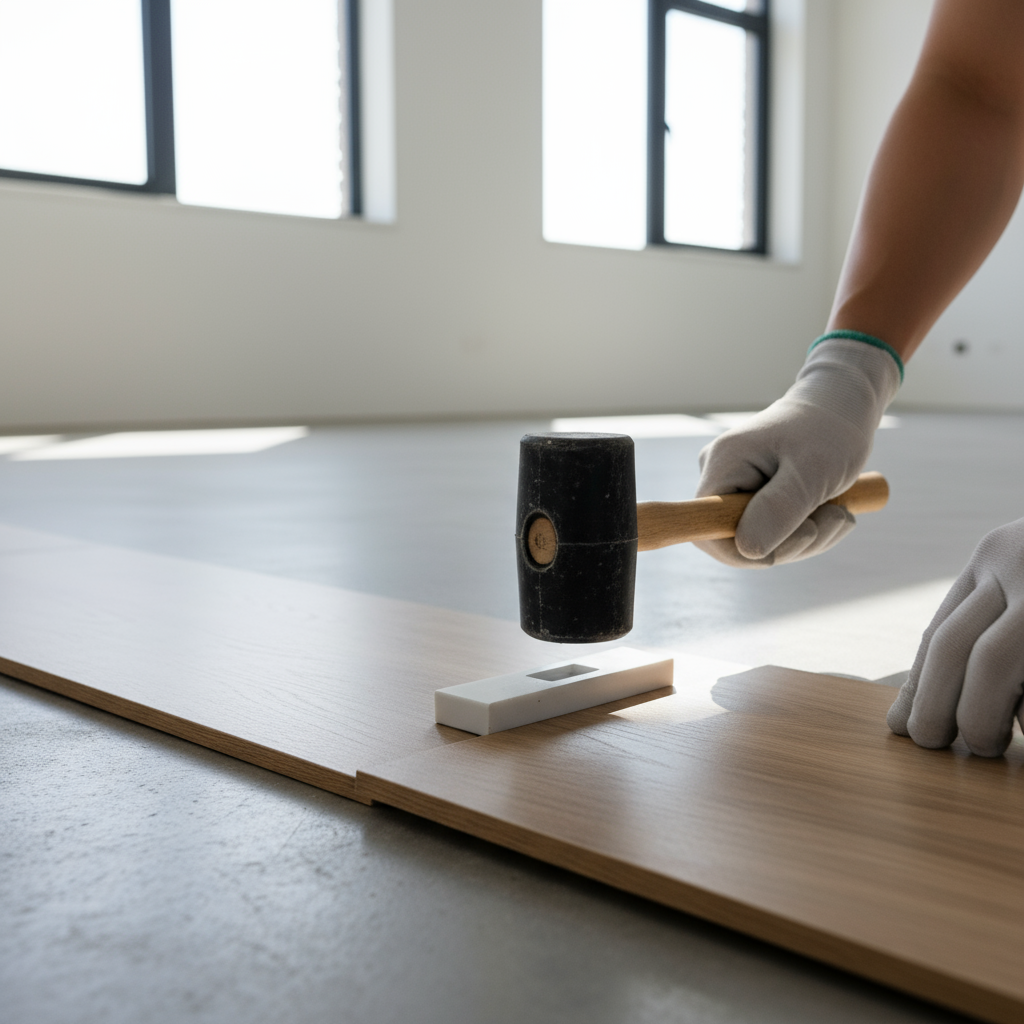
The actual installation varies depending on what you’re putting down, but some basics apply across the board. You’ll likely start with underlayment—think of it as the comfortable shoes for your floor. It adds cushioning, sound dampening, and moisture protection. When you start laying flooring, work methodically. Whether you’re dealing with click-lock planks, adhesive tiles, or nail-down hardwood, take your time with each piece. A rubber mallet becomes your best friend here—it lets you snug pieces together without the dents and dings a regular hammer would leave. Don’t forget about expansion gaps! Your floor needs room to breathe as temperatures change. Those gaps get hidden by trim later, so don’t worry about how they look now. Need more examples of precision and careful technique? Check out creative DIY paper crafts guides for insights on working with materials that demand attention to detail.
Key Aspects of the Installation Process
Here’s what you need to focus on to get professional-looking results:
- Measuring and Planning: Take precise room measurements and map out the flooring layout. Calculate required materials including about 5-10% extra for cuts and errors to ensure you have enough to complete the project.
- Laying Underlayment: Install a moisture barrier or cushioning layer appropriate to your flooring type. This step enhances comfort, sound insulation, and moisture protection.
- Placing and Securing Flooring: Fit the flooring pieces snugly, using tools like a rubber mallet to avoid damage. Follow manufacturer instructions for adhesive use or locking mechanisms to secure the floor firmly.
- Finishing Touches: Install trim and molding to cover expansion gaps and seams, enhancing the professional appearance. Finally, clean the floor and allow adequate time for adhesive curing and material acclimation before heavy use.

You did it! Installing your own flooring is one of those projects that makes you stand back and think, “I actually built this.” And honestly? That feeling never gets old. You’ve learned about different flooring materials—hardwood, laminate, vinyl, tile—and figured out which tools you actually need (versus the ones that just look cool at the hardware store). More importantly, you’ve discovered why preparation matters so much. Trust me, spending extra time cleaning and leveling that subfloor isn’t glamorous, but it’s what separates floors that look great from floors that look professional.
Here’s what I love about DIY flooring: it’s not just about the money you save. Sure, that’s nice. But there’s something special about walking across a floor you installed with your own hands. Every plank you measured, every cut you made, every moment you spent getting those expansion gaps just right—it all adds up to something bigger than just a floor. It becomes part of your home’s story.
Now, let’s be real for a second. Sometimes you’ll hit a wall (hopefully not literally). Maybe your subfloor isn’t as level as you thought, or you’re dealing with a tricky corner that’s testing your patience. Knowing when to call in a pro isn’t giving up—it’s being smart. I’ve seen too many people push through when they should have gotten help, and those costly mistakes? They hurt more than just your wallet.
So where do you go from here? Your flooring skills are just the beginning. Consider trying some DIY pallet projects to create furniture that complements your beautiful new floors. If you’re feeling confident with tools, our DIY car repairs guide will help you tackle basic maintenance with the same methodical approach you used for flooring. Want to practice precision on smaller projects? DIY paper crafts are perfect for sharpening those detail-oriented skills. And if you installed hardwood, bookmark this guide on how to refinish hardwood floors—because eventually, you’ll want to bring back that like-new shine.
Every project builds on the last one. The measuring skills you mastered? You’ll use them everywhere. The patience you developed while fitting pieces together? That’s going to serve you well in bigger renovations. The confidence you gained? That’s priceless. Your home is becoming a reflection of your effort and personality, one project at a time. Keep that momentum going—there’s so much more you can create.
Frequently Asked Questions
-
What is the best type of flooring for beginners to install?
- Laminate and vinyl flooring are typically the easiest for beginners due to their click-together installation systems that require less specialized tools and skills.
-
How long does a typical DIY flooring installation take?
- Installation time varies by room size and experience, but most average-sized rooms can be completed within one to three days with proper planning and preparation.
-
Can I install flooring over existing floors?
- In many cases, yes, but installation depends on the condition and type of the existing floor. Proper assessment and preparation are crucial.
-
What tools are absolutely necessary for flooring installation?
- Essential tools include a measuring tape, utility knife, rubber mallet, and either flooring adhesive or nails, depending on the flooring type.
-
Is professional help expensive if I need it?
- Hiring a professional can vary in cost but often saves time and prevents costly mistakes, especially on complex or large projects. It may be worth the investment.