Toasting Bread in Oven: Chef’s Proven Method
Achieving perfectly toasted bread requires more than simply sliding a slice into your oven and hoping for the best. Professional chefs and bakers understand that oven toasting is a precise technique involving temperature control, timing, and bread selection to produce golden, crispy results without burning. Whether you’re preparing toast for breakfast, creating croutons for salads, or making breadcrumbs for coating, mastering the oven toasting method elevates your culinary skills and ensures consistent, delicious outcomes every time.
The beauty of oven toasting lies in its versatility and superior results compared to traditional toasters. Unlike single-slice toasters that can produce uneven browning, your oven provides uniform heat distribution across multiple slices simultaneously. This method works exceptionally well for thick-cut bread, artisanal loaves, and specialty breads that standard toasters cannot accommodate. Understanding the fundamentals of temperature, timing, and bread preparation transforms a simple task into a refined cooking technique that professional kitchens rely upon daily.
Optimal Temperature Settings
The foundation of successful oven toasting begins with selecting the correct temperature. Most professional bakers recommend 375°F to 425°F as the ideal range for achieving golden-brown toast with maximum crispness. This temperature range allows the bread’s exterior to brown and crisp while the interior retains appropriate moisture and structure. Lower temperatures below 350°F will dry out bread without creating the desired golden color, while excessive heat above 450°F risks charring the exterior before the interior toasts properly.
The specific temperature you choose depends on several factors including bread thickness, moisture content, and desired crispness level. Standard sandwich bread toasts beautifully at 400°F, while thicker artisanal slices benefit from slightly lower temperatures around 375°F to allow more even heat penetration. If you’re preparing precise temperature cooking for other kitchen projects, apply the same attention to detail with your toasting process. Convection ovens, which circulate heated air more efficiently, allow you to reduce the temperature by 25°F while maintaining the same browning speed.
Always preheat your oven for 10 to 15 minutes before adding bread. This ensures the heating elements reach full capacity and provides consistent temperature throughout the toasting process. Use an oven thermometer to verify actual temperature, as many household ovens have calibration issues that can affect cooking times significantly.
Timing Guide by Bread Type
How long to toast bread in oven depends primarily on bread thickness and type. Here’s a comprehensive breakdown of timing recommendations for common bread varieties:
- Standard white sandwich bread: 5-8 minutes at 400°F for light golden toast; 8-10 minutes for darker, crispier results
- Whole wheat bread: 6-9 minutes at 400°F, as denser texture requires slightly longer exposure to heat
- Thick-cut artisanal bread: 8-12 minutes at 375°F, allowing heat to penetrate thicker slices evenly
- Thin baguette slices: 3-5 minutes at 425°F for quick, crispy crostini-style toast
- Sourdough bread: 7-10 minutes at 400°F, depending on crust thickness and moisture content
- Brioche or enriched breads: 5-7 minutes at 400°F, as these brown quickly due to higher butter and egg content
These timing ranges are starting points that may require adjustment based on your specific oven and bread characteristics. The best approach involves checking your toast around the minimum time and adjusting duration upward in 1-2 minute increments until you achieve desired browning.
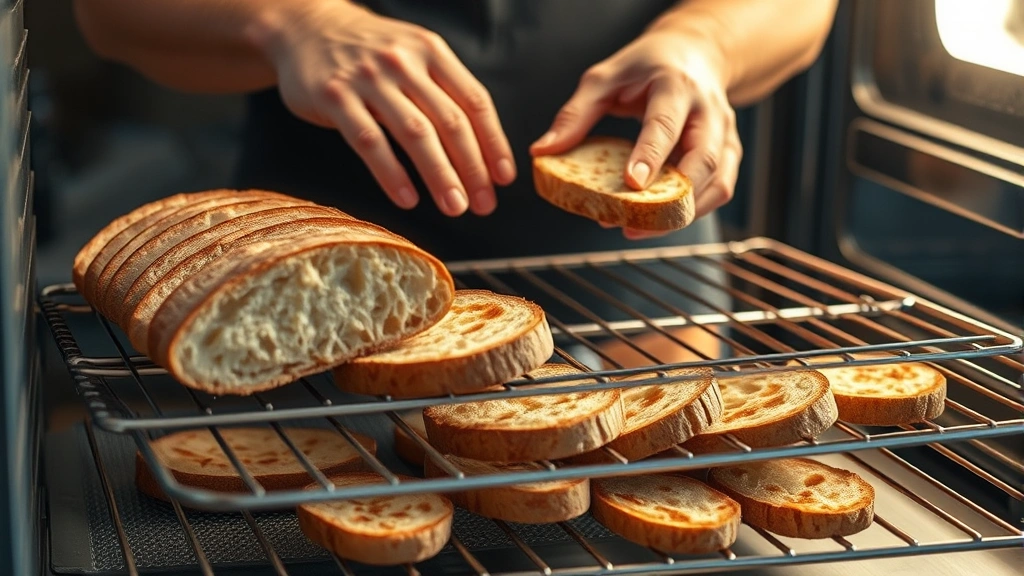
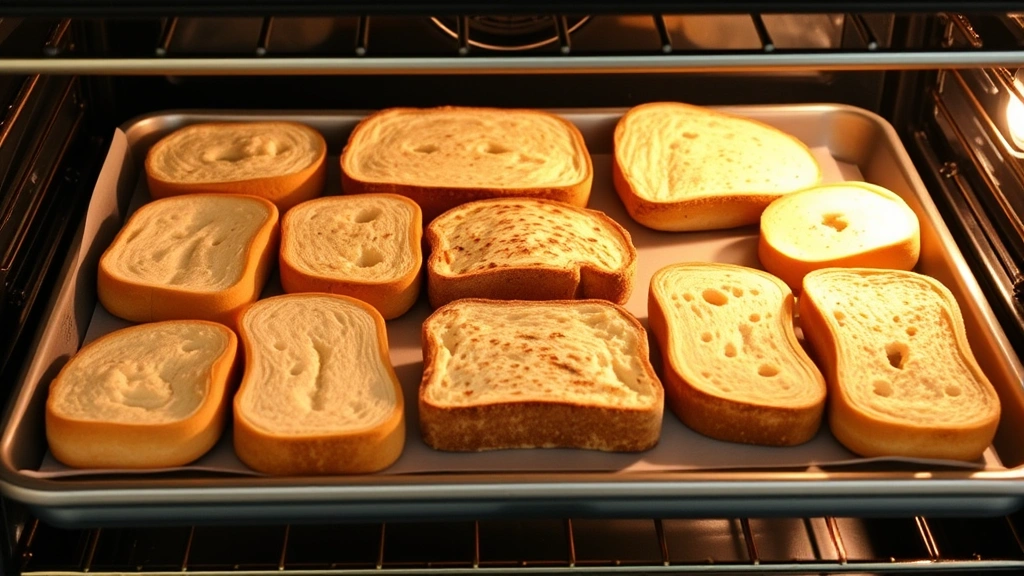
For batch toasting multiple slices, arrange bread in a single layer on your oven rack or baking sheet. Avoid stacking or overlapping slices, as this prevents uniform heat exposure and creates inconsistent results. If your oven space is limited, toast in multiple batches rather than compromising on arrangement quality.
Preparation Steps for Success
Proper bread preparation before toasting significantly impacts final results. Start by selecting bread at appropriate ripeness—neither too fresh nor stale. Very fresh bread contains excess moisture that extends toasting time and may result in dry interiors with burnt exteriors. Conversely, day-old or slightly stale bread toasts more evenly and develops superior crispness.
Slice your bread to consistent thickness, ideally between ½-inch and ¾-inch thick. Uniform thickness ensures even toasting across all slices without some pieces burning while others remain pale. If you’re preparing home preparation projects, apply the same attention to detail and consistency standards.
Consider your bread’s moisture content and adjust accordingly. Drier breads may toast faster, while moister varieties require extended time. If you’re working with particularly moist bread, allow it to air-dry for 30 minutes before toasting, or slice it thinner to compensate for internal moisture.
Optional preparation steps include:
- Lightly brush bread with olive oil or melted butter for enhanced browning and flavor development
- Season bread before toasting with salt, herbs, or garlic powder for flavored toast variations
- Arrange slices with cut-side up on baking sheets for better control over browning
- Place slices directly on oven racks for maximum air circulation and crispness
Monitoring Your Toast
Active monitoring during the toasting process prevents disappointing results and ensures optimal outcomes. Check your bread at the halfway point through your estimated toasting time to assess browning progress. This allows you to make timing adjustments before problems develop. Look for even golden-brown coloring across all visible surfaces, with slightly darker edges and corners acceptable for achieving crispness.
Use your oven light to observe toasting progress without opening the door, which disrupts temperature stability. If you must open the door for closer inspection, do so quickly and briefly to minimize heat loss. Some ovens have hot spots or uneven heating patterns, so rotate your baking sheet or racks halfway through toasting if you notice uneven browning.
The visual cues indicating proper toasting include:
- Golden-brown surface color matching your desired darkness preference
- Slight curling or crisping at bread edges
- Firm texture when gently pressed with a fork (bread should not be soggy)
- Aromatic toasted bread smell indicating Maillard reaction completion
- No visible pale or white areas remaining on the bread surface
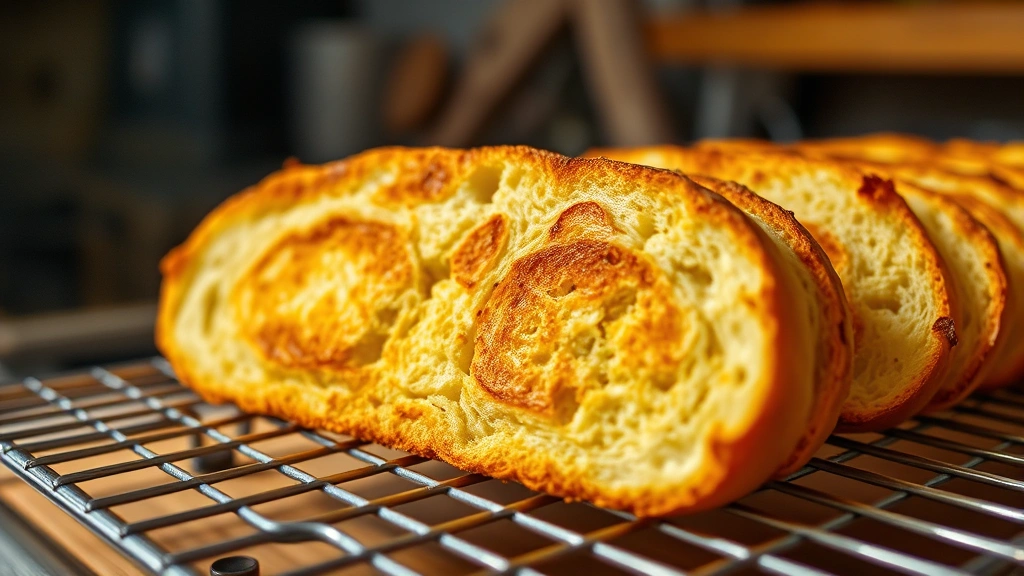
Remove toast immediately upon reaching desired color, as residual oven heat continues the browning process even after bread leaves the heating elements. Place toasted bread on a cooling rack or paper towels to allow steam to escape, preventing sogginess from condensation.
Advanced Toasting Techniques
Professional chefs employ several advanced techniques to achieve specialized toasting results. The two-stage toasting method involves toasting bread at a lower temperature for initial color development, then briefly increasing heat for final crisping. This technique prevents exterior burning while ensuring interior moisture reduction, particularly useful for thick artisanal breads.
Broiler finishing represents another professional approach: toast bread at 400°F until nearly golden, then briefly place under the broiler (2-3 minutes) for final browning and maximum crispness. This method requires careful attention to prevent charring but produces exceptional results for special applications.
For DIY cooking projects, consider creating flavored toasts by brushing bread with herb-infused oils before toasting. Garlic, rosemary, thyme, and oregano oils add sophisticated flavor dimensions that transform simple toast into appetizer-worthy preparations. Similarly, resting techniques apply to toast as well—allowing freshly toasted bread to cool for 2-3 minutes allows the interior structure to set properly before serving or further preparation.
Batch toasting for storage is possible: toast bread slightly under-done, cool completely, then store in airtight containers. Finish toasting individual portions as needed by placing in your regular toaster or returning briefly to the oven. This method works excellently for preparing large quantities for events or meal prep situations.
Troubleshooting Common Issues
Even experienced cooks encounter toasting challenges. If your bread burns on the outside while remaining pale inside, reduce temperature by 25°F and extend timing by 2-3 minutes. This indicates excessive surface heat without sufficient time for internal moisture reduction.
Uneven browning across multiple slices suggests oven hot spots or poor air circulation. Remedy this by rotating your baking sheet halfway through toasting, using space optimization techniques to arrange bread for better heat distribution. Alternatively, place a baking sheet on the oven rack above your bread to deflect excessive direct heat to the top element.
Soggy or soft toast indicates insufficient toasting time or excessive moisture in your bread. Increase toasting duration by 2-3 minutes, or select drier bread varieties. If using fresh bread, consider air-drying it beforehand or slicing thinner to reduce internal moisture.
Pale, under-toasted bread results from insufficient temperature or timing. Increase temperature by 25°F or extend toasting by 3-5 minutes. Verify your oven thermometer accuracy, as miscalibration frequently causes this issue.
Bread that browns unevenly on top versus bottom indicates your oven’s heating elements are imbalanced. Use your oven’s convection setting if available, which distributes heat more evenly. Alternatively, place your baking sheet on a different rack position to experiment with heat distribution changes.
FAQ
What’s the difference between oven toasting and toaster use?
Oven toasting provides more control over temperature and timing while accommodating multiple slices and thicker bread varieties. Traditional toasters work well for standard bread but cannot handle specialty or thick-cut loaves. Oven toasting delivers superior results for large quantities and artisanal breads.
Can I toast frozen bread directly?
Yes, but increase toasting time by 3-5 minutes and reduce temperature by 25°F to prevent exterior burning before interior defrosts. Alternatively, thaw bread at room temperature for 30 minutes before toasting at standard settings.
How do I make croutons using this method?
Cut bread into ½-inch cubes, toss with olive oil and seasonings, spread on a baking sheet, and toast at 375°F for 10-15 minutes, stirring halfway through. Croutons should be golden and crispy throughout.
What’s the ideal storage method for toasted bread?
Store cooled toast in airtight containers at room temperature for up to 3 days. For longer storage, freeze toasted bread in freezer bags for up to 1 month. Reheat briefly in the oven before serving to restore crispness.
Can I add toppings before toasting?
Avoid adding perishable toppings before toasting, as they may burn or cook unevenly. Toast bread first, then add toppings like butter, jam, or cheese while bread is still warm so they melt appropriately.
Why does my toast taste burnt even though it looks perfect?
This indicates your oven temperature is running hotter than displayed. Use an oven thermometer to verify actual temperature, and reduce your setting by 25°F. Also check whether your bread variety browns quickly due to higher sugar or fat content.


