DIY Shed Building: Essential Tips from a Pro Builder
Building a shed yourself is one of the most rewarding DIY projects you can tackle. Whether you need extra storage, a workshop, or a backyard retreat, a well-constructed shed adds functionality and value to your property. As someone who has guided countless homeowners through their building journeys, I’ve learned that success comes down to proper planning, understanding local regulations, and following proven construction techniques.
This comprehensive guide will walk you through every phase of shed construction, from initial design decisions to final finishing touches. You’ll discover the same professional strategies I use on job sites, adapted for the DIY builder who wants results without hiring expensive contractors. The key to a sturdy, long-lasting shed is respecting the fundamentals: proper foundation work, quality materials, accurate measurements, and attention to building codes.
Planning and Permits: Don’t Skip This Step
Before you buy a single board, spend time on the planning phase. This is where most DIY builders either succeed or stumble. Start by checking your local International Code Council building codes and zoning regulations. Many jurisdictions require permits for sheds over a certain size—typically 120-200 square feet depending on your location. Even if your shed falls below the threshold, understanding what’s required protects you from costly mistakes.
Create a detailed sketch or use free design software to visualize your shed. Consider your local climate, prevailing winds, and how the structure will relate to your home and property lines. Most codes require setback distances from property lines, usually 5-10 feet. Check with your local building department about requirements in your area before finalizing your design.
The permit process might seem tedious, but it serves important purposes. Building inspectors verify that your shed meets electrical, structural, and safety codes. They ensure proper drainage, adequate ventilation, and safe egress if applicable. Obtaining the proper permits also protects your homeowner’s insurance coverage and maintains your property’s legal standing.
Foundation Basics: The Most Critical Component
A quality foundation determines whether your shed will last 20 years or become a maintenance nightmare. Many DIY builders want to rush this phase, but I can’t emphasize enough how important it is. A poor foundation leads to water damage, pest infiltration, rotting wood, and structural failure.
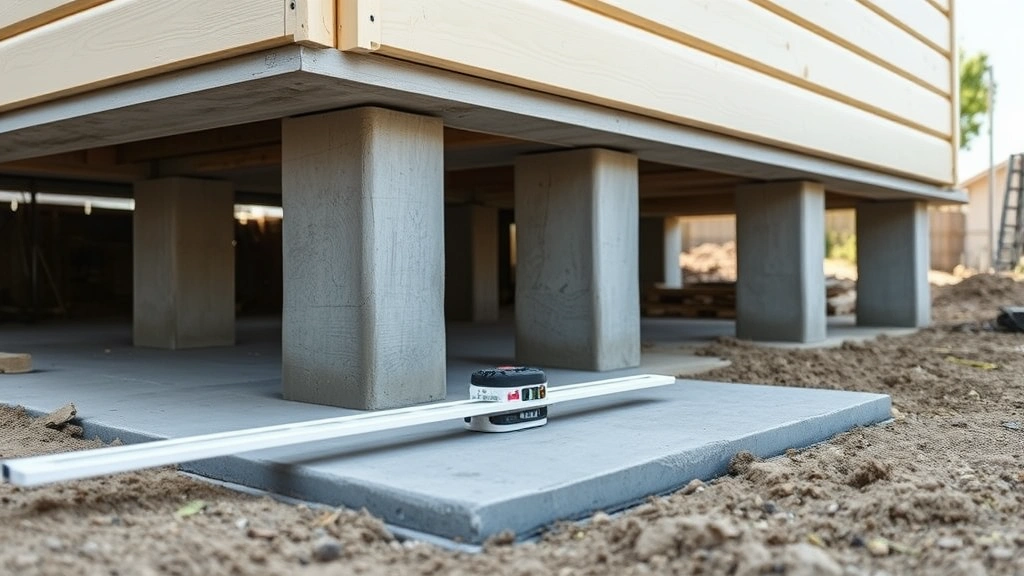
You have several foundation options, each with advantages for different situations. A concrete slab provides excellent moisture protection and requires minimal ongoing maintenance, making it ideal for areas with heavy rainfall or high water tables. Concrete piers or blocks elevate your shed, allowing air circulation underneath and simplifying construction. A gravel bed works for smaller structures in dry climates but offers less protection.
For most DIY projects, concrete piers spaced 4-6 feet apart offer the best balance of cost, durability, and ease of installation. Dig holes below your frost line—this depth varies by region but typically ranges from 12 to 48 inches. Your local building department can tell you the frost line depth for your area. Pour concrete into the holes, then set concrete pads or blocks on top, ensuring they’re level. Use a long level and adjust as needed before the concrete cures.
The foundation must be perfectly level—this cannot be overstated. Even slight slopes cause doors to swing open or closed on their own, create gaps in siding, and stress the entire frame. Spend extra time getting this right. A four-foot level and some shims will help you achieve the precision needed.
Framing the Structure: Building a Solid Skeleton
Once your foundation is set and cured, begin the framing phase. This is where your shed truly takes shape. Use pressure-treated lumber for the rim board and any components that contact the foundation—these materials resist rot and insect damage far better than untreated wood.
Start by installing the rim board (also called the rim joist) around the perimeter of your foundation. This creates the base frame. Double-check that corners are perfectly square using the 3-4-5 triangle method: measure 3 feet along one side, 4 feet along the adjacent side, then measure the diagonal. If it equals 5 feet, your corner is square. Make adjustments until all corners square up perfectly.
Wall framing typically uses 2×4 studs spaced 16 inches on center, which provides good strength while optimizing material use. Mark your stud locations clearly on the rim board before cutting. Cut studs to length—this depends on your desired interior height plus the thickness of your top and bottom plates. A standard 8-foot interior height uses 92-5/8 inch studs with 2×4 plates.
Build walls on the ground, then tilt them up into position. This approach is faster and safer than building walls in place. Lay out your plates on the ground, mark stud locations, cut studs to exact length, then assemble with 16-penny nails or 2.5-inch screws (screws resist withdrawal better in shear loads). Use a framing square to ensure corners are perpendicular.
For roof framing, you’ll typically use rafters or trusses. Trusses are easier for DIY builders—they come pre-made and simply sit on top of your walls. Rafters require more skill to cut and install properly, but they work well for simple shed designs. Calculate your roof pitch based on your climate: steeper roofs (8/12 or higher) shed water and snow better in areas with heavy precipitation, while lower pitches (4/12 to 6/12) work fine in drier climates.
Brace your frame temporarily with diagonal bracing as you build. This prevents racking (the frame twisting out of square) and keeps everything plumb and level. Don’t remove these temporary braces until you’ve installed sheathing and shingles, which provide permanent bracing.
Roofing Installation: Protecting Your Investment
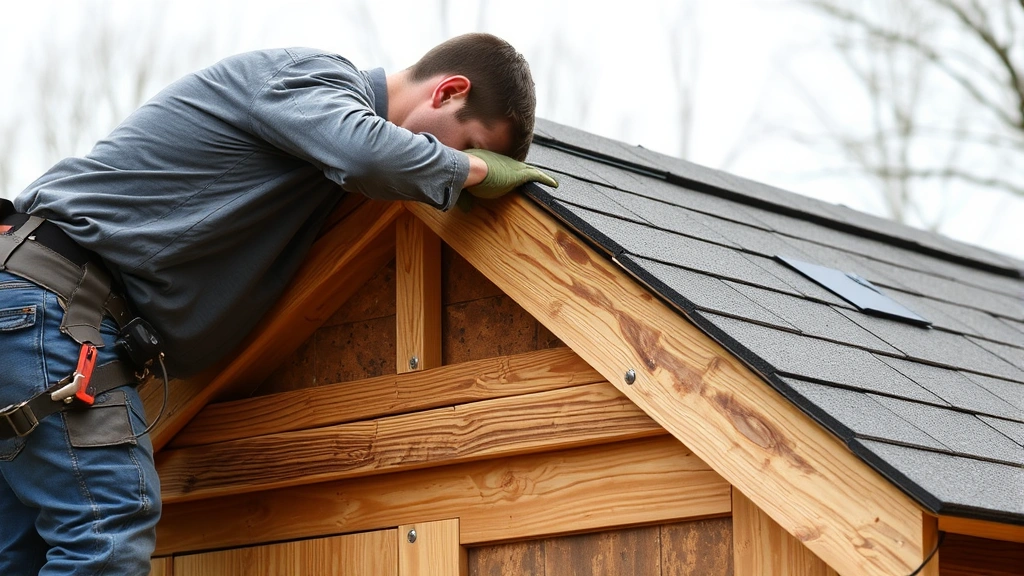
The roof is your shed’s primary defense against weather. Install plywood or OSB sheathing over your rafters or trusses, then add an underlayment like roofing felt or synthetic underlayment. This layered approach provides redundant protection—if one layer fails, others still shield your shed’s interior.
Asphalt shingles are the most popular choice for DIY builders. They’re affordable, durable, and relatively simple to install. Start at the bottom edge with a starter strip, then work your way up. Nail shingles with four nails per shingle, placed in the designated nail strip (usually marked with lines on the shingle). Don’t overdrive nails—they should be flush with the shingle surface, not punched through.
Pay special attention to flashing around any penetrations like vents or chimney pipes. Flashing directs water away from these vulnerable areas. Install flashing before you shingle over it, creating a shingle-over-flashing overlap that sheds water downward. This detail prevents the most common source of roof leaks.
Metal roofing offers superior longevity and performance in harsh climates. It’s more expensive and requires more skill to install, but it can last 40+ years compared to 15-20 years for asphalt shingles. If you choose metal roofing, follow manufacturer instructions carefully—improper installation can void warranties and cause problems.
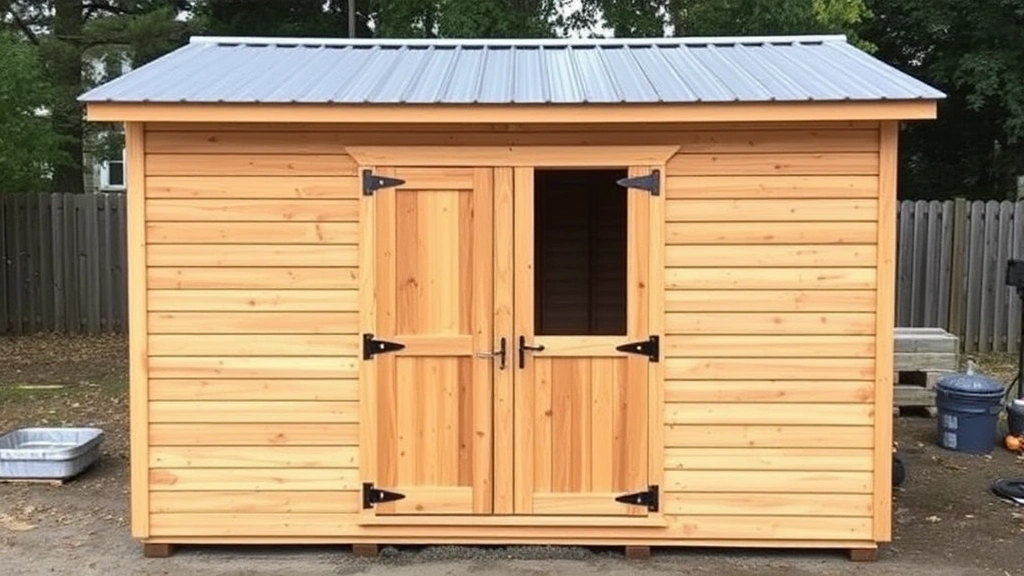
Siding and Weatherproofing: The Finished Exterior
Siding protects your framing from weather while giving your shed its finished appearance. Options range from economical plywood to premium cedar or composite materials. Whatever you choose, ensure it’s installed over housewrap or felt paper that allows moisture to escape while preventing water infiltration.
Install housewrap before siding, overlapping seams by 6 inches and taping seams with housewrap tape. This creates a drainage plane that directs bulk water down and out while allowing interior moisture vapor to escape. This is critical for preventing rot and mold problems inside your shed.
Plywood siding is affordable and straightforward to install. Use 4×8 sheets, staggering seams so they don’t align vertically. Install with galvanized or stainless steel fasteners spaced 8 inches apart around edges and 12 inches in the field. Caulk all seams and edges with exterior-grade caulk to prevent water infiltration.
Vertical board-and-batten siding offers a classic look and excellent weather resistance. Install 1×8 or 1×10 boards vertically, then cover seams with 1×2 battens. This design sheds water effectively and looks professional. Paint or stain your siding with quality exterior finishes that protect against UV damage and moisture.
Don’t neglect the details. Install gutters and downspouts to direct roof water away from your foundation. Grade the ground away from your shed so water doesn’t pool near the base. Ensure all gaps around door and window frames are sealed with weatherstripping and caulk.
Interior Finishing Touches: Making It Functional
With the exterior complete, focus on interior finishing based on your intended use. If your shed will be a workshop or storage space, install shelving, workbenches, or storage racks. If it’s a retreat space, consider insulation, drywall, and finished flooring.
Flooring depends on your use. A simple concrete floor works for storage and workshops. Plywood subfloor with finished flooring (vinyl, laminate, or wood) suits retreat spaces. Ensure your floor slopes slightly toward a drain or door for water management.
Ventilation prevents humidity buildup and extends your shed’s life. Install soffit and ridge vents if you have an attic space, or add wall vents in the gable ends. These passive vents use natural airflow to remove moisture without requiring electricity.
Electrical service requires careful planning. If you need outlets or lighting, hire a licensed electrician to run proper circuits and install GFCI protection for any outdoor outlets. Never improvise with electrical work—improper installation creates fire and shock hazards.
Insulation becomes important if you’ll use your shed year-round or need climate control. Fiberglass batts, blown-in cellulose, or spray foam all work well. Remember that insulation needs a vapor barrier on the warm side—install plastic sheeting before drywall in cold climates.
FAQ
Do I need a permit to build a shed?
Permit requirements vary by jurisdiction. Most areas require permits for sheds exceeding 120-200 square feet or those with electrical service. Check with your local building department to confirm requirements for your property. Even if permits aren’t mandatory, obtaining one protects you legally and ensures your shed meets safety codes.
What’s the best foundation for a DIY shed?
Concrete piers or blocks spaced 4-6 feet apart work well for most DIY projects. They’re relatively simple to install, provide good moisture protection, and cost less than a full concrete slab. Ensure piers extend below your local frost line and are perfectly level.
How long does a typical shed building project take?
A 10×12 foot shed typically takes 40-60 hours of work spread over several weekends. This assumes you’re working alone or with one helper and have basic carpentry skills. Complex designs or custom features extend the timeline. Breaking the project into phases—foundation, framing, roofing, siding—helps manage the workload.
What tools do I absolutely need?
Essential tools include a circular saw, drill-driver, 25-foot tape measure, level, square, hammer, and safety equipment (glasses, gloves, dust mask). A miter saw or table saw speeds up cutting. A pneumatic nailer saves time but isn’t essential. Rent specialized tools like a power auger for digging foundation holes rather than buying them.
Can I build a shed without prior construction experience?
Yes, absolutely. Many successful DIY builders start with shed projects. Start with a simple design, follow detailed plans or instructions carefully, and don’t hesitate to ask questions at your local building department or home improvement store. Taking time to understand each step prevents costly mistakes.
How do I ensure my shed is waterproof?
Waterproofing involves multiple layers: proper foundation preventing ground water, housewrap directing water away from framing, overlapped siding and shingles, sealed seams and penetrations, and gutters directing roof water away from the base. No single element makes a shed waterproof—the system of overlapping protection is what works.
What’s the difference between building a shed and a garage?
Garages typically require stronger foundations to support vehicle weight, wider doors and clear spans, electrical service for charging and lighting, and often must meet more stringent building codes. The fundamental construction methods are similar, but the specifications and code requirements differ significantly. Learn more about construction timelines and planning for larger projects.
Should I use pressure-treated lumber throughout my shed?
Use pressure-treated lumber for components contacting concrete or soil: rim boards, floor joists, and any framing near ground level. Regular lumber works fine for wall studs and framing well above ground. Pressure-treated wood costs more but dramatically extends the life of components exposed to moisture and ground contact.


