
Replace CV Joint: Mechanic’s Cost vs DIY Guide
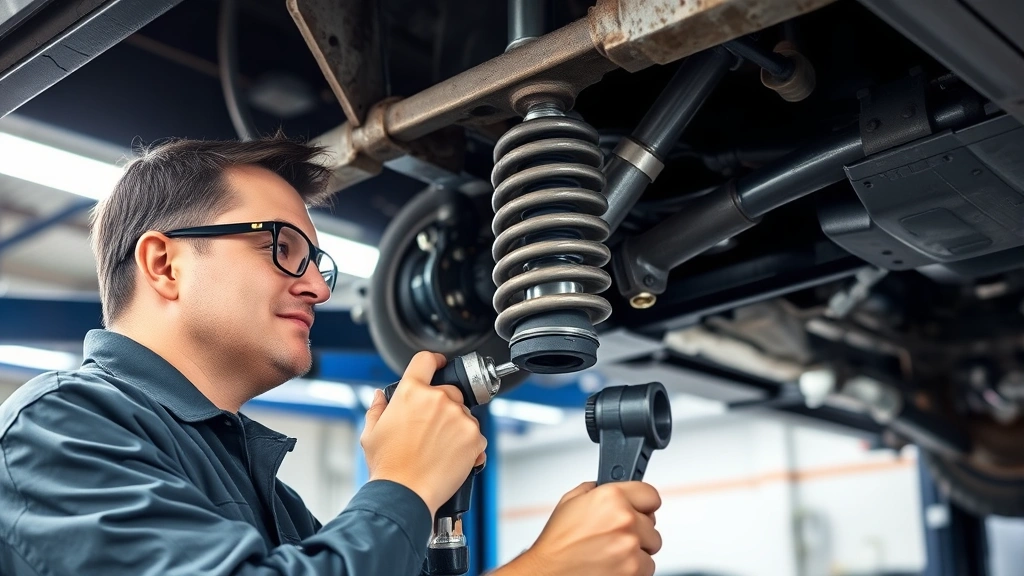
Constant velocity (CV) joints are critical components in your vehicle’s drivetrain, allowing power to transfer from the engine to the wheels while accommodating suspension movement and steering angles. When these joints begin to fail, you’ll typically notice clicking sounds during turns, vibration during acceleration, or grease splattered inside your wheel. Understanding how much to replace a constant velocity joint can help you decide whether to visit a mechanic or tackle the project yourself.
The cost of replacing a CV joint varies significantly depending on your vehicle make and model, whether you’re replacing just the joint or the entire axle assembly, and most importantly, whether you hire a professional or complete the work in your own garage. Professional mechanics typically charge between $300 and $1,200 per axle, while DIY replacement can reduce your costs to $150-$400 in parts alone. This comprehensive guide explores both options, providing real cost breakdowns and step-by-step instructions for confident DIYers.
Understanding CV Joints and When They Fail
CV joints, also called constant velocity joints or universal joints, are flexible couplings that transmit torque at various angles. Front-wheel-drive vehicles typically have two CV joints per axle—an inner joint near the transmission and an outer joint at the wheel hub. These joints are encased in rubber boots filled with grease that keeps the components lubricated and protects them from dirt and moisture.
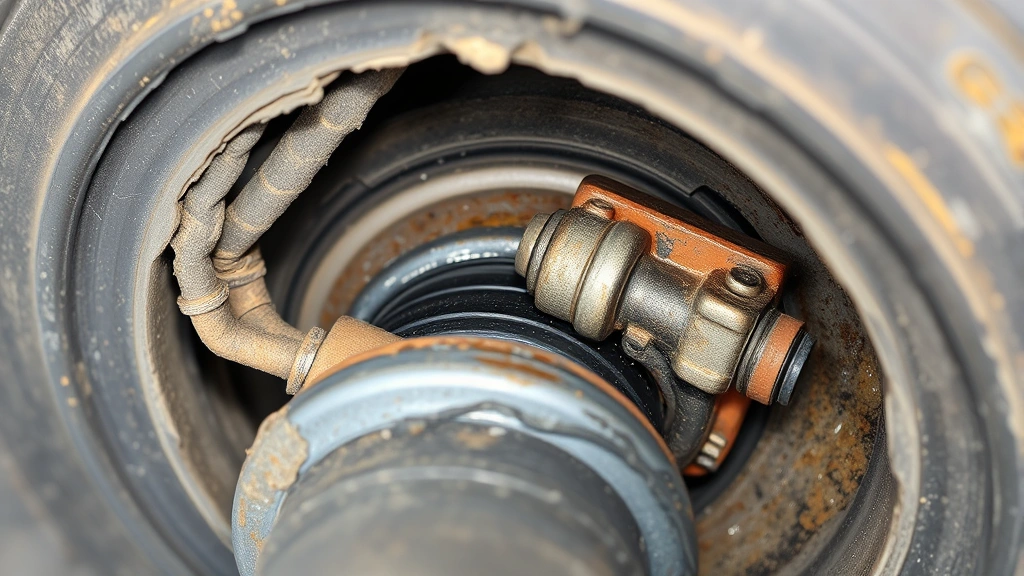
When the rubber boot tears, water and contaminants enter the joint, causing accelerated wear. The grease breaks down, metal-to-metal contact increases, and eventually the joint fails completely. Common warning signs include:
- Clicking or popping sounds when turning at sharp angles
- Vibration felt through the steering wheel or vehicle body during acceleration
- Visible grease on the inside of the wheel or tire
- Clunking noises when shifting into drive or reverse
- Difficulty maintaining traction in wet conditions
The lifespan of a CV joint depends heavily on driving conditions and maintenance. Aggressive driving, frequent sharp turns, and neglected boot tears can reduce joint life to 80,000 miles or less, while well-maintained joints might last 150,000 miles or more. If you’re interested in learning more about automotive maintenance costs, our guide on how much it costs to replace a starter covers similar repair scenarios.
Professional Mechanic Costs
Taking your vehicle to a professional mechanic for CV joint replacement involves labor charges, parts costs, and sometimes additional fees. Here’s what you can expect:
Labor Costs: Most mechanics charge between $150 and $400 per hour, with CV joint replacement typically requiring 1.5 to 3 hours of work per axle. This translates to $225-$1,200 in labor alone. The variation depends on your vehicle’s design—some models require removing the engine subframe or transmission components, significantly increasing labor time.
Parts Costs: Replacement CV joints or complete axle assemblies range from $100 to $600 per side, depending on whether you’re replacing the joint alone or the entire axle. OEM (original equipment manufacturer) parts cost more than aftermarket alternatives but often come with better warranties. Budget-friendly shops might offer remanufactured axles for $150-$250, while premium shops use new OEM components costing $400-$800.
Additional Charges: Wheel alignment after axle replacement adds $75-$200. Some shops charge disposal fees for old parts ($10-$25), and diagnostic fees ($50-$100) if the joint failure isn’t obvious. Extended warranties on replacement parts range from $50-$150.
Total Professional Cost Range: $400-$1,800 per axle at a dealership, $300-$1,200 at independent shops. Many vehicles require replacing both front axles, doubling these costs.
DIY Replacement: Tools and Materials
Successfully replacing a CV joint at home requires specific tools and materials. Investing in quality equipment ensures safety and proper installation. Here’s your complete shopping list:
Essential Tools:
- Socket set (metric and standard) with extensions and universal joints
- Torque wrench (critical for proper bolt tension)
- Jack and jack stands (never work under a vehicle supported only by a jack)
- Wheel chocks to prevent rolling
- Lug wrench or impact wrench for wheel removal
- Pry bar and dead-blow hammer for component separation
- Snap ring pliers for removing circlips
- Axle puller or slide hammer (rental: $20-$40)
- CV joint boot clamp tool (optional but helpful)
Materials:
- Replacement CV joint or complete axle assembly: $100-$400
- CV joint grease (if replacing just the joint): $15-$30
- New boot kit (if applicable): $20-$50
- Axle nut (often must be replaced): $10-$20
- Cotter pins and lock washers: $5
- Brake cleaner and rags
- Shop towels and container for small parts
Total tool investment for a first-time DIYer: $150-$400 if purchasing new tools, or $50-$100 if you already own basic hand tools and can rent specialized equipment. For ongoing maintenance and repairs, refer to our comprehensive DIY car repairs beginner’s guide for additional techniques and safety protocols.
Step-by-Step DIY Installation Guide
Preparation and Safety: Begin by parking on a level surface and engaging the parking brake. Remove the wheel cover or hubcap, then loosen lug nuts while the wheel is on the ground. Raise the vehicle with a jack, support it with jack stands, and remove the wheel completely. Always place wheel chocks behind the rear wheels to prevent accidental rolling.
Step 1: Remove the Brake Caliper and Rotor Unbolt the brake caliper (usually two bolts) and suspend it with a bungee cord to avoid stressing the brake line. Remove the rotor by unbolting it from the hub. Set these components aside in a clean area.
Step 2: Disconnect the Tie Rod End Using a tie rod end separator tool or carefully prying with a dead-blow hammer, disconnect the outer tie rod end from the steering knuckle. This provides clearance for axle removal. Some vehicles may also require disconnecting the lower control arm ball joint.
Step 3: Remove the Axle Nut The large nut securing the axle to the hub typically requires significant force to loosen. Use a breaker bar for extra leverage. Once loose, you can remove it by hand after the wheel is off.
Step 4: Separate the Axle from the Hub Position your axle puller against the hub and gradually tighten the tool to pull the axle shaft free from the wheel bearing. This step requires patience—forcing it can damage the bearing. If you don’t have an axle puller, some shops rent them for $20-$40, making this investment worthwhile.
Step 5: Remove the Inner Axle Joint The inner CV joint connects to the transmission. You’ll need to pry the axle away from the transmission while supporting its weight. Some vehicles have a circlip you must remove first using snap ring pliers. Pull steadily and evenly to avoid damaging the transmission seal.
Step 6: Install the New Axle or Joint If replacing the complete axle, align it with the transmission output shaft and push firmly until you hear or feel a click, indicating the circlip has seated. If replacing just the joint, carefully drive the new joint onto the axle shaft using a soft-faced mallet, ensuring it seats fully.
Step 7: Reinstall at the Wheel Hub Guide the outer CV joint into the wheel hub, then hand-tighten the axle nut. Don’t fully tighten until the wheel is back on and the vehicle is on the ground, as this ensures proper bearing preload.
Step 8: Reconnect Suspension Components Reattach the tie rod end and lower control arm ball joint if disconnected. Torque these connections to manufacturer specifications (typically 25-40 ft-lbs for tie rod ends).
Step 9: Reinstall Brake Components and Wheel Mount the rotor, reinstall the brake caliper, and torque the caliper bolts to specification. Mount the wheel and hand-tighten lug nuts, then lower the vehicle to the ground. Torque lug nuts to 80-100 ft-lbs in a star pattern.
Step 10: Final Torque and Alignment Once the vehicle is on the ground, torque the axle nut to manufacturer specification (typically 180-220 ft-lbs for front-wheel-drive vehicles). Take your vehicle to an alignment shop for a four-wheel alignment, as removing and reinstalling the axle can affect toe-in and camber settings.

Safety Considerations and Warnings
Critical Safety Rules: Never work under a vehicle supported only by a jack—always use jack stands. Jacks fail, and being trapped under a vehicle can result in serious injury or death. Engage the parking brake, place wheel chocks, and disconnect the negative battery terminal before beginning work. This prevents accidental electrical hazards and vehicle movement.
Proper Torque Specifications: Undertightened bolts can loosen during driving, while overtightened bolts can strip threads or break. Always consult your vehicle’s service manual for exact torque values and use a calibrated torque wrench. For critical fasteners like the axle nut and lug nuts, this step is non-negotiable.
Transmission Seal Protection: When removing the inner CV joint, be extremely careful not to damage the transmission output shaft seal. Damage here can lead to transmission fluid leaks and costly transmission repairs. If you’re uncomfortable with this step, it may justify professional service.
Brake System Inspection: While the brake caliper is removed, inspect brake pads and rotors. Replace pads if they’re below 3mm thickness and resurface or replace rotors if they’re worn or damaged. This prevents brake problems and saves money by addressing issues while you’re already in the area.
Alignment Importance: Skipping wheel alignment after axle replacement can cause uneven tire wear, poor handling, and increased fuel consumption. Budget $75-$200 for this critical step. Many shops include alignment with major suspension work, so ask about package deals.
Cost Comparison: Real Numbers
Let’s examine a realistic scenario: replacing a worn CV joint on a 2015 Honda Civic with 95,000 miles. The vehicle has a torn CV boot and clicking during turns, indicating imminent joint failure.
Professional Shop Option:
- Diagnostic fee: $85
- Right front axle assembly (OEM): $320
- Labor (2.5 hours @ $125/hour): $312
- Wheel alignment: $150
- Disposal fee: $15
- Total: $882
Independent Shop Option:
- Right front axle assembly (aftermarket): $180
- Labor (2.5 hours @ $85/hour): $212
- Wheel alignment: $100
- Total: $492
DIY Option:
- Aftermarket axle assembly: $165
- Axle nut and fasteners: $12
- Alignment (outsourced): $100
- Tool rental (axle puller): $30
- Total: $307
In this scenario, DIY saves $185 compared to the independent shop and $575 compared to the dealership. However, if you already own the necessary tools or can borrow them, your cost drops to just $277. Over a vehicle’s lifetime, these savings accumulate significantly. If you’re managing multiple vehicle repairs, explore our resource on head gasket replacement costs for additional repair scenarios.
When to Call a Professional
While DIY CV joint replacement is achievable for mechanically inclined individuals, certain situations warrant professional service. If your vehicle has all-wheel drive, some models require removing the entire drivetrain or transmission, making the job exponentially more complex. Limited-slip differentials and some transmission types add significant complexity that exceeds typical DIY scope.
If you lack a safe working space—proper jack stands, level concrete, adequate lighting, and ventilation—professional service becomes the safer choice. Working in cramped garages or on sloped driveways increases accident risk. Similarly, if you’re uncomfortable using a torque wrench or don’t have access to your vehicle’s service manual, professional installation ensures proper specifications.
Vehicles with electronic power steering, advanced brake systems, or integrated suspension electronics may have additional disconnection steps requiring specialized diagnostic equipment. Dealerships and certified shops have this equipment and the training to handle these complexities safely.
If your vehicle is still under warranty, professional service preserves warranty coverage. Improper DIY work might void coverage for transmission or differential issues if problems arise later. Always check your warranty terms before proceeding with independent repairs.
For those new to automotive work, consider having a professional perform the first replacement, then tackling subsequent repairs yourself once you understand the process and have the necessary tools. This hybrid approach builds confidence and skills while ensuring quality work.
FAQ
How long does CV joint replacement take?
Professional shops typically complete the job in 1.5 to 3 hours per axle. DIYers should budget 4-6 hours for their first attempt, including tool setup and careful work. Subsequent replacements go faster as you become familiar with your vehicle’s specific layout and quirks.
Can I replace just the CV joint without replacing the entire axle?
Technically yes, but most professionals recommend replacing the complete axle assembly. Individual joints are more labor-intensive to replace, and if one joint has failed, the axle is likely aging. Complete axle assemblies cost only slightly more than individual joints but offer better reliability and warranty coverage.
What’s the difference between OEM and aftermarket CV joints?
OEM (original equipment manufacturer) parts are produced by your vehicle’s manufacturer and typically cost more but offer guaranteed fitment and longer warranties. Aftermarket parts are produced by third-party manufacturers and cost less but vary in quality. Reputable aftermarket brands offer comparable reliability at significant savings. Remanufactured axles fall between these options, offering used cores rebuilt to factory specifications at moderate prices.
How do I know if my CV joint is bad?
Common symptoms include clicking sounds during turns, vibration during acceleration, grease splatter inside the wheel, and clunking noises during gear shifts. A visual inspection revealing torn CV boots indicates imminent failure. If you notice these signs, have the joint inspected promptly—a failing joint can leave you stranded and potentially damage the transmission if it completely separates.
Can I drive on a bad CV joint?
Driving on a bad CV joint is risky. The joint can suddenly fail completely, causing loss of power to that wheel and potentially causing an accident. Additionally, continued operation accelerates wear on the transmission and differential. While you might drive short distances to a repair shop, extended driving on a failed joint risks catastrophic failure and expensive additional damage.
Do I need wheel alignment after CV joint replacement?
Yes, absolutely. Removing and reinstalling the axle can affect wheel alignment angles. Driving without realignment causes uneven tire wear, poor handling, reduced fuel economy, and potential safety issues. Alignment typically costs $75-$200 and is essential for proper vehicle performance and tire longevity.
What tools do I absolutely need for DIY CV joint replacement?
Minimum requirements include jack stands, a torque wrench, basic socket set, pry bar, and an axle puller or slide hammer. You cannot safely complete this job without proper jack stands—this is non-negotiable for your safety. A torque wrench ensures proper bolt tension, preventing future failures. An axle puller prevents damage to the wheel bearing when separating the axle from the hub.
How much does an axle puller cost to buy versus rent?
Purchasing an axle puller costs $50-$150, while renting typically runs $20-$40 for a week. If this is your first CV joint replacement, renting makes sense. If you plan to work on vehicles regularly, purchasing becomes worthwhile. Many auto parts stores rent specialty tools, making this option accessible and affordable.
Should I replace both front axles at the same time?
If only one axle shows symptoms, replacing just that side is acceptable. However, if both show wear signs, replacing both simultaneously saves labor costs and ensures balanced drivetrain performance. Some shops offer package discounts for simultaneous replacement. Consider your budget and the condition of both axles when deciding.
What’s the warranty on replacement CV joints?
Professional shops typically warrant replacement axles for 12 months or 12,000 miles. OEM parts often carry longer warranties (24-36 months), while aftermarket warranties vary by manufacturer. Remanufactured axles usually carry 12-month warranties. Confirm warranty details before purchasing, as this affects the true cost of the repair.