How to Build a Deck: Expert DIY Guide
Building a deck transforms your outdoor living space into a functional entertainment area that adds significant value to your home. Whether you’re planning a small platform or an expansive multi-level structure, understanding the fundamentals of deck construction ensures a safe, durable, and beautiful result. This comprehensive guide walks you through every step of the process, from initial planning and material selection to finishing touches and maintenance.
A well-constructed deck requires careful attention to local building codes, proper structural support, and quality materials. Many homeowners successfully tackle this project themselves, though some stages may benefit from professional input. Before you begin, check with your local building department about International Building Code requirements and whether your project requires permits and inspections.
Planning and Design
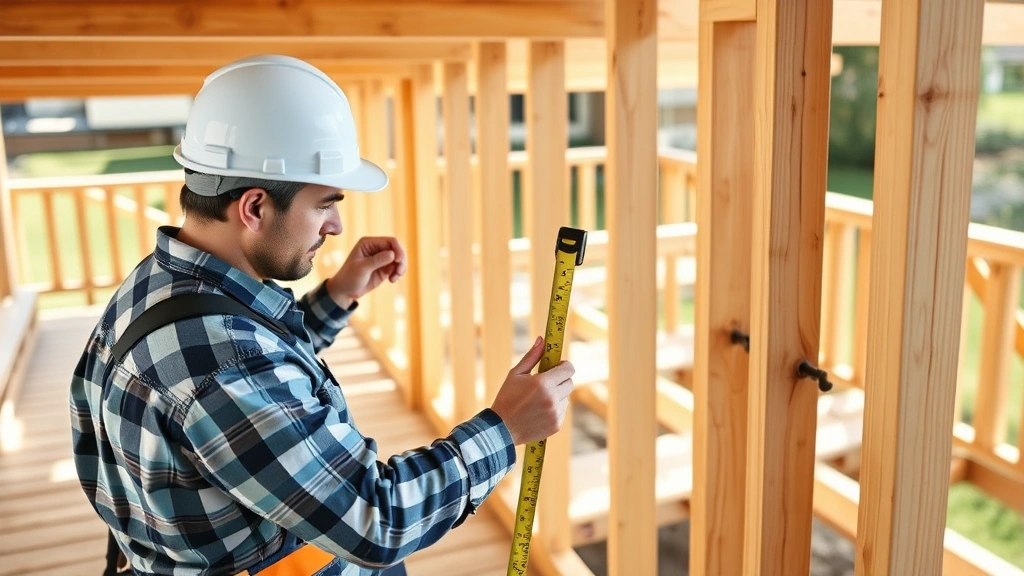
Successful deck construction begins with thorough planning. Start by determining the size, shape, and location of your deck. Consider how you’ll use the space—will it be primarily for dining, entertaining, or relaxation? Sketch your design on paper, noting the deck’s proximity to your home, existing trees, and landscape features. Most residential decks range from 200 to 400 square feet, though your needs may differ.
Measure your space carefully and determine the deck’s height. Standard deck height matches your home’s door threshold, typically 24 to 36 inches above ground. This elevation prevents water from pooling beneath the deck and allows proper drainage. Check for underground utilities by calling your local utility locating service—this is essential before digging post holes.
Review American Wood Council guidelines for span tables and load calculations. Most residential decks must support 40 pounds per square foot of live load (people and furniture) plus 10 pounds per square foot of dead load (the deck’s own weight). Your design should account for snow loads if you live in a climate with significant winter precipitation.
Consider incorporating features like built-in seating, planters, or shade structures during the design phase. Planning these elements now simplifies construction and creates a more integrated final product. Sketch detailed plans including post spacing, beam placement, and joist layout.
Materials and Tools
Selecting appropriate materials significantly impacts your deck’s longevity and maintenance requirements. Pressure-treated lumber remains the most economical choice for structural components, offering excellent rot and insect resistance. For decking boards, you have several options: pressure-treated wood, cedar, composite materials, or tropical hardwoods. Each has distinct advantages regarding cost, appearance, and maintenance demands.
Pressure-treated lumber for structural elements should be rated for ground contact. Use galvanized or stainless steel fasteners—never use regular steel nails or screws, as they rust and stain the wood. Purchase fasteners rated for outdoor use and compatible with your chosen wood type.
Essential tools for deck building include:
- Circular saw or miter saw for cutting lumber
- Power drill-driver for fastening
- Level (4-foot minimum) for checking post and beam alignment
- Tape measure (25-foot) for accurate measurements
- Post level for plumb post installation
- Jigsaw for curved cuts and notches
- Reciprocating saw for cutting posts and removing material
- Safety equipment including work gloves, safety glasses, and dust masks
Rent specialized equipment like a post-hole digger or power auger rather than purchasing. These tools make foundation work significantly faster and less physically demanding.
Before starting work on your deck project, you might also want to review DIY home security considerations for protecting your home while you’re working outdoors for extended periods. Additionally, understanding basement finishing principles can help if you’re planning an under-deck drainage system.
Foundation and Posts
A solid foundation prevents deck failure and settling over time. Posts must rest on frost-proof footings that extend below your local frost line—typically 12 to 48 inches deep depending on climate. Frost heave, caused by frozen ground expanding and contracting, can lift posts and destabilize your entire structure.
Dig post holes using a power auger or manual post-hole digger. Holes should be 10 inches in diameter for 4×4 posts. Space holes according to your design calculations—typically 8 to 12 feet apart, depending on beam size and load requirements. Consult NFPA standards for specific spacing requirements in your region.
Install concrete footings in each hole. Use pre-cast concrete piers or mix concrete on-site. Pour concrete to grade level or slightly above, creating a slight crown to shed water. Allow concrete to cure fully (typically 48 hours) before installing posts.
Set posts on top of footings or embed them directly in concrete. Posts must be perfectly plumb—use a post level to verify alignment in both directions. Brace posts temporarily with 2×4 diagonal supports while you install beams. Cut posts to height only after beams are secured, ensuring consistent deck height across the structure.
Framing the Structure
The beam system carries loads from joists down to posts. Install beams using metal post-to-beam connectors rated for your load requirements. These connectors prevent lateral movement and ensure proper load transfer. Beams typically consist of doubled 2×8, 2×10, or 2×12 lumber, depending on span and load calculations.
Joists run perpendicular to beams and support decking boards directly. Standard joist spacing is 16 inches on center, though 12 inches on center provides additional support for larger decks or higher loads. Use joist hangers to connect joists to beams—these metal brackets distribute loads evenly and prevent wood crushing at connection points.
Install rim joists (also called band joists) around the deck’s perimeter. These pieces tie the joist structure together and create a finished edge. Ensure all framing is square by measuring diagonals—they should be equal if the structure is properly squared.
Install blocking between joists at 4-foot intervals to prevent twisting and provide additional bracing. This is especially important for decks with long joist spans. Blocking also provides mounting points for railings and stairs.
Decking Installation
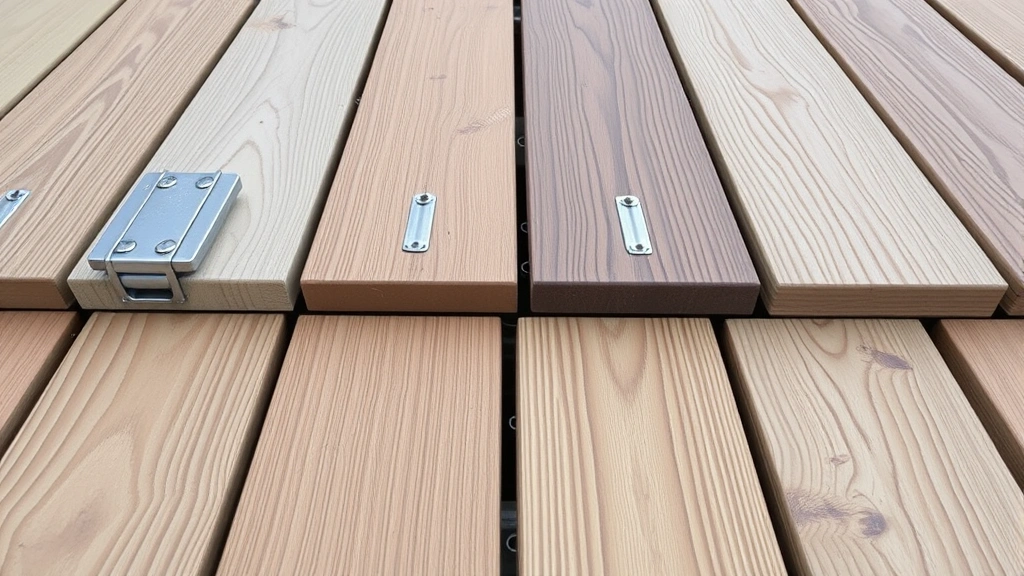
Once framing is complete and inspected, install decking boards. Begin at the house side and work outward. Leave 1/8-inch gaps between boards for water drainage and wood movement. Use spacers cut from wood or purchase commercial spacing guides to maintain consistent gaps.
Fasten decking with corrosion-resistant deck screws (2.5 inches for standard decking) or ring-shank nails. Use two fasteners per joist per board for boards up to 6 inches wide, three fasteners for wider boards. Stagger fastener locations to prevent splitting and create a more attractive appearance.
Pre-drill holes before fastening to prevent splitting, especially near board ends. Drive fasteners at a slight angle (5 to 10 degrees) to improve holding power. Fastener heads should sit flush with the wood surface, not protruding or countersunk too deeply.
Consider the wood’s grain direction and color variation when arranging boards. Mixing boards from different bundles creates a more natural appearance. Cut boards around posts, leaving 1/8-inch clearance to allow water drainage. Install fascia boards along the rim joists to create a finished appearance and hide the framing structure underneath.
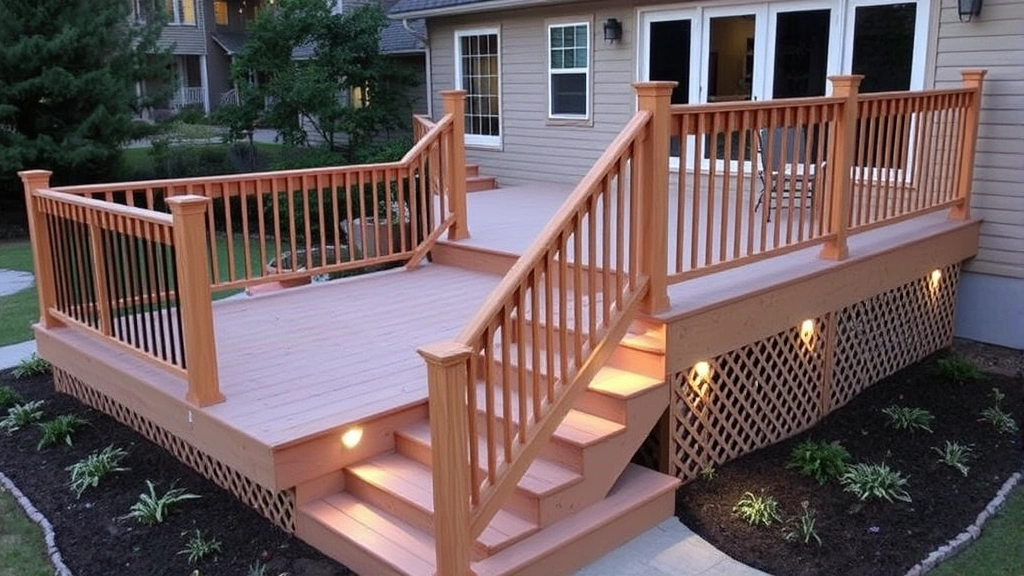
Railings and Stairs
Building codes require railings on decks higher than 30 inches above ground. Railings must be 36 to 42 inches high and capable of withstanding 200 pounds of pressure applied horizontally. Balusters (vertical spindles) must be spaced no more than 4 inches apart to prevent children from becoming trapped.
Install railing posts at 4 to 6-foot intervals, securing them to deck framing with lag bolts or through-bolts. Use metal railing brackets for secure attachment. Horizontal rails typically use 2×4 or 2×6 lumber. Mount rails to posts using appropriate hardware rated for outdoor use.
Stairs provide safe access to ground level. Calculate stair dimensions using the formula: rise plus run equals 17 to 18 inches. For example, if each step rises 7 inches, the run (depth) should be 10 to 11 inches. Build stair stringers (the angled support boards) from pressure-treated 2×12 lumber. Cut notches carefully to ensure uniform step dimensions.
Install treads (horizontal steps) using corrosion-resistant fasteners. Ensure each step is level and securely fastened. Attach stair railings to stringers or posts, maintaining the same 36 to 42-inch height and 4-inch baluster spacing as deck railings.
Finishing and Maintenance
After construction completion, apply a protective finish to extend your deck’s life. Pressure-treated lumber typically requires sealing after six months to one year, allowing the wood to weather naturally. Composite decking requires less maintenance but may need occasional cleaning and UV protection.
Sand rough areas with 80 to 120-grit sandpaper before applying finish. Clean the deck thoroughly, removing dirt, mold, and mildew. Apply stain, sealant, or paint according to manufacturer instructions. Most exterior wood finishes require reapplication every two to three years for optimal protection.
Regular maintenance keeps your deck safe and attractive. Inspect structural components annually, checking for rot, loose fasteners, and damaged boards. Clear debris from beneath the deck to promote air circulation and prevent moisture accumulation. Trim vegetation touching the deck to reduce moisture and pest problems.
Pressure-wash your deck annually to remove dirt and mold, but use low pressure (below 1500 PSI) to avoid damaging wood fibers. Apply new sealant every two to three years, or as recommended by the product manufacturer. Replace damaged boards promptly to prevent structural issues and water penetration.
If you’re working through a major home project like this, you might also find value in exploring how to navigate significant life changes or even how to break soul ties if you’re relocating or making major life transitions. For other home improvement projects, check out our DIY Nests Hub Blog for additional guides. You might also be interested in DIY car repairs for maintaining your vehicles during the construction season.
FAQ
Do I need a building permit for my deck?
Most jurisdictions require permits for decks over 30 inches high or larger than 200 square feet. Some areas require permits for all deck construction. Check with your local building department before beginning. Permits ensure your design meets code requirements and protect your investment through mandatory inspections.
What’s the best wood for deck construction?
Pressure-treated lumber offers excellent value and longevity for structural components. For decking boards, composite materials require minimal maintenance, while natural wood provides traditional aesthetics. Cedar and tropical hardwoods are naturally rot-resistant but more expensive. Choose based on your budget, maintenance preferences, and climate.
How deep should deck posts be buried?
Posts should rest on footings extending below your local frost line, typically 12 to 48 inches deep. Posts can be embedded directly in concrete or set on top of frost-proof concrete piers. Never bury posts directly in soil, as this promotes rot and settling.
Can I build a deck on sloped ground?
Yes, sloped ground requires additional planning. Adjust post heights to maintain consistent deck elevation, or build a sloped deck that follows the natural grade. Ensure all posts rest on proper footings below the frost line, regardless of slope. This often requires posts of varying heights.
What spacing should I use for deck boards?
Leave 1/8-inch gaps between deck boards to allow water drainage and wood movement due to moisture changes. Composite materials may require different spacing—check manufacturer recommendations. Consistent spacing creates a professional appearance and ensures proper water shedding.
How often should I stain or seal my deck?
Most decks require resealing every two to three years, though this varies by climate and product. High-traffic areas and decks in intense sunlight may need more frequent applications. Inspect your deck annually and reapply finish when water no longer beads on the surface.


