How to Check Oil Level: A Mechanic-Approved Guide for DIY Car Maintenance
Checking your vehicle’s oil level is one of the most fundamental maintenance tasks you can perform as a car owner. Regular oil checks help prevent engine damage, extend your vehicle’s lifespan, and catch potential issues before they become expensive problems. Whether you’re a seasoned DIYer or picking up a wrench for the first time, understanding how to properly check oil level takes just a few minutes and requires minimal tools.
Engine oil serves as the lifeblood of your vehicle, lubricating moving parts, reducing friction, and helping manage engine temperature. When oil levels drop too low, your engine runs dry, leading to catastrophic damage that can cost thousands to repair. This comprehensive guide walks you through the process step-by-step, covering everything from preparation to interpretation of results, ensuring you maintain your vehicle’s health with confidence.
Why Regular Oil Checks Matter
Understanding the importance of regular oil checks establishes the foundation for proper vehicle maintenance. Your engine contains hundreds of moving metal parts that generate tremendous friction and heat during operation. Engine oil reduces this friction, allowing components to move smoothly and efficiently. Additionally, oil absorbs heat from the engine, carries away contaminants, and helps maintain proper engine compression.
Over time, oil degrades due to heat exposure, oxidation, and contamination from dust and combustion byproducts. This degradation reduces oil’s ability to protect your engine effectively. Most manufacturers recommend checking oil levels monthly or before long trips, regardless of when your next scheduled oil change occurs. Catching low oil levels early prevents catastrophic engine failure that could leave you stranded or facing a five-figure repair bill.
According to the American Automobile Association, engine damage from insufficient oil represents one of the most preventable mechanical failures. Taking five minutes monthly to check oil level could save you thousands in repairs and extend your vehicle’s operational lifespan by years.
Tools and Materials You’ll Need
The beauty of checking oil level is its simplicity—you need minimal equipment to complete this task successfully. Here’s what to gather before starting:
- Clean cloth or paper towels: Essential for wiping the dipstick clean between readings to ensure accurate results
- The dipstick: Already built into your vehicle; you’ll simply locate and use it
- Engine oil (correct grade): Keep a quart on hand for top-ups; check your owner’s manual for the correct viscosity
- Oil funnel: Optional but highly recommended to prevent spills when adding oil
- Flashlight: Helpful in low-light conditions to read markings clearly
- Owner’s manual: Contains specific instructions for your vehicle model
If you’re interested in mastering other vehicle diagnostics, consider learning about how to check battery with multimeter to diagnose electrical issues. For a broader understanding of vehicle maintenance, our DIY car repairs beginner’s guide covers essential maintenance tasks every owner should know.
Preparing Your Vehicle
Proper preparation ensures you get an accurate oil level reading. Begin by parking your vehicle on level ground—this is crucial because tilted vehicles give false readings. Allow your engine to cool for at least five minutes after driving, though waiting longer (10-15 minutes) provides more accurate results. Hot oil expands, making readings unreliable. However, the oil shouldn’t be completely cold either, as cold oil settles differently than warm oil used during normal operation.
Open your hood and locate the engine compartment. Familiarize yourself with the layout before proceeding. Many modern vehicles have electronic oil level sensors that display readings on your dashboard, but traditional dipstick checks remain the gold standard for accuracy. Some newer vehicles eliminate dipsticks entirely, requiring you to check oil through the vehicle’s onboard computer system—consult your owner’s manual if you’re unsure.
Ensure you’re working in adequate lighting. Natural daylight works best, but a flashlight helps if checking oil in a garage or shaded area. Clear away any obstructions from the engine compartment that might interfere with locating or accessing the dipstick.
Locating the Dipstick
The dipstick is a long, slender rod with measurement markings near one end. Its location varies by vehicle, but it’s always easily accessible from the engine compartment. In most vehicles, the dipstick features a bright-colored handle (typically yellow, orange, or red) making it easy to spot among engine components.
Check your owner’s manual for the exact location in your specific vehicle. Generally, the dipstick is located near the side of the engine block, often toward the front or rear. Some vehicles have it positioned vertically, while others angle it slightly. Once located, grasp the handle firmly—the dipstick should pull straight out, though you may encounter slight resistance as the tube releases.
If you’re struggling to find the dipstick, look for a rubber or plastic handle protruding from the engine. The tube itself extends down into the oil pan, which collects and stores engine oil at the bottom of your engine. Pulling the dipstick up brings a small amount of oil with it, allowing you to measure the level.
Checking Oil Level Step-by-Step
Follow this proven process to check your oil level accurately:
- Pull the dipstick straight out: Grasp the handle firmly and pull upward with steady, even pressure. The dipstick should come free without excessive resistance.
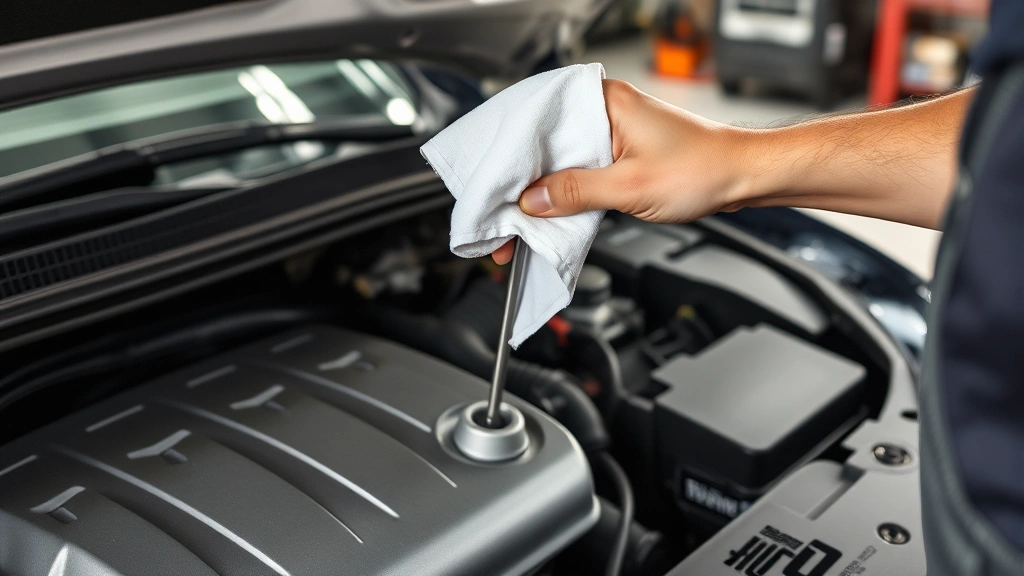
- Wipe the dipstick completely clean: Use a clean cloth or paper towel to remove all oil from the dipstick. This step is critical—residual oil from the initial pull obscures accurate readings. Wipe from the base toward the tip, then inspect it carefully to ensure no oil remains.
- Reinsert the dipstick fully: Push the dipstick back into its tube until it seats completely. You should feel it click or settle into place. This ensures the oil on the dipstick comes from the actual oil level, not residual oil from your previous check.
- Remove the dipstick again: Pull it straight out once more with steady pressure. This second removal gives you the accurate reading.
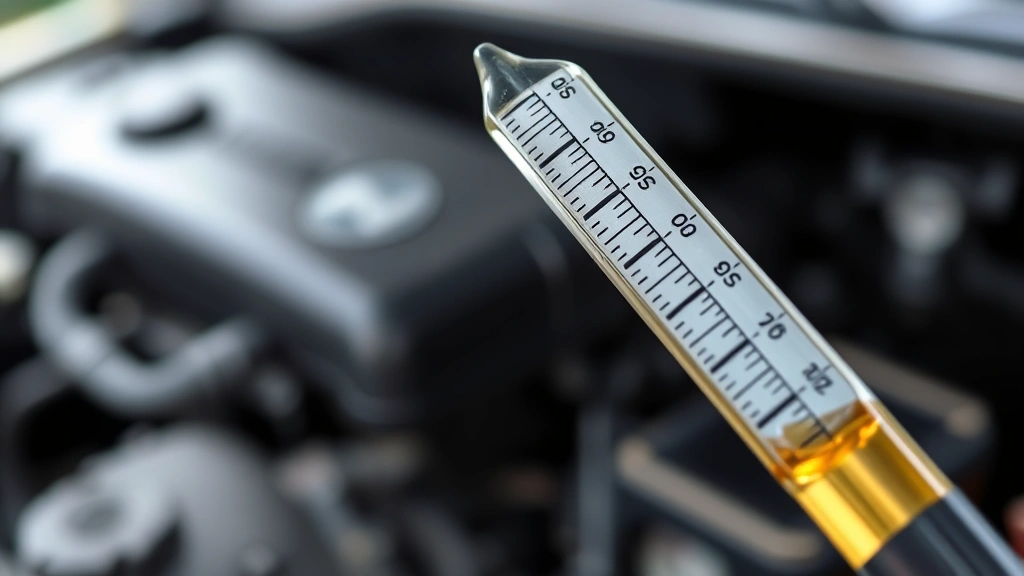
- Read the measurement: Examine where the oil reaches on the dipstick. Most dipsticks have minimum and maximum marks, often indicated by lines, notches, or the words “MIN” and “MAX.” The oil should reach somewhere between these marks for optimal engine protection.
Take your time with this process. Rushing leads to inaccurate readings that could result in overfilling or underfilling your oil. If the reading seems questionable, repeat the entire process—pull, wipe, reinsert, and check again. Consistency in your checking method ensures reliable results over time.
Reading and Interpreting Results
Understanding what the dipstick tells you is essential for proper vehicle maintenance. The dipstick displays three possible scenarios:
Oil at Maximum Level: This indicates your oil is at optimal capacity. Your engine has sufficient lubrication for normal operation. No oil addition is necessary. However, if your oil consistently reaches maximum between changes, you may have an oil leak or other issue worth investigating.
Oil Between Minimum and Maximum: This is the healthy range where your engine should operate. Your oil level is adequate for engine protection and normal driving conditions. You don’t need to add oil immediately, but monitor levels regularly, especially before long trips.
Oil at or Below Minimum Level: This signals that you need to add oil promptly. Operating with oil below the minimum mark risks engine damage. Add the recommended amount of oil gradually, rechecking after each addition until the level reaches the middle of the minimum-maximum range.
Some dipsticks use crosshatch patterns or specific notches rather than simple lines. Consult your owner’s manual for the exact interpretation method for your vehicle. Digital displays on newer vehicles show oil percentage, with readings of 20-30% indicating low oil requiring immediate attention.
When to Add Oil and What Type
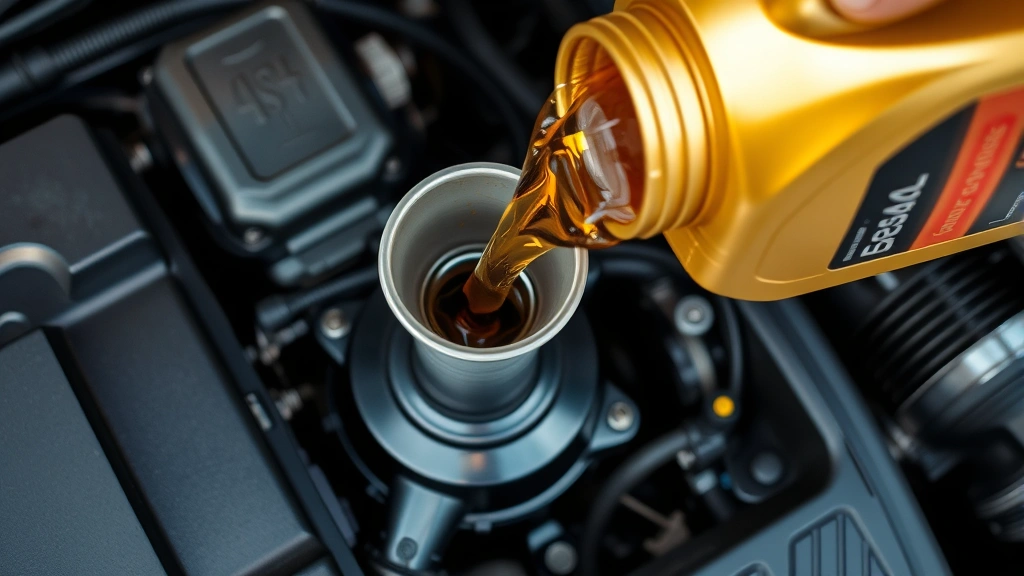
When your oil level drops below the minimum mark, it’s time to add oil. Locate your oil filler cap, typically labeled “Oil” on the engine’s top. Twist it counterclockwise to remove it, then insert an oil funnel into the opening. This prevents spills and directs oil directly into the engine.
Pour oil slowly into the funnel, adding approximately half a quart at a time. After each addition, wait a moment for the oil to drain into the pan, then replace the dipstick cap and check the level. This gradual approach prevents overfilling, which can damage your engine by creating excessive pressure.
Your owner’s manual specifies the exact oil grade your engine requires, listed as a viscosity rating like 5W-30 or 10W-40. The “W” indicates winter viscosity, affecting oil flow in cold temperatures. Using the wrong oil grade compromises engine protection and fuel efficiency. Most auto parts stores stock common grades, and staff can help you identify the correct type for your vehicle.
Never mix different oil brands or grades unless absolutely necessary. While topping off with a different brand won’t cause immediate damage, consistent use of your manufacturer-recommended oil ensures optimal engine performance and protection.
Common Mistakes to Avoid
Even experienced DIYers make mistakes when checking oil. Understanding common errors helps you maintain accuracy:
Checking oil while the engine is hot: Hot oil expands, giving falsely high readings. Wait at least five minutes after driving to allow oil to cool and settle into the pan properly.
Checking on uneven ground: Tilted vehicles distribute oil unevenly in the pan. Always park on level, flat ground before checking. Even a slight incline affects readings significantly.
Not wiping the dipstick clean: Residual oil from the initial pull clings to the dipstick, obscuring your actual reading. Thorough wiping between pulls is non-negotiable for accuracy.
Overfilling the oil: Adding too much oil creates excessive pressure in the crankcase, potentially damaging seals and gaskets. Add oil gradually and recheck frequently to avoid this costly mistake.
Ignoring warning lights: Modern vehicles feature oil pressure warning lights that illuminate when pressure drops dangerously low. Never ignore these lights—check your oil immediately and address any issues. If your light remains on after topping off oil, seek professional diagnosis promptly.
Using incorrect oil grade: Using oil with the wrong viscosity rating reduces engine protection and efficiency. Always consult your owner’s manual and use the recommended grade exclusively.
For those interested in expanding their DIY automotive knowledge, learning about checking continuity with a digital multimeter helps diagnose electrical problems. Visit the DIY Nest Hub Blog for more comprehensive guides on vehicle and home maintenance.
FAQ
How often should I check my oil level?
Most mechanics recommend checking oil monthly or before taking long trips. Vehicles with higher mileage or known oil consumption issues may require more frequent checks. Your owner’s manual provides specific recommendations for your vehicle.
What should I do if my oil level is critically low?
Add oil immediately before operating your vehicle. Driving with insufficient oil risks catastrophic engine damage. After adding oil, recheck the level and consider scheduling an inspection to identify potential leaks or consumption issues.
Can I check oil when the engine is running?
No. Always turn off the engine and wait several minutes before checking oil. Running engines create inaccurate readings due to oil circulation and heat. Safety is also a concern with hot engine components and moving parts.
What does it mean if my oil level drops frequently?
Frequent oil level drops indicate either a leak or excessive oil consumption. Small leaks may be minor gasket issues, while larger drops suggest serious problems. Have a professional mechanic inspect your vehicle to identify the cause.
Is synthetic oil better than conventional oil?
Synthetic oil offers superior protection and lasts longer between changes, though it costs more initially. Your owner’s manual specifies whether your engine requires synthetic, conventional, or a blend. Follow manufacturer recommendations for optimal engine health.
What if I accidentally overfill my oil?
If you’ve added too much oil, you can remove the excess using a clean turkey baster or oil extraction pump. Extract oil carefully until the level reaches the maximum mark. Never operate your vehicle with overfilled oil, as excessive pressure damages engine seals.
Can I check oil in the dark?
While possible, checking oil in poor lighting increases the risk of misreading the dipstick. Use a flashlight to illuminate the measurement marks clearly. Good lighting ensures accurate readings and prevents mistakes.
What if my vehicle has an electronic oil sensor instead of a dipstick?
Modern vehicles with electronic sensors display oil level on the dashboard or infotainment system. Check your owner’s manual for instructions on accessing this information. Some vehicles allow you to cycle through display options using steering wheel controls to view oil percentage.


