Table of Contents
Introduction
Picture this: you walk into your living room and take a deep breath. Instead of that musty smell or the lingering odor from last week’s wine spill, you’re hit with the fresh, clean scent of properly maintained carpets. Sounds pretty good, right? Whether your carpets have been through the daily chaos of kids, pets, and life in general, or they’re just looking a little tired from everyday wear, keeping them clean is one of those home tasks that makes a real difference. And here’s the thing—you don’t need to shell out hundreds of dollars for professional cleaning every time your carpets need attention.
That’s where DIY carpet cleaning comes in. It’s not just about saving money (though that’s definitely a nice bonus). When you clean your own carpets, you’re in complete control. No waiting weeks for an appointment. No strangers in your house. No wondering what chemicals they’re using around your kids or pets. You get to choose when, how, and what products touch your floors.
Let’s be honest—professional carpet cleaning can get expensive fast. Those recurring service fees add up, especially if you’re dealing with a busy household that needs regular touch-ups. When you handle it yourself, you can clean whenever you notice a problem, not when your budget allows for it. And if you’re particular about what goes into your home environment? You have complete say over whether to use harsh chemicals or stick with gentler, eco-friendly options.
But the benefits go way beyond convenience and cost savings. Regular carpet maintenance actually extends the life of your flooring. Think about it—every day, your carpets trap dirt, allergens, and whatever else gets tracked in from outside. When you stay on top of cleaning, you’re preventing that grime from working its way deep into the fibers where it can cause permanent damage. Your carpets stay looking fresh longer, and your whole house feels cleaner. If you’re someone who enjoys taking care of your home (maybe you’ve already tackled projects like DIY flooring installation), then carpet cleaning fits right into that hands-on approach to home care.
Now, before you dive in, you need to know what you’re doing. What tools actually work? Which cleaning solutions get the job done without damaging your carpets? How do you tackle different types of stains? Just like you’d research DIY home security before installing a new system, learning proper carpet cleaning techniques sets you up for success. The good news? With the right approach, even complete beginners can get results that rival what the pros charge big money for.
What You’ll Learn in This Guide
This guide covers everything you need to know to clean your carpets like a pro—without the pro price tag. Whether you’re motivated by saving money, creating a healthier home environment, or just love the satisfaction of a job well done, we’ve got you covered.
- Understanding the Basics: We’ll start with the essential tools and products you actually need (spoiler: it’s probably less than you think), what kinds of stains and dirt you’re up against, and why regular maintenance makes such a difference.
- Step-by-Step Cleaning Process: You’ll get a clear, detailed walkthrough of the entire process—from prep work and proper vacuuming to applying solutions, scrubbing techniques, and getting everything properly dried without creating new problems.
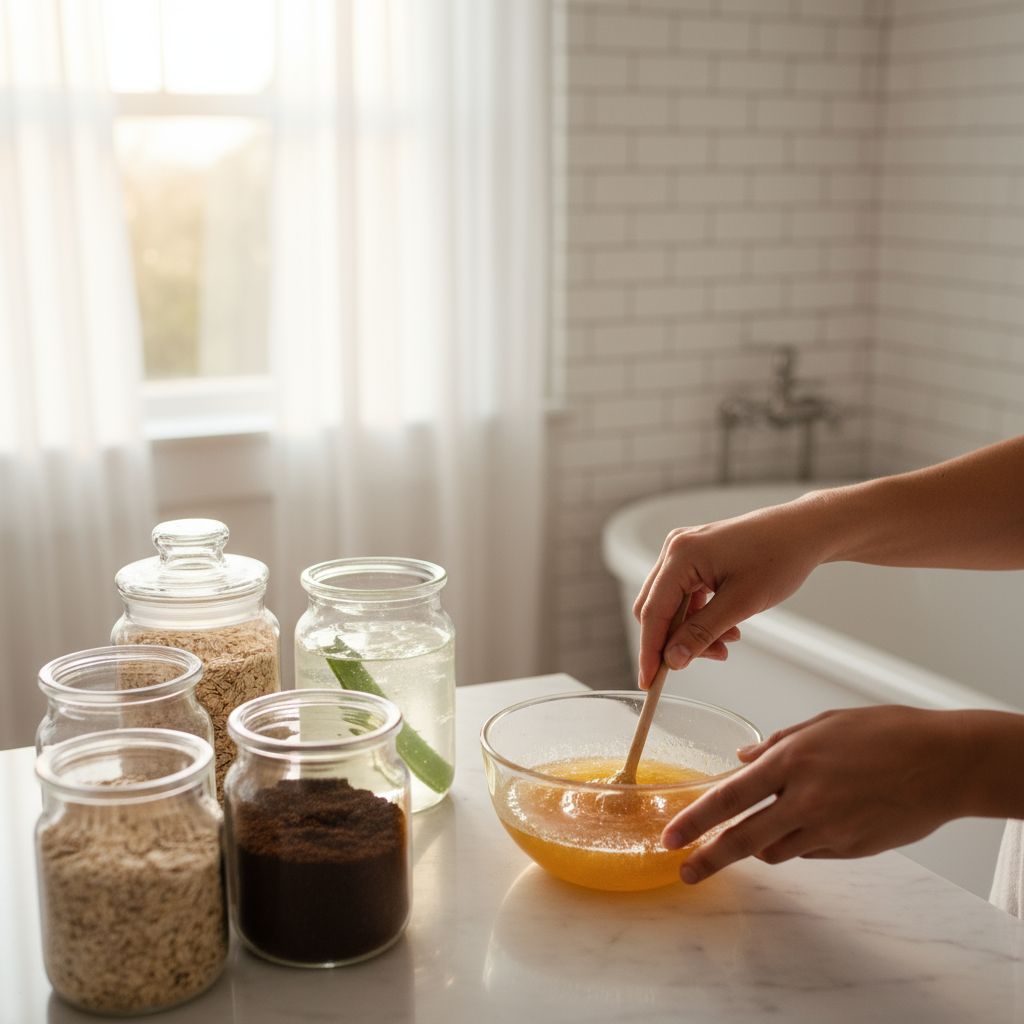
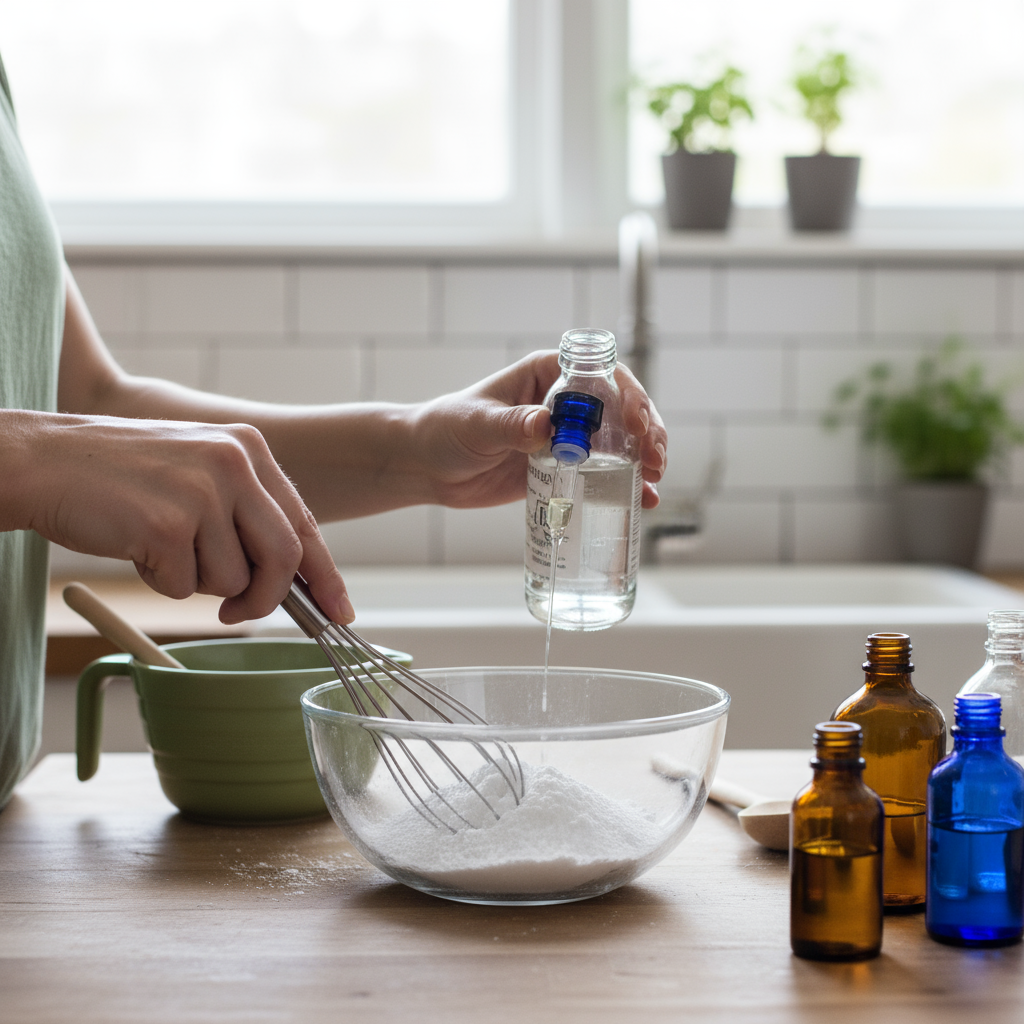
- DIY Cleaning Solutions: Learn how to make effective, safe carpet cleaners using ingredients you probably already have in your kitchen. These homemade solutions work great and won’t break the bank.
- Tips and Common Mistakes to Avoid: We’ll share the insider knowledge that prevents rookie mistakes like over-wetting your carpets or using the wrong tools, plus maintenance tips that keep your carpets looking fresh between deep cleans.
As we work through each step, you’ll discover that DIY carpet cleaning isn’t as complicated as it might seem. And if you’re interested in expanding your DIY skills beyond carpet care, learning about DIY car repairs is another great way to take control of maintenance tasks and keep more money in your pocket.
By the time you finish this guide, you’ll have the confidence to tackle any carpet cleaning challenge. Your home will smell fresher, look cleaner, and you’ll have that satisfying feeling that comes from handling things yourself. Plus, you’ll know you’re creating a healthier environment for your family while saving money in the process.
Ready to transform your carpets and maybe surprise yourself with what you can accomplish? Let’s get started.
So you’re ready to take on carpet cleaning yourself? Smart move. There’s something incredibly satisfying about rolling up your sleeves and tackling those stubborn stains on your own terms. Plus, let’s be honest—you’ll save a ton of money and get to work at your own pace without waiting around for appointments or dealing with service windows that never quite work with your schedule.
DIY carpet cleaning isn’t just about saving cash (though that’s definitely a nice bonus). It’s about taking control. You know your carpets better than anyone—where the kids spilled juice last week, where the dog likes to sleep, which areas get the most foot traffic. When you clean them yourself, you can give extra attention to problem spots and use products that work best for your household’s specific needs.
Here’s what we’re going to cover: everything from gathering the right tools and prepping your space, to the actual cleaning process and those crucial final steps that’ll keep your carpets looking great for years to come. We’ll also talk about the mistakes most people make (so you can avoid them) and share some insider tips that actually work. By the time we’re done, you’ll have everything you need to keep your carpets fresh, clean, and lasting longer than you ever thought possible.
Essential Tools, Supplies, and Preparation for DIY Carpet Cleaning
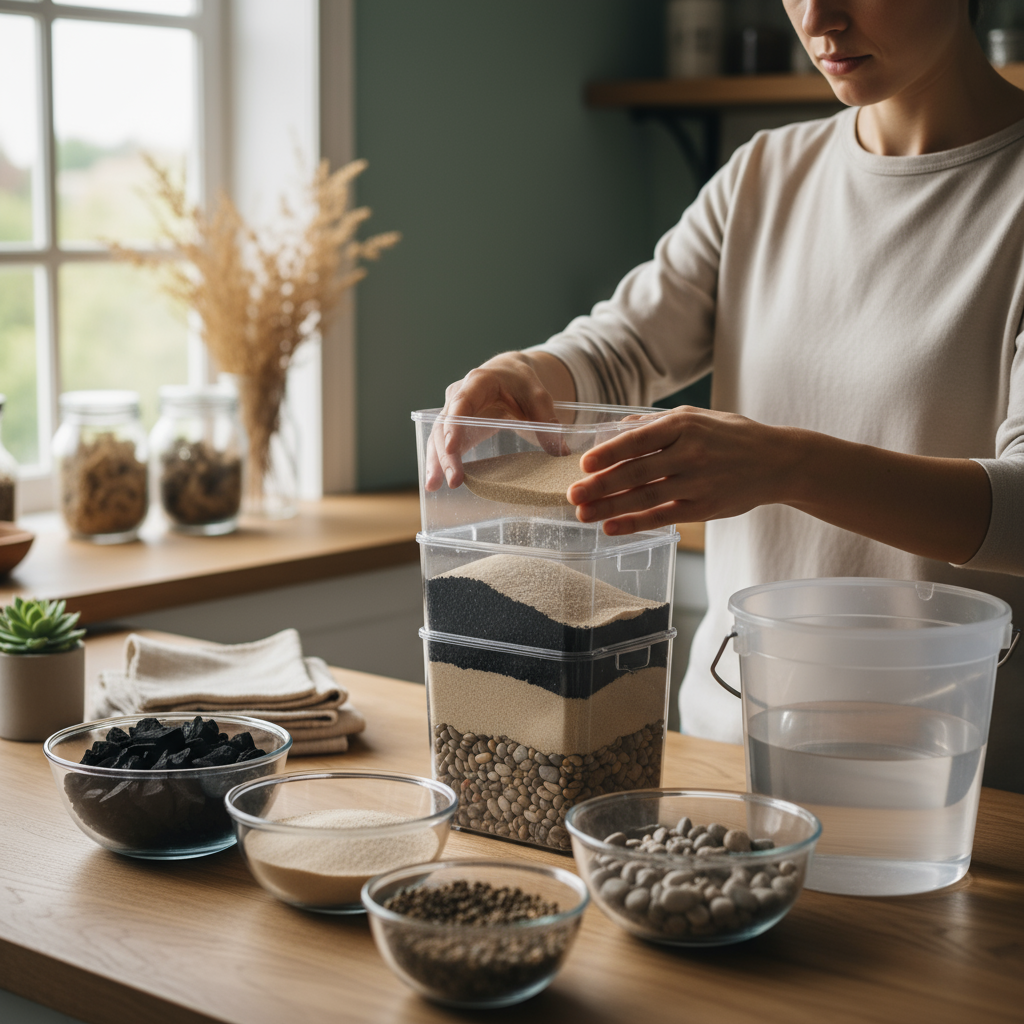
Before you jump in, let’s talk about what you’ll actually need. The good news? You probably already have some of these things lying around your house. A solid vacuum cleaner is non-negotiable—it’s your first line of defense against surface dirt and dust. You’ll also want some scrub brushes for those stubborn spots and spray bottles for getting your cleaning solution exactly where it needs to go.
Now, here’s where it gets interesting: choosing your cleaning products. Some people swear by homemade solutions using stuff from their kitchen pantry (vinegar, baking soda, dish soap), while others prefer store-bought cleaners designed specifically for carpets. Both can work great—it really depends on your carpet type and whether anyone in your house has sensitivities to certain chemicals.
But wait—don’t start spraying anything just yet. Preparation is where most people either set themselves up for success or create a bigger mess than they started with. Move your furniture (trust me, those dining room chairs are heavier than they look), vacuum thoroughly to get all the loose stuff, and here’s the big one: test your cleaning solution in a hidden corner first. I learned this the hard way when I turned a small wine stain into a large bleached spot. Not my finest moment.
This kind of methodical preparation applies to all sorts of DIY projects, just like the detailed approach experts recommend in guides about DIY car repairs. Whether you’re fixing your car or cleaning your carpets, having the right tools and taking time to prep properly makes all the difference.
Key Aspects of Tools and Preparation
Before starting, consider the following essential factors:
- Vacuuming Thoroughly: A high-quality vacuum cleaner is indispensable to extract surface dirt and prevent it from embedding deeper during the cleaning. Regular vacuuming prior to wet cleaning significantly improves results.
- Choosing Safe Cleaning Solutions: Opting for non-toxic, effective cleaners or natural homemade recipes can protect carpet fibers and household members, especially those with allergies or pets.
- Test Cleaning Products Safely: Spot testing cleaners on hidden sections of the carpet helps spot potential discoloration or fabric damage before widespread application.
- Organizing Equipment and Area: Clearing the cleaning zone of furniture, rugs, and obstructions ensures full access and reduces the risk of accidents or damage to household items.
Getting these basics right sets you up for success. Think of it like cooking—you wouldn’t start making dinner without checking if you have all your ingredients, right? Same principle here. When you’ve got your tools ready, your space prepped, and your cleaning solution tested, the actual cleaning becomes so much smoother. Now let’s get into the meat of it—the actual cleaning process and how to avoid the pitfalls that trip up most first-timers.
Step-by-Step DIY Carpet Cleaning Process and Tips to Avoid Mistakes
Alright, here’s where the magic happens. Carpet cleaning breaks down into three main phases: prep, clean, and dry. Sounds simple enough, but each phase has its own potential landmines. The biggest mistake people make? Getting their carpets too wet. I know it seems logical—more water, cleaner carpet, right? Wrong. Over-saturate your carpet and you’re looking at days of drying time, plus the very real risk of mold growing underneath. Not exactly what you signed up for.
Start with your prep work (you’ve already moved furniture and vacuumed, so you’re ahead of the game). Apply your cleaning solution systematically—work in sections, use gentle but firm scrubbing motions, and resist the urge to flood problem areas with cleaner. Those tough stains might need a little extra attention, but patience and repeated gentle treatment work better than drowning them in solution.
Here’s the part most people rush through: drying. Don’t do it. Seriously, this is where your patience pays off big time. Get some fans going, crack open windows if the weather’s cooperating, maybe even bring in a dehumidifier if you’ve got one. The goal is to get air moving over those carpets and pull moisture out as quickly as possible. A properly dried carpet doesn’t just look better—it stays healthier and lasts longer.
The satisfaction of doing this yourself really can’t be overstated. It’s the same feeling you get from any successful DIY project, whether you’re tackling home maintenance or even something like DIY home security improvements. There’s something powerful about learning these skills and taking control of your home’s upkeep.
Key Steps and Tips for Effective Cleaning
Follow these expert tips to optimize your carpet cleaning results:
- Carefully Apply Cleaning Solutions: Use spray bottles for even coverage, and avoid saturating the carpet. Concentrate on stained or heavily soiled areas for targeted treatment.
- Use Appropriate Brushes and Techniques: Select brushes that are suited for your carpet type. Use gentle circular motions to lift dirt without damaging fibers.
- Rinse and Remove Residue: If your cleaning solution requires rinsing, do so with minimal water, and blot surfaces thoroughly to remove residue and avoid sticky build-up.
- Initiate Thorough Drying: Expedite drying by increasing air circulation. Consider renting fans or dehumidifiers if necessary, especially in humid climates.
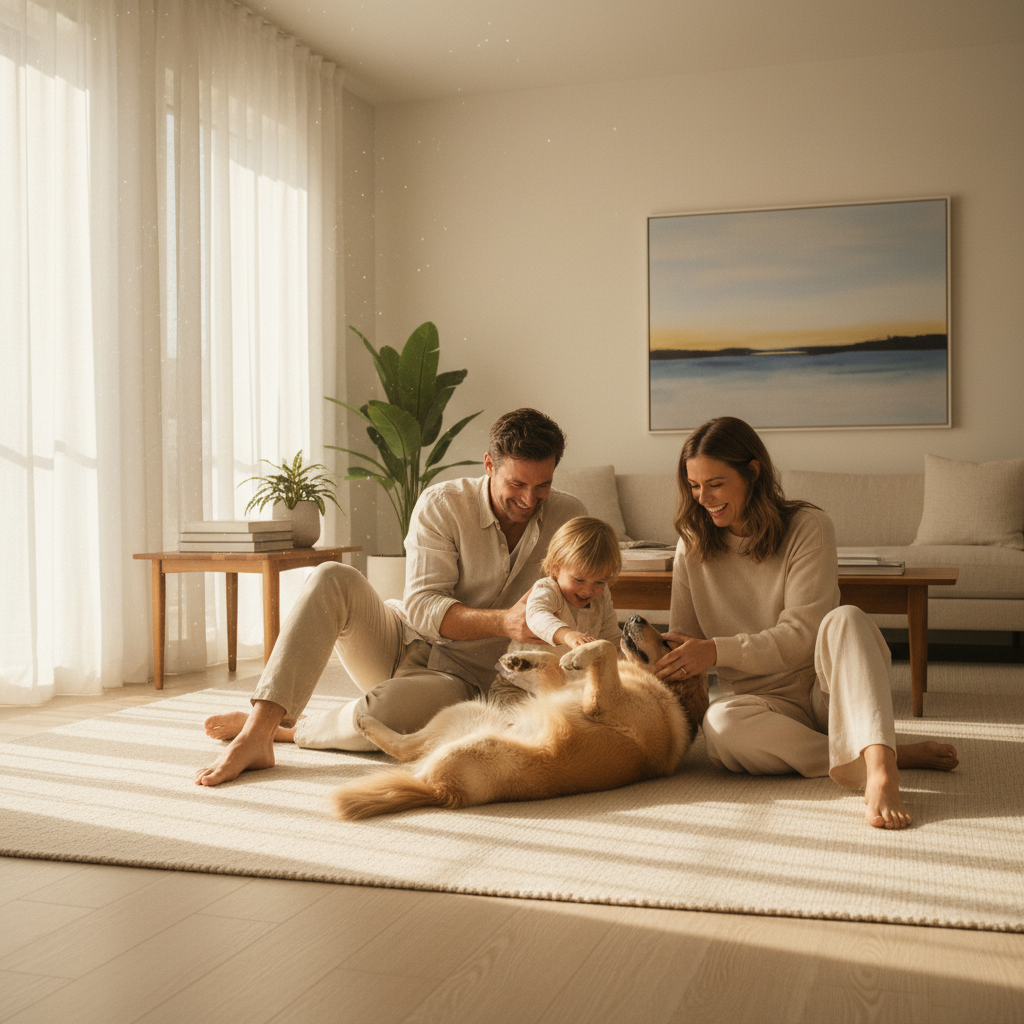
Here’s the truth about DIY carpet cleaning—it’s one of those home maintenance tasks that pays off big time. Not only will you save serious money (professional cleanings can cost $200+ per room), but you get to clean on your own schedule. No more waiting weeks for an appointment or rearranging your entire day around a service call. Plus, when you’re in control, you know exactly what’s going on your carpets. This matters especially if you’ve got kids crawling around or pets that love to lick everything. You can stick with gentle, non-toxic products that won’t leave behind harsh chemical residues.
Regular DIY maintenance does something else that’s pretty amazing—it actually makes your carpets last longer. Think about it: when dirt and allergens get ground deep into the fibers, they act like tiny sandpaper particles. Every step grinds them deeper, wearing down your carpet from the inside out. But when you stay on top of things? You’re protecting your investment while creating a healthier space for everyone.
Getting set up properly makes all the difference between success and frustration. You’ll want a decent vacuum (doesn’t have to be fancy, just effective), the right brushes for your carpet type, and cleaning solutions you can trust. The process itself is straightforward: prep the area, clean systematically, and—this is crucial—make sure everything dries completely. Homemade cleaning solutions work beautifully here. They’re budget-friendly, eco-conscious, and often more effective than store-bought alternatives.
Now, let’s talk about the mistakes that can turn your good intentions into expensive problems. Over-wetting your carpets? That’s a fast track to mold city. Using the wrong equipment or harsh chemicals? Hello, damaged fibers and discoloration. The key is knowing your limits. Some situations—like that red wine stain that’s been there since last Christmas or carpets that have seen better decades—really do need professional intervention. There’s no shame in calling for backup when the job demands it.
Ready to put this knowledge to work? Your carpets (and your wallet) will thank you. While you’re in DIY mode, you might want to check out our detailed DIY flooring installation guide—perfect for those rooms where carpet replacement makes more sense than cleaning. And since you’re investing time in your home, our comprehensive DIY home security resource can help you protect everything you’re working so hard to maintain. If you’re catching the DIY bug (it’s contagious, we warn you), our beginner-friendly DIY car repairs guide might be your next adventure in taking control of your maintenance costs.
What I love most about DIY carpet cleaning is how it builds confidence. Each successful cleaning session teaches you something new about your home and your capabilities. You start to notice things earlier, respond faster, and feel more connected to your living space. It’s not just about saving money (though that’s nice)—it’s about taking ownership of your environment and creating exactly the kind of home you want to live in. So grab those supplies, trust the process, and enjoy that fresh-carpet smell that comes from work well done. Your family will appreciate the cleaner, healthier space, and you’ll appreciate the skills you’re building along the way.
Frequently Asked Questions
-
Is DIY carpet cleaning as effective as professional cleaning?
- DIY methods work well for routine cleaning and maintenance, keeping carpets fresh and hygienic. However, professionals are better equipped to handle deep stains, heavy soiling, and extensive damage.
-
What household products can I use for carpet cleaning?
- Common safe and effective products include baking soda, white vinegar, mild dish soap, and essential oils. Always spot test solutions before full application to avoid damage.
-
How often should I clean my carpets?
- Vacuuming weekly helps prevent surface dirt buildup, while deep cleaning every 6 to 12 months keeps carpets in optimal condition and extends their lifespan.
-
Can DIY cleaning damage my carpet?
- If done improperly, DIY cleaning can cause damage such as discoloration or mold growth from over-wetting. Always use proper techniques and test cleaners on a small area first.
-
When is it necessary to hire a professional?
- Professional cleaning is recommended for stubborn, set-in stains, heavily worn carpets, or situations involving allergies and sensitivities that require advanced treatment.