Table of Contents
Introduction
Ever looked at your bathroom tiles and wondered why they look so… blah? You scrub them, you clean them, but something’s still off. Here’s the thing—it’s probably not your tiles at all. It’s that grout. Those thin lines between your tiles? They’re absolute dirt magnets. Over time, they collect everything from soap scum to who-knows-what, leaving your beautiful tiles looking tired and dull.
Now, grout cleaning isn’t exactly what you’d call exciting. (Let’s be honest, it’s probably not making anyone’s weekend plans.) But here’s why it matters more than you think. Grout is basically a sponge—it soaks up moisture, grime, and all sorts of nasties that can turn into mold or mildew. Ignore it long enough, and you’re not just dealing with ugly grout lines. You’re looking at potential health issues, especially in spots like your kitchen and bathroom where humidity loves to hang out.
That’s where this guide comes in. We’re going to walk through everything you need to know about getting your grout back to its former glory—from spotting the warning signs to choosing the right tools and techniques. Before we dig into the nitty-gritty details, you might find it helpful to check out some other DIY projects that can boost your confidence around the house, like DIY car repairs or DIY paper crafts. These projects teach you the same problem-solving mindset you’ll use for grout cleaning—break it down, take it step by step, and trust yourself to figure it out.
And while we’re talking about home improvements, it’s smart to think about the bigger picture too. Managing household projects means managing your budget, which is where guides like how to budget for big projects or building an emergency fund come in handy. Because when you can tackle grout cleaning yourself, that’s money saved for other home improvements.
What You’ll Learn in This Guide
This guide covers everything you need to transform your grout from grimy to gorgeous. Here’s exactly what we’ll cover:
- Recognizing Dirty Grout: Spot the telltale signs that your grout needs attention—discoloration, funky smells, that weird texture change. We’ll help you catch problems early before they turn into bigger headaches.
- Tools and Materials Needed: No need to break the bank here. We’ll show you which affordable tools work best (spoiler: a good grout brush goes a long way) and which household items like baking soda and vinegar can work wonders.
- Step-by-Step Cleaning Techniques: The real meat and potatoes—safe, effective methods that actually work. From the classic baking soda and vinegar combo to commercial cleaners and hydrogen peroxide tricks that’ll make your grout sparkle.
- Maintenance and Prevention Tips: Because nobody wants to deep-clean grout every month. Learn how to keep it looking good with simple routines, proper sealing, and smart prevention strategies.
Master these techniques, and you’ll save yourself serious money while keeping your home looking fresh. Plus, once you get comfortable with grout cleaning, you’ll have skills that translate to tons of other maintenance projects around the house.
Ready to dive in? We’ll walk through each step together, from diagnosing your grout situation to cleaning like a pro. You’ll also pick up maintenance tips to keep your grout looking great long-term, plus know when it’s time to call in the professionals for the really tough cases. And if you’re thinking about bigger tile projects down the road, our guide on DIY flooring installation will give you the foundation knowledge to understand how tiles and grout work together.
By the end of this guide, you’ll have all the confidence and know-how to turn those dingy grout lines into something you’re actually proud to show off. Let’s get started and bring those tiles back to life with methods that work—no fancy equipment required.
So we’ve talked about why keeping your grout clean matters—now let’s get into the nitty-gritty of actually doing it. Here’s the thing: grout is basically a dirt magnet. It sits there between your tiles, collecting everything from everyday grime to that mysterious black stuff that appears in bathroom corners. (You know what I’m talking about.) The good news? You don’t need to call in the pros or break the bank. With the right know-how, you can tackle grout cleaning yourself and actually get great results.
Recognizing When Your Grout Needs Cleaning
Let’s be honest—most of us don’t think about grout until it looks absolutely terrible. But here’s a little secret: catching problems early saves you hours of scrubbing later. Your grout is basically sending you signals when it needs attention, and once you know what to look for, you’ll spot them everywhere.
The most obvious red flag? Color changes. If your grout started out light and now looks like it belongs in a haunted house, that’s dirt and grime settling in for the long haul. Then there’s the scary stuff—those black or green patches that make you wonder what’s growing in there. (Spoiler alert: it’s probably mold or mildew, and it’s not doing your health any favors.) Sometimes you’ll notice a funky smell coming from your tile areas, especially in bathrooms and kitchens. That’s your grout crying for help.
Pay attention to texture changes too. When grout starts feeling rough or actually crumbling under your finger, you’re looking at more than just a cleaning job—you might need some repairs. Ignoring these warning signs doesn’t just make your home look neglected; it can actually create health issues, especially in spaces that get a lot of moisture. Want to get better at spotting these kinds of maintenance issues around your home? Check out these basics of DIY home maintenance projects for some practical insights that’ll help you stay on top of things.
Key Indicators That Grout Needs Attention
Here’s your grout inspection checklist—the stuff you should actually be looking for:
- Discoloration and Stains: When your grout looks like it’s been through a mud wrestling match, it’s time to act. Spills and everyday dirt love to make themselves at home in grout lines.
- Mildew and Mold Growth: Those dark spots aren’t just ugly—they’re actually living organisms having a party in your bathroom. Time to crash that party with some serious cleaning power.
- Unpleasant Odors: If your bathroom smells like a basement (and not in a good way), moisture and bacteria are probably throwing their own little science experiment in your grout.
- Rough or Crumbling Grout Texture: When your grout feels like sandpaper or starts falling apart, you’re dealing with damage that needs more than just a good scrub.
Catching these issues early is like catching a small leak before it becomes a flood—much easier to deal with. And speaking of dealing with home repairs, understanding step-by-step processes of simple DIY repairs can really boost your confidence when tackling these kinds of projects around the house.
Now that you know what to look for, let’s talk about actually fixing the problem. The jump from “my grout looks terrible” to “wow, this looks amazing again” isn’t as big as you might think. You just need the right approach and a little elbow grease. Ready to learn how to make your grout sparkle again?
Effective DIY Grout Cleaning Methods and Maintenance
Okay, let’s tackle the actual cleaning part. I know it might seem intimidating, but trust me—with the right tools and techniques, you can make your grout look brand new again. And the best part? You probably already have most of what you need at home.
First, let’s talk gear. You’ll want a grout brush (or honestly, an old toothbrush works great), some rubber gloves (because nobody wants cleaning chemicals on their hands), a bucket, and a good sponge for wiping everything down. That’s it—no fancy equipment required.
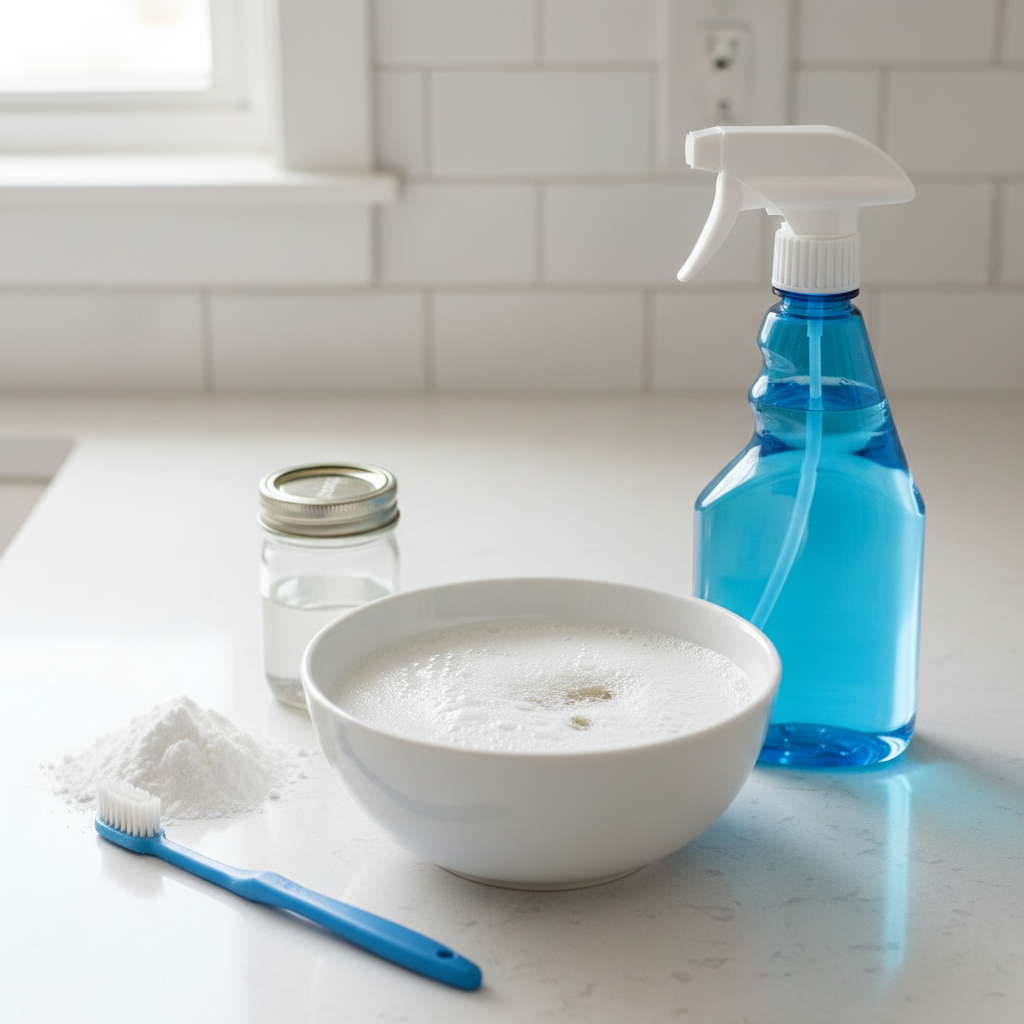
Now for the fun part: actually getting rid of the grime. My personal favorite? The baking soda and vinegar combo. It’s like a science experiment that actually cleans your house. Make a paste with baking soda and water, spread it on your grout lines, then hit it with some vinegar in a spray bottle. Watch it foam up like a volcano—that’s the magic happening. Give it a few minutes to work, then scrub away. The results will surprise you.
If you prefer store-bought solutions, there are tons of grout cleaners out there that do the heavy lifting for you. Just follow the instructions (seriously, read them), wear your gloves, and make sure the room is well-ventilated. For really stubborn stains, try mixing hydrogen peroxide with a little dish soap—it’s gentler than harsh chemicals but still packs a punch.
Here’s where most people mess up: they clean once and think they’re done forever. Nope! The secret to keeping grout looking good is prevention. Regular sweeping and mopping keep dirt from settling in. A yearly grout sealer application is like giving your grout a protective shield against future stains. And when something spills? Clean it up right away instead of letting it marinate. For more ideas on keeping your home in tip-top shape, these related DIY care products might give you some inspiration for your cleaning routine.
Key Strategies for DIY Grout Cleaning and Ongoing Care
Let me break down the game-changing strategies that actually work:
- Use Appropriate Tools: A good grout brush makes all the difference. Those narrow grout lines need something that can really get in there and scrub. An old toothbrush is perfect for tight spots and corners.
- Baking Soda and Vinegar Cleaning: Make your paste, spread it around, spray with vinegar, and watch the magic happen. The fizzing action does half the work for you—then you just scrub and rinse.
- Commercial Grout Cleaner Application: Pick something designed specifically for grout, follow the directions like your life depends on it, and always wear gloves. These products mean business.
- Hydrogen Peroxide and Dish Soap Mix: This combo is gentler but still effective. Let it sit for a few minutes before scrubbing, and you’ll be amazed at what comes off.
The real secret to long-term success? Making grout care part of your regular routine instead of waiting until it looks like a disaster zone. A little prevention goes a long way—seal that grout annually, keep moisture levels down with good ventilation, and don’t let spills sit around throwing their own little staining parties. Your future self will thank you when your grout still looks great years down the road.

Let’s be real about grout—it’s one of those things that looks great when it’s fresh, but give it a few months and suddenly your beautiful tiles are surrounded by what looks like dirty caulk lines. Here’s the thing: keeping your grout clean isn’t just about looks (though that matters too). When grime builds up, you’re dealing with more than just an eyesore. We’re talking mold, funky smells, and eventually real damage that’ll cost you way more than a Saturday afternoon spent scrubbing.
The good news? You don’t need to break the bank buying fancy equipment or harsh chemicals. I’ve tried pretty much every method out there, and some of the best solutions are sitting in your kitchen right now. That baking soda and vinegar combo everyone talks about? It actually works—there’s real science behind it. The fizzing action helps lift the grime while being gentle enough that you won’t damage anything. And when you hit a really stubborn spot, commercial cleaners can be your friend (just crack a window and wear gloves, trust me on this). Even something as simple as mixing hydrogen peroxide with dish soap creates this gentle paste that works wonders on delicate surfaces.
Now here’s what I wish someone had told me years ago: prevention beats scrubbing every single time. Think about it—every spill you clean up immediately is one less stain you’ll be battling later. A quick sweep and mop routine keeps dirt from settling into those grout lines in the first place. And that grout sealer? It’s like sunscreen for your tiles. Apply it once a year, and you’ll thank yourself every time you clean because everything just wipes away so much easier.
Ready to tackle your grout? Start simple. Grab an old toothbrush (everyone’s got one lying around), some baking soda, and white vinegar. That’s literally all you need for most jobs. Once you see how well this works, you’ll wonder why you put it off for so long. The key is making it part of your routine—seal those grout lines annually, stay on top of spills, and do a deep clean every few months. Your tiles will look amazing, and you’ll actually enjoy your bathroom and kitchen again.
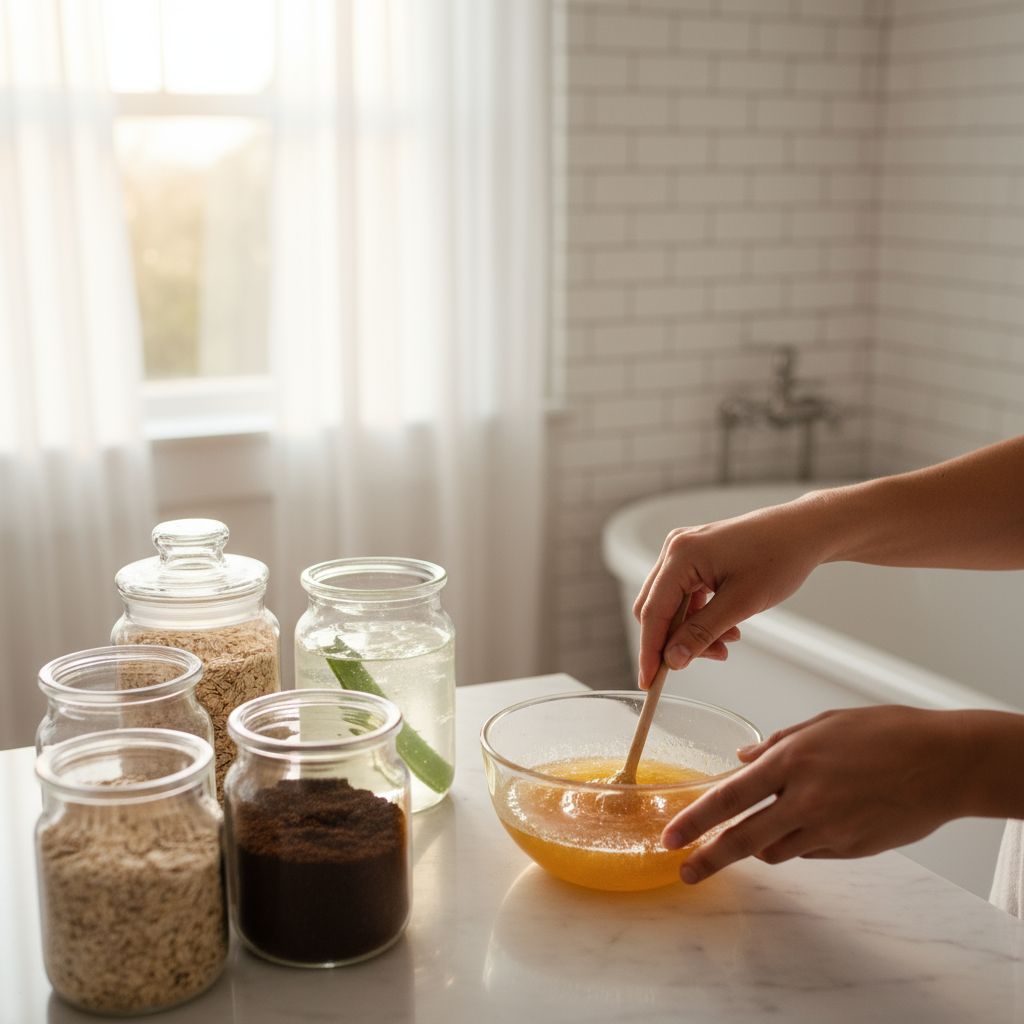
While you’re in DIY mode, why not tackle some other projects around the house? If you’re handy with cleaning, you might enjoy learning DIY car repairs to keep your vehicle running smoothly. Or get creative with DIY paper crafts for some unique home decorations. After all that cleaning, treat yourself to some homemade DIY bath salts for the perfect end to your productive day. And if you’re feeling ambitious about home improvements, our DIY flooring installation guide might be your next big project.
There’s something satisfying about taking care of your home yourself. Not only do you save money, but you get that confidence boost that comes from knowing you can handle whatever your house throws at you. Clean grout is just the beginning—once you start seeing results, you’ll want to tackle everything. Speaking of which, don’t forget about your carpets! Our DIY carpet cleaning guide pairs perfectly with fresh grout for a completely refreshed space. You’ve got all the tools and knowledge you need now—go make your home shine.
Frequently Asked Questions
-
Can I use bleach to clean grout?
- Bleach is not recommended for routine grout cleaning because it can damage the grout and surrounding tiles over time. Safer alternatives like baking soda and vinegar are effective and gentler.
-
How often should grout be cleaned?
- For best results, grout should be cleaned every 3 to 6 months depending on usage and exposure to dirt. Regular maintenance helps prevent buildup and extends grout life.
-
Is sealing grout necessary?
- Yes, sealing grout is important as it creates a protective barrier against moisture and stains, helping to keep grout looking fresh and reducing the need for deep cleans.
-
What if grout is cracked or missing?
- Damaged grout may require professional repair or regrouting to restore the surface’s integrity and prevent water damage.
-
Are natural cleaning methods effective?
- Natural methods using baking soda, vinegar, and hydrogen peroxide are safe and effective for most grout cleaning needs and reduce exposure to harsh chemicals.