Table of Contents
Introduction
Let’s be honest—every time you head down to your basement, you probably think the same thing. “What a waste of space.” All that square footage just sitting there, collecting dust and storing Christmas decorations. But here’s what’s exciting: that neglected space could become the best room in your house. And yes, you can absolutely do it yourself.
I know what you’re thinking. “Me? Finish a basement?” Trust me, it’s more doable than you imagine. Whether you’re dreaming of a cozy family hangout spot, an extra bedroom for guests, or finally having space for that home gym you keep talking about—it’s all within reach. The key is knowing what you’re doing before you start swinging that hammer. Getting familiar with basics like DIY flooring installation will save you headaches (and money) down the road.
Now, finishing your basement isn’t just about making it look pretty. Sure, you’ll love the extra space, but there are real benefits here. We’re talking increased home value, better energy efficiency, and functional square footage that actually gets used. But—and this is important—you can’t just slap some drywall up and call it done. Moisture problems will haunt you if you don’t handle them properly. (Ask anyone who’s dealt with basement mold.) That’s why understanding DIY home security principles and moisture prevention is crucial from day one.
Here’s something I’ve learned from years of DIY projects: the best renovators think beyond just one room. While you’re down there working on your basement, you might as well brush up on other skills that’ll serve you well. Maybe kitchen cabinet installation for your next project, or door lock replacement for better security. These skills build on each other—and once you’ve tackled a basement, you’ll be amazed at what else feels manageable.
What You’ll Learn in This Guide
I’m going to walk you through this entire process, from “where do I even start?” to “wow, I can’t believe I built this.” No fluff, no overwhelming technical jargon—just practical steps that actually work.
- Understanding the Basics: We’ll start with evaluating your space and tackling the big stuff—moisture control, insulation, and making sure you don’t run into code violations later.
- Step-by-Step Process: The nitty-gritty details on framing, electrical work, plumbing considerations, hanging drywall, choosing flooring, and all those finishing touches that make it feel like home.
- Common Mistakes to Avoid: I’ll tell you about the mistakes I see over and over again (and some I’ve made myself) so you can skip the expensive do-overs.
- When to Call a Professional: Some things are worth paying for. I’ll help you figure out which tasks you should tackle and which ones are better left to the pros.
As we go through each step, I’ll share the tricks I’ve picked up along the way—the kind of stuff they don’t teach you in those basic how-to videos. Plus, I’ll point you toward helpful resources like DIY blinds installation to help you put the finishing touches on your new space.
Look, finishing your basement is a big project. But it’s also one of the most rewarding things you can do for your home. You’ll save thousands doing it yourself, and there’s something incredibly satisfying about walking into a space and thinking, “I built this.” This guide will give you the confidence to tackle each phase without second-guessing yourself. No mysteries, no surprises—just solid, tested advice you can count on.
Ready to turn that storage space into something amazing? Let’s start with the planning phase and figure out exactly what your basement needs to become the space you’ve been dreaming about. By the time we’re done, you’ll have everything you need to make it happen.

So you’re thinking about finishing your basement? Smart move. This might just be one of the best home improvement decisions you’ll ever make. Not only will you dramatically boost your living space, but you’ll also add serious value to your property. And here’s the kicker—doing it yourself brings some pretty sweet benefits: personal satisfaction (there’s nothing quite like stepping back and saying “I built this”), major cost savings, and the freedom to create exactly what you want.
But let’s be real here. Success isn’t just about enthusiasm and a trip to the hardware store. You need solid planning and a clear understanding of what you’re getting into. The good news? We’re about to walk through the game-changing phases of planning your project and picking the right materials and tools. By the time we’re done, you’ll know how to get professional results that’ll last for years.
Planning Your Basement Finishing Project: Essential Foundations for Success
Here’s something most people get wrong: they grab their tools and start working before they’ve really thought things through. I get it—you’re excited to see progress. But trust me, taking time to plan properly will save you headaches, money, and probably a few arguments with your family members.
Your plan needs to cover the big stuff: what condition is your basement actually in? What do you want this space to become? And (this one’s important) what permits and building codes do you need to deal with? Planning isn’t just about avoiding expensive mistakes—it’s about setting yourself up for a project that actually feels manageable. If you’re new to this kind of work, checking out resources like DIY flooring installation guides can really help you understand the fundamentals and make smart material choices.
Now, let’s talk money. (I know, not the fun part, but necessary.) You need realistic cost estimates that cover everything: materials, tools, maybe some professional help for the tricky bits, and—here’s what catches most people off guard—unexpected expenses. Because there are always unexpected expenses. The trick is balancing what you absolutely need with where you can save some cash. Maybe splurge on the structural stuff and find budget-friendly options for decorative touches.
And then there’s the permit situation. Look, I know dealing with local building codes sounds about as exciting as watching paint dry, but ignoring this stuff can shut down your entire project. Worse yet, you could face fines or have to redo work that doesn’t meet code. A quick call to your local municipality can save you major headaches down the road.
Key Aspects of Planning Your Basement Finishing Project
When you’re planning this project, you’ve got several moving pieces that all need to work together:
- Assessing Your Space: Time for some detective work. What’s the real story with your basement? Check moisture levels, measure ceiling height, and take a hard look at your existing electrical and plumbing setup. Don’t forget structural integrity—you want to know about any potential problems before you start building walls around them.
- Budgeting Your Project: Create a budget that covers everything: materials, tools, labor if you need it, permits, and a buffer for surprises. Shop around, compare prices, and remember that sometimes spending a bit more upfront saves money in the long run.
- Permits and Local Building Codes: Figure out what permits you need—usually electrical, plumbing, and general construction permits are involved. Yes, it’s paperwork. Yes, it’s a bit tedious. But compliance keeps you safe and protects your investment.
- Project Timeline and Sequence: Map out a realistic timeline that includes prep work, framing, installations, finishing touches, and inspections. Think of it like a recipe—do things in the right order and everything flows smoothly.
Once you’ve got your planning sorted out, you can move on to the fun part: materials and tools. This is where your vision starts becoming reality, and getting it right makes all the difference in how your finished basement looks and performs.
Materials and Tools Needed for a Professional Basement Finish
Okay, here’s where things get interesting. The materials and tools you choose will make or break this project—literally. We’re not just talking about how things look (though that matters too). We’re talking about whether your basement stays comfortable, dry, and durable for years to come.
Having the right list of materials and tools means you can work efficiently instead of making constant trips to the store. And if you want some extra guidance on materials and techniques, resources like this DIY house painting guide offer great insights for those finishing touches that really make a space pop.
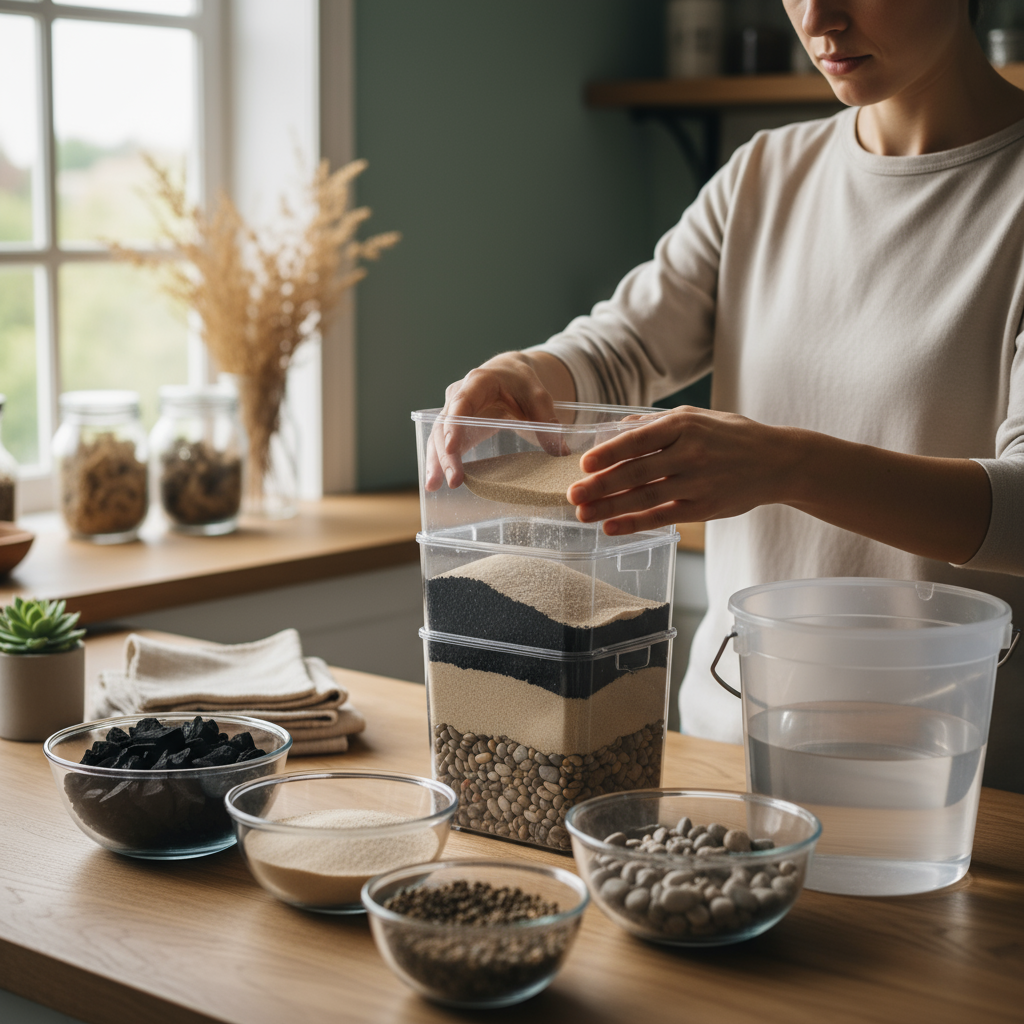
Here’s the thing about basements—they’re different beasts than the rest of your house. They’re typically cooler, more humid, and moisture is always lurking around somewhere. That means your material choices need to account for these conditions. You can’t just use any old drywall and hope for the best. You need moisture-resistant options, proper insulation, and flooring that won’t buckle or grow mold when things get damp.
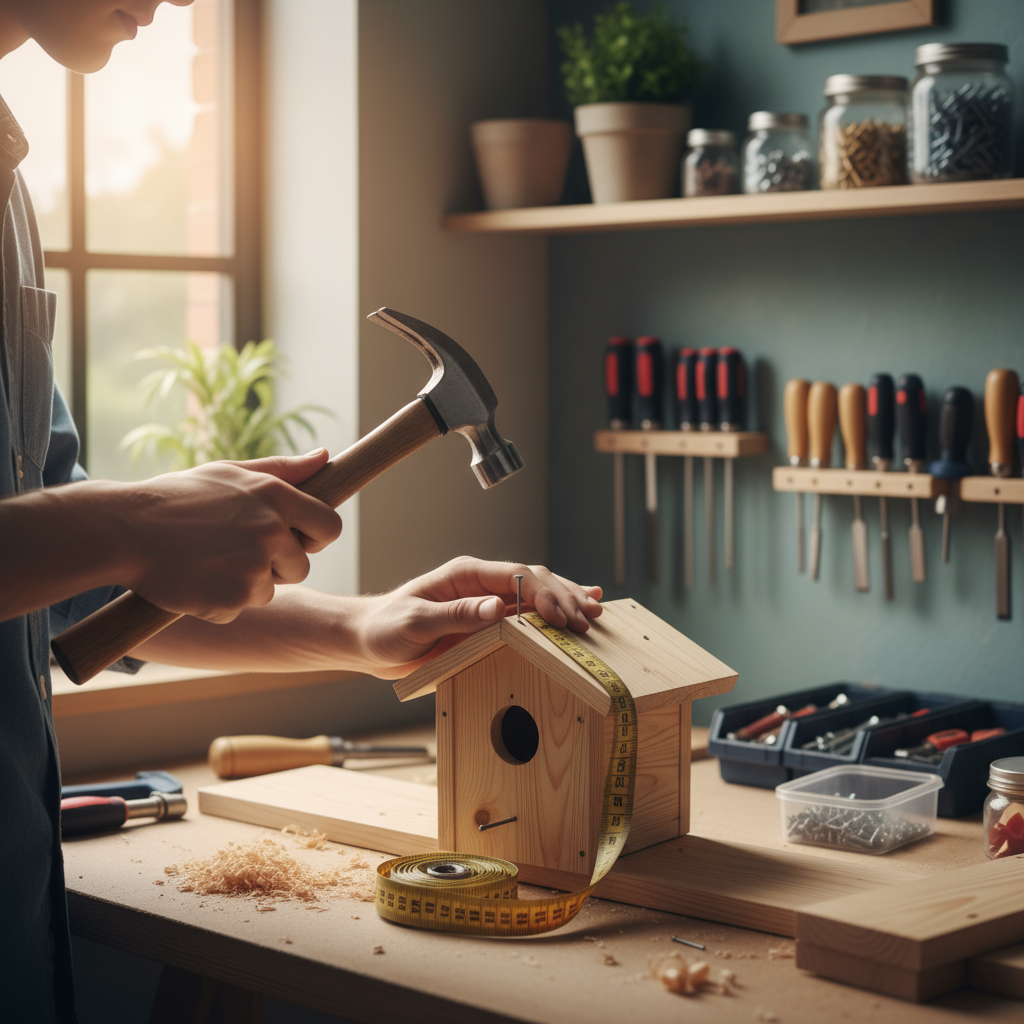
As for tools, this isn’t the time to make do with that ancient drill that barely holds a charge. Quality tools—drills, saws, levels, measuring tapes—will keep your cuts straight, your measurements accurate, and your sanity intact. Because let me tell you, nothing’s more frustrating than trying to install drywall with a wobbly level.
Key Aspects of Materials and Tools Needed
Getting your materials and tools right sets you up for success from day one:
- Basic Tools: You’ll need the classics: drills, saws, hammers, levels, measuring tapes, and utility knives. Each one has a specific job, and having quality versions means your cuts will be clean, your measurements accurate, and your frustration levels manageable.
- Insulation and Drywall Materials: This is where you don’t skimp. Moisture-resistant drywall and proper insulation (think foam board or spray foam) are your best friends in a basement. They keep things comfortable and prevent the mold and moisture issues that can ruin your hard work.
- Flooring Options: Basement flooring needs to handle moisture and temperature changes. Vinyl planks, engineered wood, or carpet tiles with moisture barriers are smart choices. They look great, last long, and won’t give you headaches later.
- Painting and Finishing Supplies: Quality primers and paints designed for high humidity areas, plus good brushes and rollers, will give you that polished, professional finish that makes all your hard work shine.

So you’re ready to finish your basement yourself? Smart choice. This isn’t just about adding square footage—you’re about to transform dead space into something your family will actually use and love. We’ve covered a lot of ground together, from the nitty-gritty of permits and budgeting to the satisfying moment when you install that final piece of trim. But here’s what really matters: you now know that proper planning isn’t just helpful, it’s everything. Skip the moisture control step? You’ll regret it. Rush the insulation? Your heating bills will remind you every month.
The beauty of following our step-by-step approach—framing, electrical considerations, drywall, flooring, and those finishing touches—is that each phase builds on the last. No surprises, no “oops, I should have done that first” moments. And those common mistakes we highlighted? They’re not just theoretical. Every single one comes from real DIYers who learned the hard way. Moisture issues that turned into mold problems. Poor insulation that made spaces unusable. We’ve seen it all, and now you won’t have to. Oh, and knowing when to call in the pros? That’s not giving up—that’s being smart. Some things (like major electrical work) are worth paying for.
Ready to make this happen? Your basement won’t finish itself, but you’ve got everything you need to do it right. Start with our detailed DIY flooring installation guide—it’ll help you choose and install the perfect basement flooring without the headaches. While you’re at it, don’t forget about security during your project. Our comprehensive DIY home security guide will keep your home (and your tools) safe. For those finishing touches that make all the difference, check out our step-by-step DIY blinds installation guide. And if you’re wondering about the big picture costs, our home renovation cost calculator will help you stay on budget.
Look, finishing your basement yourself does more than add living space. It builds something you can’t put a price on: confidence. Every wall you frame, every outlet you plan, every decision you make—it all adds up to something bigger than square footage. Take your time with each step. There’s no rush, and there’s definitely no prize for finishing fastest. When friends come over and ask about your basement, you’ll get to say those three little words that make all the work worth it: “I did that.” Trust me, it never gets old.
Frequently Asked Questions
-
How long does it take to finish a basement myself?
- The time varies based on project scope and experience, typically ranging from several weeks to a few months. Planning and complexity influence the duration.
-
What are the most important permits required?
- Common permits include electrical, plumbing, and building permits. It’s essential to check with local authorities early to ensure compliance and avoid delays.
-
Can I install flooring over a concrete basement floor?
- Yes, provided you use appropriate moisture barriers and select flooring materials suitable for basement conditions, such as vinyl planks or engineered wood.
-
What is the best insulation for basements?
- Foam board insulation and spray foam are popular choices for moisture control and thermal efficiency. Proper installation is key to preventing mold and energy loss.
-
How do I manage moisture issues before finishing?
- Seal cracks, improve drainage, and consider dehumidifiers to control basement moisture. Addressing these issues early prevents mold and damage after finishing.