Table of Contents
Introduction
So you’re thinking about painting your house yourself? I get it—the idea might feel a bit overwhelming at first. But here’s the thing: there’s something magical about transforming your living space with your own two hands. That personal touch you’ll add? No professional painter can replicate that feeling of “I did this myself.”
Picture this: you step back after finishing your project, paint brush in hand, looking at walls that reflect exactly what you envisioned. That sense of pride and accomplishment? It’s pretty incredible. Whether you’re ready to give one room a fresh new look or you’re brave enough to tackle your home’s entire exterior, DIY house painting offers a rewarding way to make your space truly yours—all while keeping more money in your pocket.
Now, let’s be real. Success with DIY painting takes more than just excitement and a can-do attitude. You need to understand the essential steps and preparation that separate amateur paint jobs from ones that look professionally done. The benefits go way beyond saving money. When you learn to paint your own home, you’re building practical skills that’ll serve you for years. You get complete creative control over color choices (no more settling for “close enough”), and you can work at whatever pace feels right for you.
But here’s where things can go sideways: skip the proper prep work, and you’ll end up with uneven coverage, peeling paint, and a whole lot of frustration. Not to mention wasted materials. That’s why surface preparation—cleaning, sanding, and fixing those little wall imperfections—isn’t just important, it’s everything. Get this part right, and your paint job will look amazing and last for years. If you’re interested in expanding your DIY skills beyond painting, check out this guide on DIY flooring installation. It’s another great way to build confidence with home improvement projects.
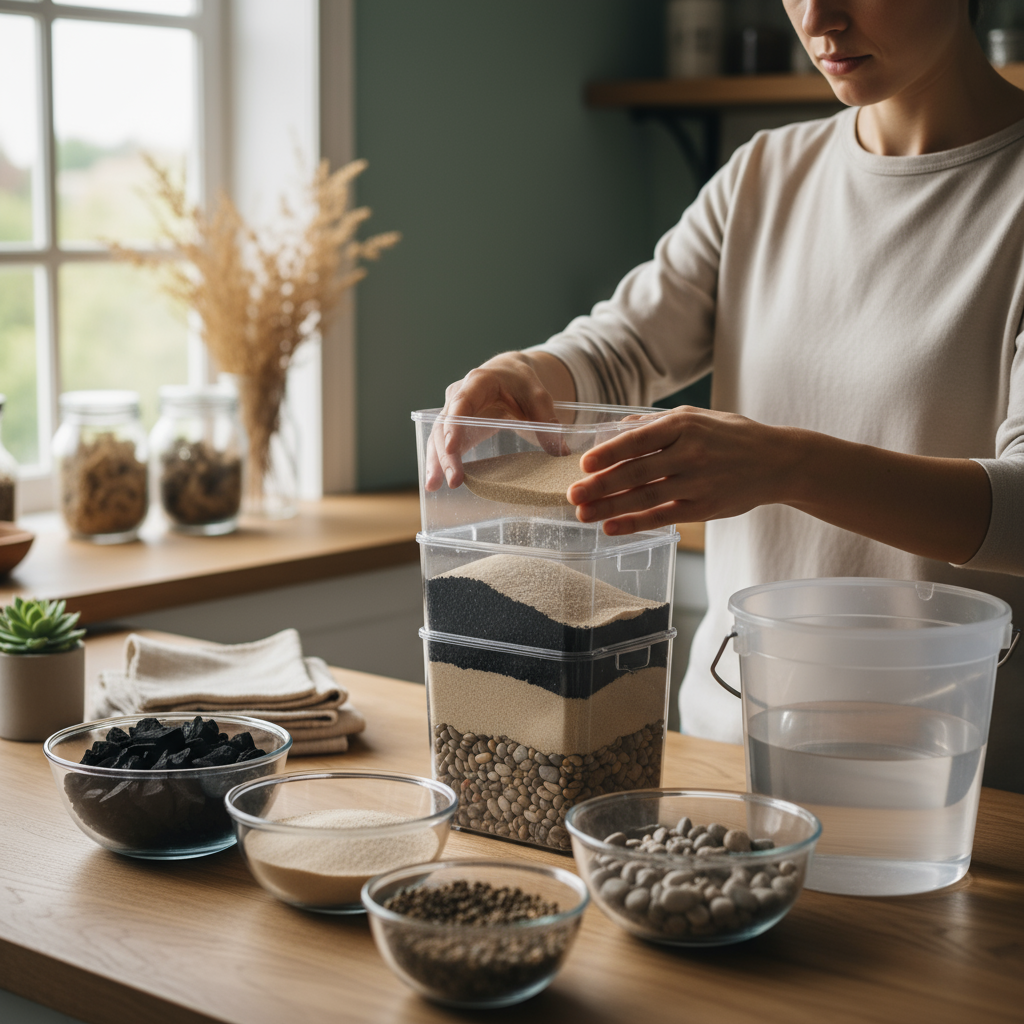
Choosing the right paint and supplies matters just as much as your prep work. Walk into any home improvement store and you’ll see what I mean—the paint aisle can be overwhelming. Different paint types, finishes, and more color options than you can shake a brush at. Understanding what works best for your specific project and budget will save you headaches later. And don’t forget about the tools: quality brushes, rollers, painter’s tape, and drop cloths make all the difference between a smooth process and a messy nightmare. Looking for more creative inspiration? These DIY pallet projects might spark some ideas for rustic home accents that’ll complement your freshly painted space.
There’s something deeper happening when you paint your own home, though. You’re not just changing colors—you’re creating a connection with your space. Every brushstroke reflects your personality and the care you put into your home. Plus, you’re building problem-solving skills and patience (trust me, you’ll need both). These qualities have a funny way of helping in other areas of life too. Speaking of building skills, if you enjoy detailed, step-by-step home improvement projects, you might love learning how to refinish hardwood floors. It’s another project that adds serious value to your home and complements your growing DIY skillset perfectly.
What You’ll Learn in This Guide
We’re going to walk through everything you need to know about DIY house painting. No fluff, just practical advice you can actually use. Here’s what we’ll cover:
- Preparing for Success: How to properly prep your house for painting, including surface cleaning, sanding, repairs, and setting up your workspace so your paint actually sticks and looks great.
- Choosing Materials and Tools: Navigate the world of paints, finishes, brushes, rollers, and other supplies without getting overwhelmed or overspending on your specific project.
- Mastering Painting Techniques: Step-by-step instructions for applying primer, cutting in edges, rolling large surfaces smoothly, and avoiding those annoying drips and streaks that scream “amateur job.”
- Cleanup and Maintenance: Best practices for cleaning your tools, disposing of paint responsibly, and keeping your freshly painted surfaces looking beautiful for years to come.
We’ll also talk about when it makes sense to call in a professional—because sometimes the smart DIY move is knowing when to step back. Complex surfaces, tight deadlines, or situations where one mistake could cost more than hiring help? We’ll help you make those decisions with confidence.
Ready to dive in? We’re going to take this step by step, building your confidence and knowledge as we go. This guide is designed to support you from start to finish with detailed advice, practical tips, and troubleshooting help for when things don’t go exactly as planned (because they rarely do, and that’s okay).
Whether you want to boost your home’s curb appeal or just give your living room a fresh new vibe, we’ve got you covered. By the time we’re done, you’ll have turned what might feel like an overwhelming task into something genuinely enjoyable and creative. With the right approach, a little patience, and good planning, you’ll see your house in a completely new light. One brushstroke at a time, let’s unlock your home’s full potential together!
There’s something magical about transforming your home with your own two hands. When you tackle a DIY house painting project, you’re not just slapping color on walls—you’re making your space truly yours. But here’s the thing: getting that professional-looking finish isn’t just about buying good paint and hoping for the best. It comes down to two game-changing elements: smart preparation and solid technique. We’re going to walk through both, so you can paint your house like a pro (even if you’ve never held a brush before).
Preparing for Your Painting Project: Tools, Materials, and Surface Readiness
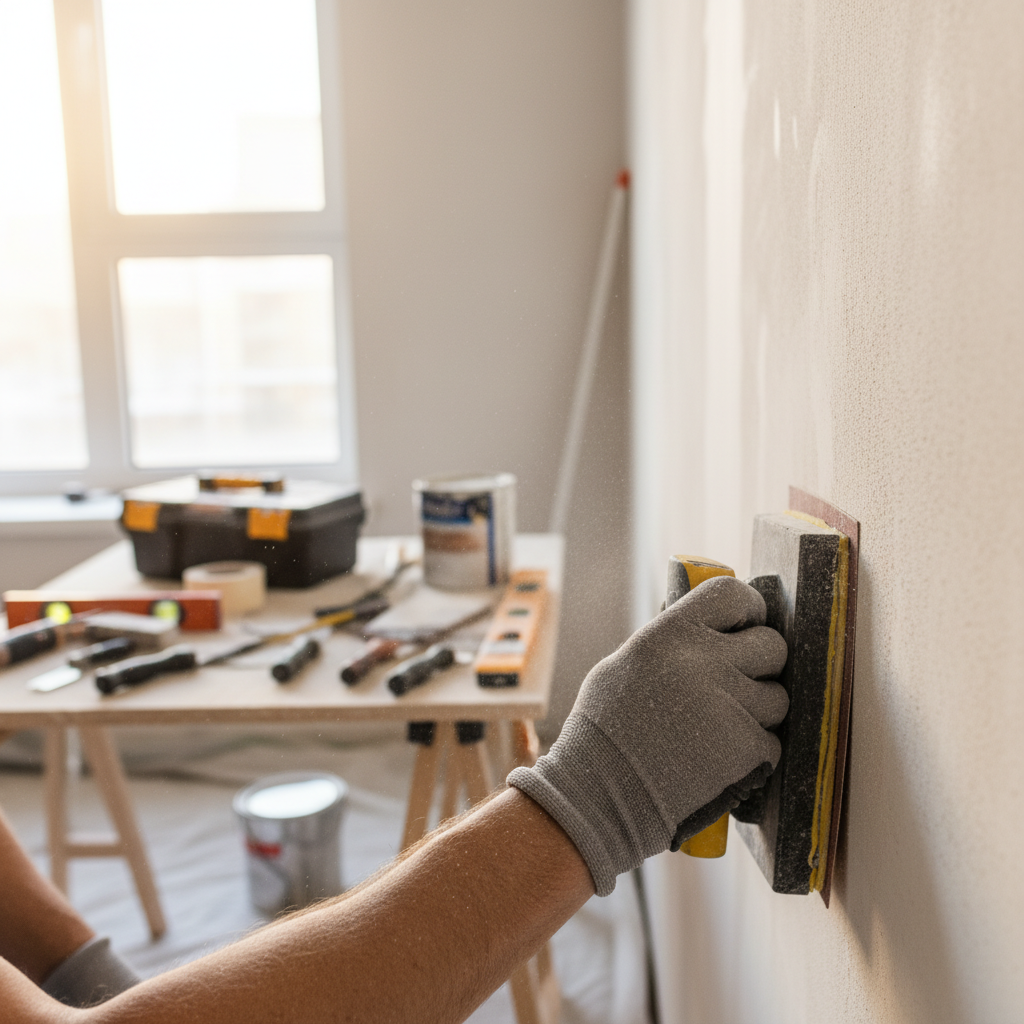
Let’s be honest—prep work isn’t the fun part. Nobody gets excited about cleaning walls or patching holes. But skip this step? You’ll regret it every time you look at those paint drips or see the color peeling off in a few months. Good preparation is what separates a paint job that lasts from one that becomes your weekend nightmare.
Before you even think about opening that paint can, you need the right stuff. We’re talking quality brushes and rollers (trust me, the cheap ones will shed bristles all over your walls), painter’s tape that actually comes off clean, and drop cloths that won’t let paint seep through to your floors. Speaking of surfaces, you’ll want to check out DIY flooring installation tips—they share some solid wisdom about prepping surfaces that applies to painting too.
Now here’s where most people mess up: they think cleaning means a quick wipe-down with a damp cloth. Wrong. You need to really clean those walls—remove all the dirt, grease, and grime that’s built up over time. Then comes the sanding (yes, it’s tedious, but necessary), and patching any holes or cracks. Think of it like this: you wouldn’t put makeup over unwashed skin, right? Same principle applies here. If you’re looking to expand your DIY skills beyond painting, DIY pallet projects offer great practice with tools and surface prep techniques you’ll use in tons of projects.
Key Aspects of Preparing Your Painting Project
Get these basics right, and you’re already ahead of the game:
- Essential Tools and Materials: Good brushes make all the difference—angled ones for edges, quality rollers for smooth coverage. Choose latex paint for easy cleanup or oil-based for durability. And that painter’s tape? Use it properly or you’ll have crooked lines that’ll drive you crazy.
- Surface Cleaning and Repair: Wash those walls like you mean it. Sand down rough spots until they’re smooth. Fill every crack and hole with proper filler. This creates the perfect canvas for your paint to stick to and look amazing.
- Priming Surfaces: Primer isn’t optional—it’s your paint’s best friend. It seals porous surfaces, covers stains, and makes your color pop exactly like it should. Skip it at your own risk.
- Workspace Preparation: Move your furniture, protect your floors, and crack open those windows for ventilation. A well-organized workspace makes everything easier and keeps you from making costly mistakes.
When you’ve done all this prep work right, you’ll actually enjoy the painting process instead of fighting against every surface. No more paint bubbling up or peeling off because you rushed through the boring stuff. Now that your space is ready to go, let’s talk about the techniques that’ll make your friends ask if you hired professionals.
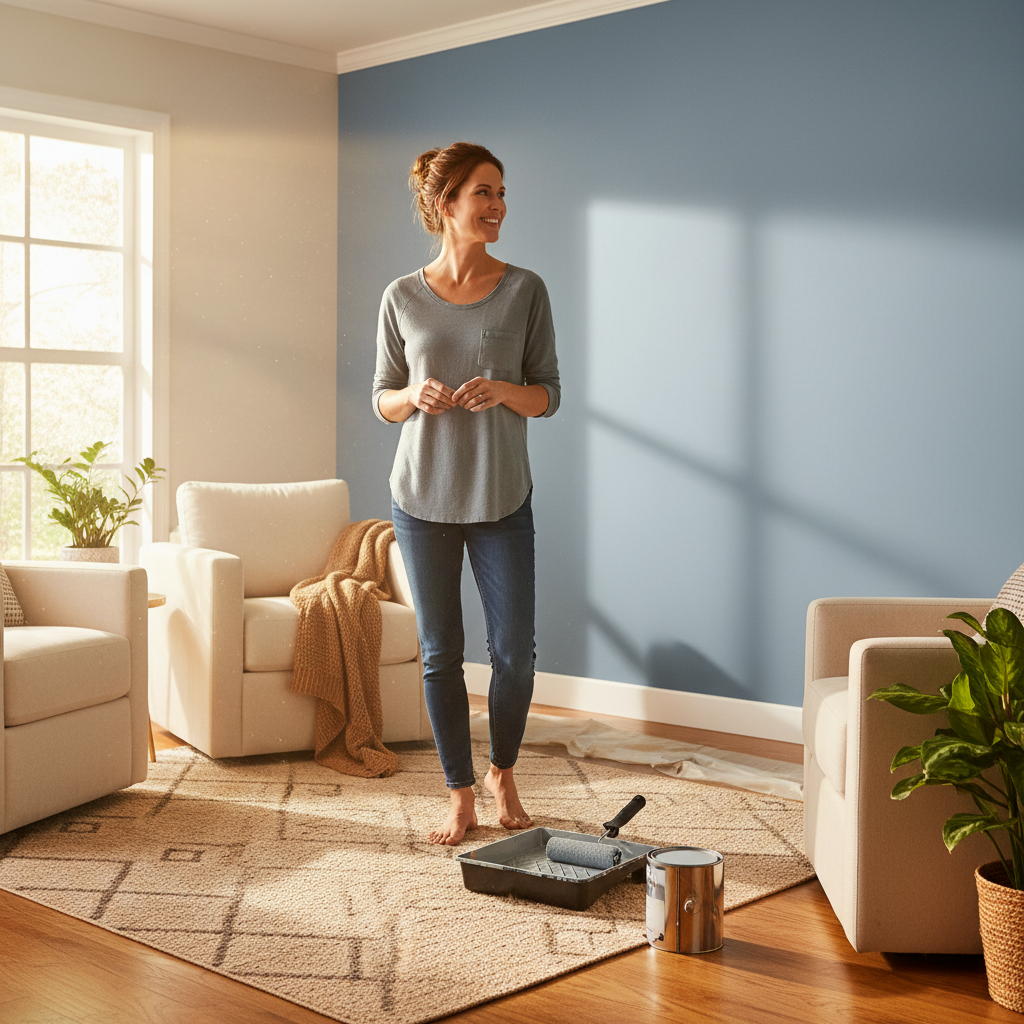
Painting Techniques and Tips: Achieving a Professional Finish
Here’s where the magic happens. You’ve got your surfaces prepped, your tools ready—now it’s time to paint like you know what you’re doing. Start with primer application (yes, we’re talking about it again because it’s that important). Apply it evenly, let it dry completely, and resist the urge to rush. The principles you see in detailed guides like DIY bath salts guide actually apply here too—it’s all about careful layering and paying attention to the details.
Once you start painting, technique matters more than you think. Those brush strokes? They need to be deliberate and smooth. Rolling technique? There’s actually a right way to do it (hint: it involves overlapping your strokes for seamless coverage). Cutting in around edges takes a steady hand, but don’t worry—you’ll get the hang of it. The key is taking your time between coats. I know you want to see results fast, but patience pays off with a finish that looks professionally done.
Key Aspects of Painting Techniques
Master these techniques and you’ll paint like a pro:
- Proper Use of Primer: Apply it evenly and wait for it to completely dry—no shortcuts here. Primer is especially crucial on porous surfaces, stains, or repairs. It’s the foundation that makes everything else work.
- Brush and Roller Techniques: Use angled brushes for edges with steady, controlled strokes. On large surfaces, roll in a “W” pattern, then fill it in with parallel strokes. Keep consistent pressure and you’ll avoid those annoying roller marks.
- Layering and Drying: Multiple thin coats beat one thick coat every time. Let each layer dry completely before adding the next. It takes longer, but the results are worth it—no drips, no streaks, just smooth coverage.
- Avoiding Common Mistakes: Keep a wet edge while painting to prevent lap marks. Invest in quality paint (your wallet will thank you when you need fewer coats). And always plan for touch-ups—they’re not a sign of failure, they’re part of getting a perfect finish.
What seemed overwhelming at first suddenly becomes totally doable when you break it down like this. There’s real satisfaction in stepping back and seeing your transformed space, knowing you did it yourself with professional-quality results. With the right preparation and techniques, your DIY painting project won’t just save you money—it’ll give you bragging rights and a home that truly reflects your style.
So there you have it—you’ve just tackled one of the most rewarding DIY projects out there. Painting your house isn’t just about changing colors; it’s about creating a space that feels genuinely yours while picking up skills that’ll serve you well down the road. We’ve covered everything from the (admittedly tedious but crucial) prep work to choosing the right paint and mastering those brush techniques that separate the pros from the weekend warriors.
Here’s the thing about surface prep: it might feel like the boring part, but it’s honestly what makes or breaks your entire project. Same goes for picking the right paint and colors—these choices don’t just affect how your walls look today, but how they’ll hold up years from now. And those painting techniques we talked about? Using primer the right way, getting comfortable with brushes and rollers, taking your time with each coat—that’s where the magic happens. You’ve learned to sidestep the classic mistakes (we’ve all been there with the streaky walls and peeling paint), and now you’re set up for results that’ll make you proud every time you walk through your front door.
Ready to put this knowledge to work? Start with surface prep—it’s where everything begins. If you want to dive deeper into getting surfaces just right, check out our guide on DIY flooring installation. The surface prep tips there will complement what you’ve learned about painting and help you level up your DIY game even more. Next up, brush up on our detailed advice about choosing the right tools and materials—because having the right gear makes all the difference in getting that smooth, professional look. Once you’re feeling confident with painting, you might want to tackle refinishing hardwood floors. It’s a natural next step that builds on what you’ve learned and adds serious value to your home. And hey, while you’re transforming your space, why not add some personal touches with DIY wellness projects? Because a beautiful home should feel as good as it looks.
You’ve got the knowledge now—time to make it happen. Every stroke of that brush is you putting your personal stamp on your space, creating something that reflects exactly who you are and how you want to live. Take your time with it. Enjoy the process. (Trust me, there’s something oddly therapeutic about watching a wall transform.) And if you hit a snag that feels beyond your comfort zone? No shame in calling in a pro. Sometimes the smart move is knowing when to get help. But honestly? You’ve got everything you need to nail this project. So grab that brush and get started—your walls are waiting!
Frequently Asked Questions
-
How long does it take to paint a whole house?
- Time varies based on house size, surface condition, and number of coats applied.
-
What is the best paint for exterior walls?
- Durable, weather-resistant latex paints are generally preferred for exteriors.
-
Can I paint over old paint?
- Yes, if the old paint is stable; sanding and priming may be required.
-
How do I avoid peeling paint?
- Proper surface preparation and use of quality paint prevent peeling.
-
Is it worth painting my house myself?
- DIY painting can be cost-effective and rewarding with the right tools and knowledge.