Caulk Drying Time: Expert Tips for Faster Results
Caulking is one of the most essential sealing techniques in home construction and renovation, yet many DIYers underestimate how critical proper drying time is to the final result. Whether you’re sealing gaps around windows, filling bathroom tile joints, or weatherproofing exterior trim, understanding how long it takes caulk to dry can mean the difference between a professional-looking finish and a compromised seal that fails prematurely. The drying process isn’t simply about waiting—it involves a complex interaction of materials, environmental conditions, and application techniques that directly impact both aesthetics and functionality.
The answer to caulk drying time isn’t one-size-fits-all. Standard acrylic latex caulk typically requires 24 hours to cure fully, though surface drying occurs much faster. Silicone caulk, popular for bathrooms and kitchens, needs 24 to 48 hours, while polyurethane caulk can take up to 72 hours. However, these timelines shift dramatically based on humidity levels, temperature, ventilation, and the specific product formulation. In this comprehensive guide, we’ll explore the science behind caulk drying, practical strategies to accelerate the process safely, and common mistakes that compromise your project.
Understanding Caulk Types and Their Drying Times
Caulk comes in several formulations, each with distinct drying characteristics and best-use applications. Knowing which type you’re working with is the first step toward managing drying time effectively. Acrylic latex caulk is water-based, making it the most beginner-friendly option for interior applications. It typically dries to the touch within 30 minutes to 1 hour, but full cure requires 24 hours. This caulk is paintable, low-odor, and easy to clean up with water, making it ideal for basement finishing projects and interior trim work.
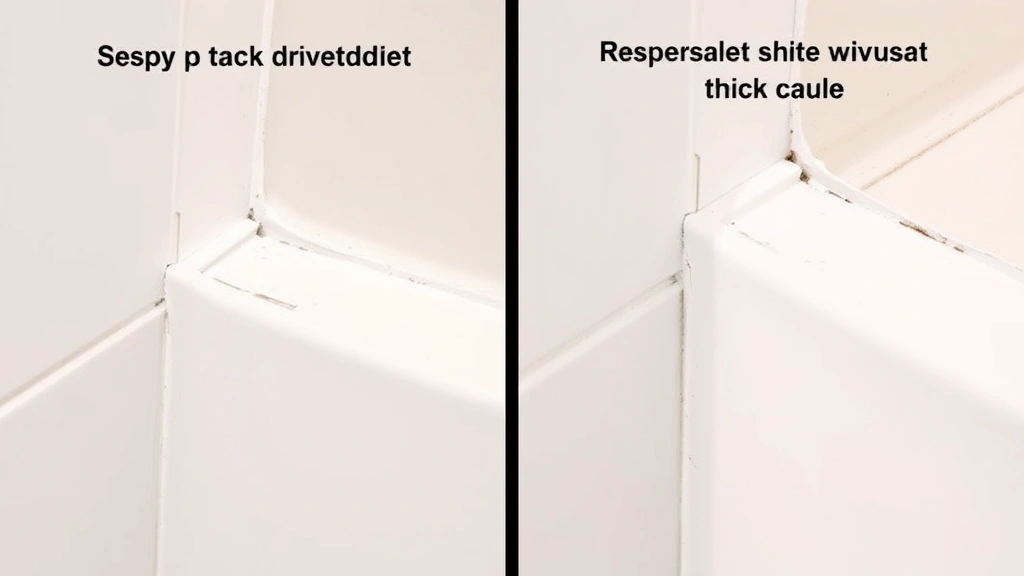
Silicone caulk is the premium choice for wet environments like bathrooms and kitchens because it resists mildew and moisture infiltration far better than latex alternatives. Silicone cures through a condensation-release mechanism that typically requires 24 to 48 hours, though some products advertise faster cure times. The drawback: silicone cannot be painted, and cleanup requires mineral spirits or specialized silicone removers. Polyurethane caulk offers exceptional flexibility and adhesion to diverse surfaces, making it perfect for exterior applications and areas subject to significant movement. However, it demands 72 hours or more to fully cure and requires solvent-based cleanup.
For specialized applications, hybrid polymer caulks combine silicone and polyurethane properties, offering improved paintability over pure silicone while maintaining superior flexibility. These typically cure in 24 to 48 hours. Always check the manufacturer’s specifications on your specific product, as formulations vary between brands. A product marked “paintable in 24 hours” means you can paint it, but it may not be fully cured for another 24 to 48 hours—an important distinction when planning your timeline.
How Temperature and Humidity Affect Drying
Environmental conditions are the single most influential factor on caulk drying time, often more important than the product type itself. Temperature directly impacts the chemical reactions that allow caulk to cure. Most caulks perform optimally between 50°F and 85°F (10°C to 29°C). Below 50°F, curing slows dramatically or stops entirely—silicone caulk may not cure at all in freezing conditions. Above 85°F, some caulks may dry too quickly on the surface while remaining soft underneath, creating weak spots and poor adhesion.
Humidity levels play an equally critical role, particularly with silicone caulks that cure through moisture absorption. In extremely dry environments (below 20% relative humidity), silicone curing slows because there’s insufficient moisture in the air for the condensation-release mechanism to function. Conversely, high humidity (above 80%) accelerates silicone curing but can trap moisture in latex caulks, extending drying time and potentially causing surface bubbling or crazing. The ideal humidity range for most caulks is 40% to 60%.
Ventilation significantly impacts how quickly moisture escapes from the caulked area. In sealed, unventilated spaces like poorly airflow bathrooms, caulk drying times can double or triple. Cross-ventilation—air moving across the caulked surface—is far more effective than general room air circulation. When working on home security improvements that involve weathersealing around doors and windows, ensure adequate ventilation during and after application to promote proper curing.
Direct sunlight affects caulk differently depending on type. UV rays can accelerate latex caulk drying but may cause surface hardening before the bead fully cures, leading to cracking. For exterior applications, consider applying caulk during overcast days or in early morning when UV exposure is minimal. Keep the area shaded for the first 24 hours if possible, especially in intense summer conditions.
Proven Strategies to Speed Up Caulk Drying
While rushing caulk drying isn’t ideal, there are legitimate methods to accelerate the process without compromising quality. Optimize ventilation by opening windows and doors in the work area, positioning fans to create cross-flow across the caulked surfaces. Avoid pointing fans directly at the caulk, which can cause uneven drying and surface cracking. Instead, position fans to pull air away from the area or create general circulation. In bathrooms, run exhaust fans continuously during and for several hours after application.
Control temperature strategically within the optimal 50°F to 85°F range. If working in cold conditions, use space heaters to raise the ambient temperature to at least 60°F before and during application. Maintain this temperature for at least 24 hours post-application. Conversely, if working in excessive heat, reduce direct sunlight exposure and ensure adequate humidity (40-60%) to prevent surface-only drying.
Choose fast-setting formulations designed specifically for rapid curing. Many manufacturers offer “paintable in 1 hour” or “cures in 12 hours” products that use accelerated formulas. These premium products cost more but save time on projects with tight deadlines. Read labels carefully to distinguish between surface drying time (when you can paint) and full cure time (when the seal reaches maximum strength).
Apply thin, even beads rather than thick, oversized caulk lines. A bead approximately 1/4-inch wide and 1/4-inch deep dries significantly faster than thicker applications because moisture can evaporate more efficiently from all surfaces. Thicker beads may appear to dry on the surface within hours but remain soft and uncured deep inside, potentially trapping moisture that causes mold growth or failure.
Consider using caulk accelerators or drying additives available from specialized suppliers. These products, recommended by the International Code Council, modify the chemical curing process to reduce drying time by 25 to 50 percent. Follow manufacturer instructions precisely, as improper mixing can compromise the caulk’s waterproofing or adhesion properties. Test any accelerators on inconspicuous areas first.
Common Mistakes That Slow Drying and Damage Results
Many DIYers inadvertently extend drying times or compromise caulk integrity through preventable errors. Over-tooling the caulk bead—repeatedly smoothing and adjusting it—disrupts the surface tension and creates air pockets that extend drying time and weaken the seal. Tool the bead once, firmly, using a wet finger or caulk tool, then leave it undisturbed. Resist the urge to “improve” it after 15 minutes.
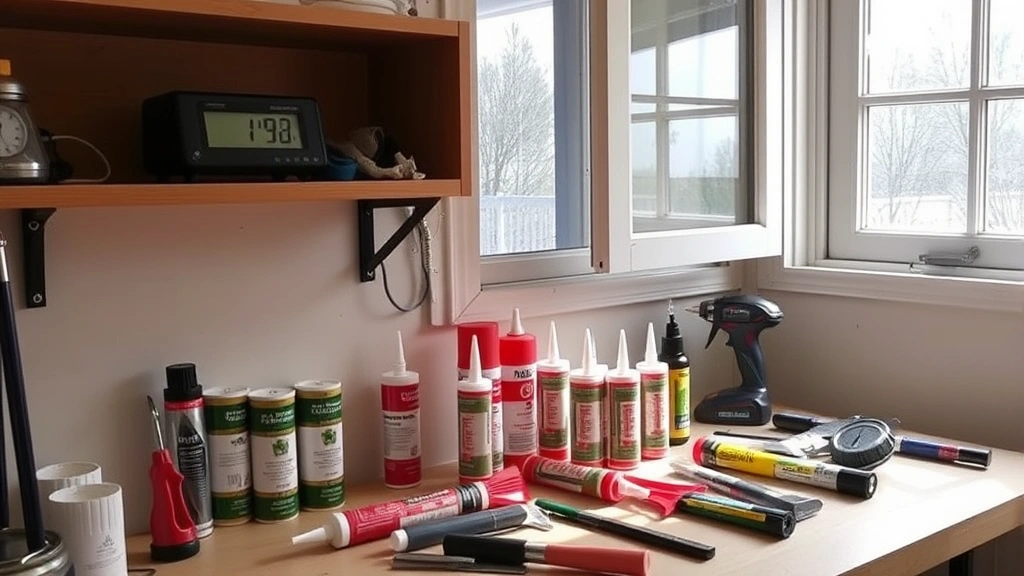
Applying caulk in unsuitable environmental conditions is catastrophic. Installing caulk below 40°F or above 90°F, or in humidity below 20% or above 85%, guarantees problems. Many DIYers caulk basement or attic areas without checking conditions, only to discover failed seals months later. Always measure temperature and humidity before starting work. Invest in an inexpensive digital hygrometer ($15-30) to monitor conditions throughout the project.
Inadequate surface preparation forces caulk to work harder and dry slower. Dust, dirt, old caulk residue, and moisture on surfaces prevent proper adhesion, causing the caulk to sit on top rather than bonding to the substrate. This creates weak seals that fail prematurely and takes longer to cure because the caulk isn’t making proper contact with the surface. Clean all surfaces thoroughly with appropriate cleaners and allow to dry completely before caulking.
Using the wrong caulk type for the application creates curing complications. Installing silicone caulk (designed for wet areas) in interior trim gaps where acrylic latex would be appropriate means dealing with extended cure times and non-paintability unnecessarily. Conversely, using latex caulk in bathrooms sets you up for mold growth and seal failure because it doesn’t resist moisture adequately. When undertaking woodworking projects that require caulking, use paintable acrylic latex for best results and faster drying.
Failing to protect caulked areas from water exposure during the curing period is a common oversight. Even “waterproof” caulks need 24 to 72 hours before water contact to fully cure. Shower use, rain exposure, or sprinkler systems during this window can wash out uncured caulk or leave voids in the seal. Communicate with household members to avoid the area, and check weather forecasts before caulking exterior applications.
Application Techniques for Optimal Results
How you apply caulk directly influences drying time and final quality. Prepare the workspace by ensuring temperatures have stabilized at 50°F to 85°F for at least 2 hours before application. This allows the caulk tube or cartridge to reach the same temperature as the surrounding area, preventing condensation or thermal stress on the material. Cold caulk from an unheated garage will behave differently than room-temperature caulk.
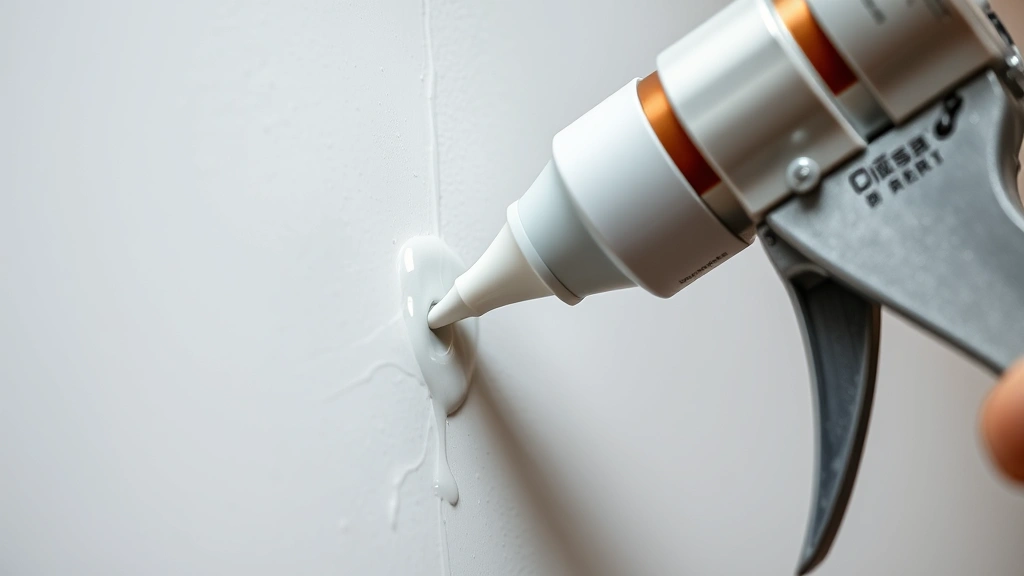
Use a caulk gun rather than applying by hand, which gives you better control over bead size and consistency. Cut the caulk tube tip at a 45-degree angle to match your gap width—typically 1/4-inch for standard gaps. Apply caulk in one smooth, continuous motion at a 45-degree angle to the gap, maintaining consistent pressure. This technique prevents air pockets and ensures even bead thickness, which optimizes drying.
Fill gaps completely but avoid over-filling. The caulk should be slightly recessed or level with the surface, never bulging outward. Excess caulk must be removed and reapplied correctly because thick beads take exponentially longer to cure. Immediately after applying, tool the bead with a wet finger or caulk tool, using one firm stroke. This removes excess material, smooths the bead, and ensures proper contact with the gap walls.
Caulk in optimal lighting conditions to catch imperfections. Poor visibility leads to inadequate tooling and surface preparation oversights that extend drying time. Use bright LED work lights positioned to illuminate the gap clearly. This also helps you see surface preparation issues like dust or moisture that might compromise results.
For large projects requiring multiple caulk lines, work systematically to allow earlier applications to begin curing before you move to the next section. Apply caulk to one wall or section, tool it, then move to the next area. By the time you’ve completed several sections, the first is already partially cured, ready for painting or water exposure once you finish the entire project.
Testing and Verification Methods
Don’t rely solely on elapsed time to determine if caulk is ready for the next step. The touch test is your first indicator: gently press your finger against the caulk bead. If it feels sticky or tacky, it’s not ready. If it feels firm but slightly gives under pressure, it’s surface-dried and may be paintable, depending on the product. Fully cured caulk feels completely solid with no give whatsoever.
For critical applications, perform a visual inspection for color changes. Most caulks lighten or change slightly in appearance as they cure. Acrylic latex caulk often becomes slightly whiter or more opaque as it dries. If the bead still appears wet or glossy, it’s not ready. Silicone caulk should appear uniformly colored and slightly matte when cured.
The adhesion test works for painted applications: attempt to peel the edge of dried caulk gently. If it peels away easily, it’s not fully cured. If it resists and requires significant force, it’s ready for the next step. Never perform this test on finished projects—use it only on test applications or inconspicuous areas.
For applications where water resistance is critical, wait the full manufacturer-recommended cure time before exposure, even if the caulk feels completely dry. Silicone and polyurethane caulks may feel solid after 24 hours but continue curing internally for several days. Premature water exposure can trap moisture that prevents complete curing, leading to eventual failure. Most manufacturers recommend 48 to 72 hours before bathroom use or outdoor water exposure.
When caulking complex areas like exterior generator installations or weathersealing projects, document your application date and expected cure time. Set phone reminders for when the project is ready for water exposure or use, preventing premature contact that compromises the seal.
FAQ
How long does caulk take to dry before painting?
Most acrylic latex caulks are paintable within 1 to 3 hours, though this varies by product. Check your specific product’s label—some fast-drying formulas are paintable in 30 minutes, while others require 24 hours. “Paintable” doesn’t mean fully cured; wait the full cure time (usually 24 hours) before exposing the caulk to moisture or stress.
Can I speed up caulk drying with heat guns or hair dryers?
Direct heat application is risky and not recommended by most manufacturers. Rapid surface drying from heat guns can trap moisture inside the bead, creating weak spots and prolonging actual cure time. Gentle ambient heating (raising room temperature to 70-80°F) is safer than direct heat application. Always consult your product’s instructions before applying any heat.
What humidity level is best for caulk drying?
The optimal humidity range is 40% to 60% relative humidity. Below 40%, silicone caulks dry too slowly because there’s insufficient moisture for the curing mechanism. Above 60%, moisture can trap in latex caulks, causing bubbling and extended drying. Use a hygrometer to monitor conditions and adjust ventilation accordingly.
Why is my caulk still sticky after 24 hours?
Sticky caulk after 24 hours typically indicates one of several issues: temperatures below 50°F or above 85°F, humidity below 20% or above 80%, inadequate ventilation preventing moisture escape, or applying the wrong caulk type for your environment. Check all these factors and consider removing the bead and reapplying under better conditions.
Can I use fans to dry caulk faster?
Yes, but carefully. Position fans to create general air circulation rather than direct airflow across the caulk. Direct fan airflow can cause uneven drying and surface cracking. Bathroom exhaust fans running continuously during and after application are effective for promoting moisture removal. Aim for gentle circulation rather than forceful drying.
Is caulk fully cured after it stops feeling sticky?
No. Caulk may feel completely dry to the touch while still curing internally. Surface drying and full cure are different processes. Most caulks require 24 to 72 hours for complete cure, even though they feel dry after a few hours. Refer to manufacturer specifications for when the caulk reaches maximum strength and waterproofing capability.
What’s the difference between caulk drying time and cure time?
Drying time refers to when the caulk surface feels dry and is ready for painting or light contact. Cure time is when the caulk reaches full strength, maximum flexibility, and complete waterproofing. For most products, drying occurs within 1 to 24 hours, while full cure requires 24 to 72 hours. Always wait the full cure time before exposing caulk to moisture or significant stress.
Does the color of caulk affect drying time?
Caulk color shouldn’t significantly affect drying time, though dark colors may absorb more heat from sunlight, potentially accelerating drying slightly. The formulation and caulk type matter far more than color. Always follow the manufacturer’s cure time guidelines regardless of color selection.


