Polyurethane Drying Time: Expert Insights for DIY Projects
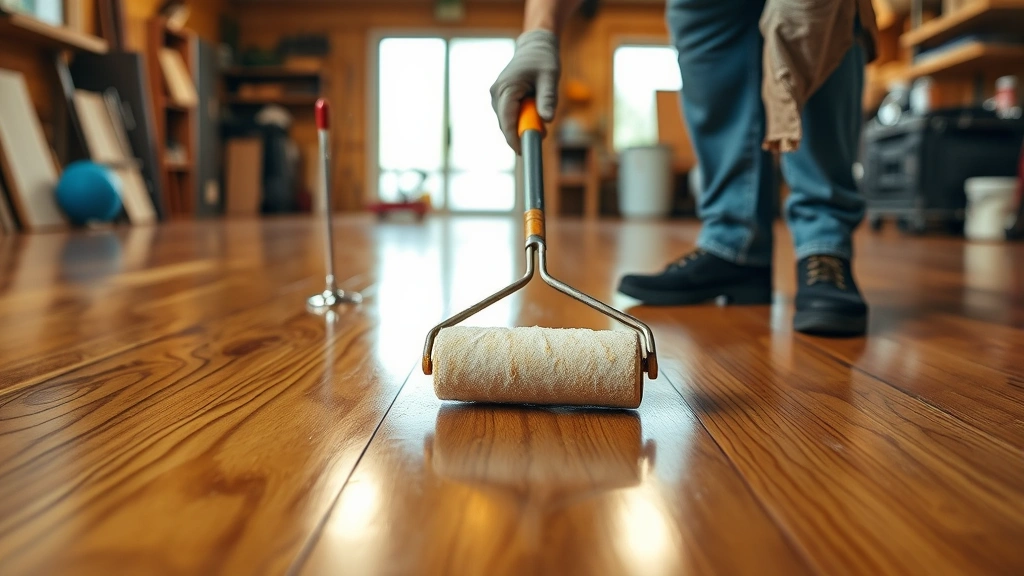
Understanding polyurethane drying time is essential for any DIY enthusiast tackling finishing projects. Whether you’re applying a protective coat to hardwood floors, sealing wooden furniture, or working on a basement finishing project, knowing exactly how long your polyurethane needs to cure can mean the difference between a professional-looking result and a disappointing finish. The drying and curing process is more complex than many beginners realize, and several factors influence the timeline significantly.
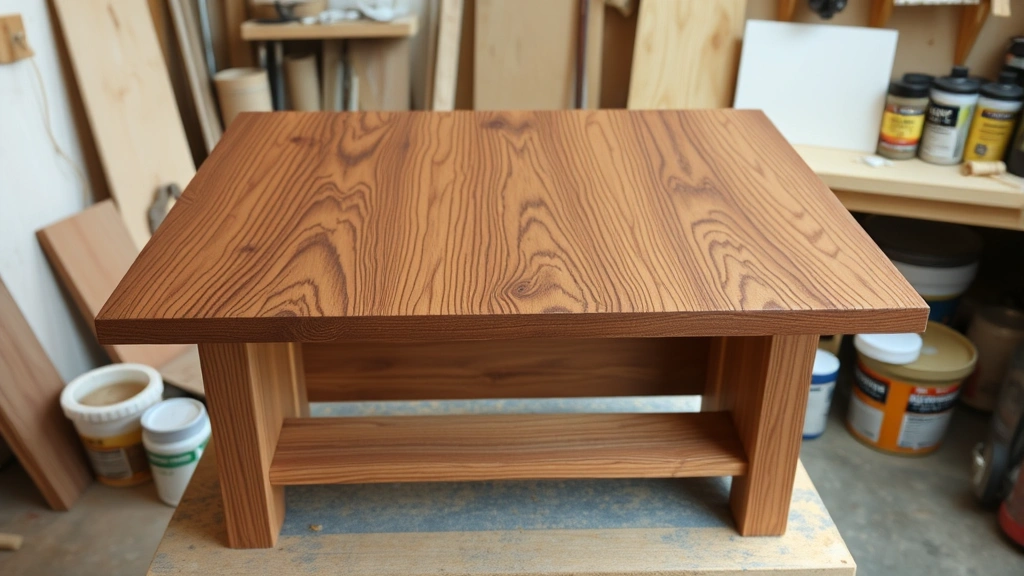
Polyurethane coatings have become the go-to choice for DIYers and professionals alike because they provide exceptional durability, water resistance, and aesthetic appeal. However, patience is required. Unlike paint that may feel dry to the touch within hours, polyurethane undergoes a chemical transformation that can take days or even weeks to complete fully. This comprehensive guide breaks down everything you need to know about polyurethane drying times, from initial application through final curing stages.
Understanding Polyurethane Drying vs. Curing
Many DIYers use the terms “drying” and “curing” interchangeably, but these are distinctly different processes that both matter for your project’s success. Drying refers to the evaporation of solvents from the polyurethane coating, which typically happens within the first few hours to a day. During this phase, the surface becomes hard enough to touch without leaving fingerprints, and it may feel ready for use.
Curing, however, is the chemical hardening process where the polyurethane molecules cross-link and bond together, creating the final durable finish. This is where the real transformation occurs, and it’s why you must wait the full recommended time before putting finished surfaces into service. A polyurethane coating that’s dry isn’t necessarily cured, and using it prematurely can result in scratches, dents, and surface damage that diminishes your hard work.
Understanding this distinction is particularly important when working on high-traffic areas like flooring installation projects. The surface may feel dry enough to walk on after 24 hours, but full hardness and scratch resistance won’t develop for several more days. This is why manufacturers provide both “dry to touch” and “full cure” times on their product labels.
Typical Drying Time Guidelines
Standard polyurethane products provide specific timing guidelines that serve as your roadmap for project planning. Most water-based polyurethane products dry to the touch within 1-2 hours, allowing you to apply a second coat relatively quickly. However, you should wait 4-6 hours between coats for optimal adhesion and finish quality. Some premium water-based formulations may require only 2-3 hours between coats.
Oil-based polyurethane has longer drying times, typically requiring 6-8 hours before it’s dry to the touch and 12-24 hours between coats. The thicker consistency and slower solvent evaporation of oil-based formulas mean patience is essential. Full cure times for oil-based polyurethane generally range from 7-30 days, depending on thickness of application and environmental conditions.
For house painting and finishing projects, it’s crucial to check your specific product’s technical data sheet. Manufacturers test their products under controlled laboratory conditions, and real-world variables will often extend these timelines. A general rule of thumb: if the label says 24 hours to cure, plan for 30-48 hours in your home environment.
Water-based polyurethane typically reaches full cure in 7-14 days, making it an attractive option for projects with tight timelines. Oil-based products may take 14-30 days or longer. The difference in speed makes water-based polyurethane increasingly popular for DIY applications, though oil-based products still offer superior durability and depth of finish for many applications.
Factors Affecting Drying Speed
Several controllable and environmental factors significantly impact how quickly your polyurethane dries. Application thickness is perhaps the most critical variable. Applying thin, even coats dries much faster than thick applications. A coat that’s too thick creates a barrier that traps solvents underneath, dramatically extending drying time and potentially causing cloudiness, uneven curing, or surface imperfections.
The type of surface you’re coating also matters considerably. Porous surfaces like bare wood absorb some of the liquid component, potentially speeding evaporation. Non-porous surfaces like concrete or sealed wood slow drying because the moisture has nowhere to go but up and out into the air. Substrate temperature affects absorption rates as well—warm wood accepts polyurethane differently than cold wood.
Air circulation and ventilation dramatically accelerate drying. Stagnant air prevents solvent vapors from dispersing efficiently. Opening windows, using fans strategically, or running HVAC systems promotes faster, more even drying. However, avoid direct drafts across wet polyurethane, as this can create uneven drying and surface defects.
The polyurethane product’s chemical composition influences drying time substantially. Single-component polyurethanes dry faster than two-component systems that require mixing. Some manufacturers add accelerators to speed the process, while others prioritize working time for larger projects. This is why comparing products is important—two “water-based polyurethanes” from different manufacturers may have significantly different drying timelines.
Temperature and Humidity Impact
Environmental conditions are among the most influential factors controlling polyurethane drying rates. Temperature directly affects molecular movement and solvent evaporation. Polyurethane dries fastest at temperatures between 65-85°F (18-29°C). Below 55°F, curing slows dramatically, and below 50°F, many polyurethane products won’t cure properly at all. Above 85°F, drying accelerates, but this can introduce other problems like brush marks becoming more visible and the finish appearing uneven.
Humidity levels are equally critical. Polyurethane products specify ideal humidity ranges, typically 30-85% relative humidity. High humidity (above 85%) significantly extends drying times because moisture in the air reduces evaporation rates. Extremely low humidity (below 30%) can cause rapid surface drying while the interior remains wet, leading to trapped solvents and inadequate cure.
This is particularly important for woodworking projects where wood moisture content affects the entire process. Wood that’s too wet or too dry behaves differently with polyurethane coatings. Most experts recommend wood moisture content between 8-12% for optimal polyurethane adhesion and curing.
Seasonal considerations matter significantly. Winter projects in unheated spaces or summer projects in humid climates require adjusted timelines. Many professionals recommend avoiding polyurethane application during extreme weather conditions entirely. If you must work in less-than-ideal conditions, budget extra drying time—sometimes doubling the manufacturer’s recommendations—and monitor the curing process carefully.
Polyurethane Types and Their Timelines
Different polyurethane formulations serve different purposes and dry at different rates. Water-based polyurethane (also called waterborne polyurethane) has become increasingly popular for DIY applications. It dries faster, has lower VOC (volatile organic compound) emissions, and produces minimal odor. These products typically dry to the touch in 1-2 hours and cure fully in 7-14 days. Water-based polyurethane is ideal for interior projects and those with tight timelines.
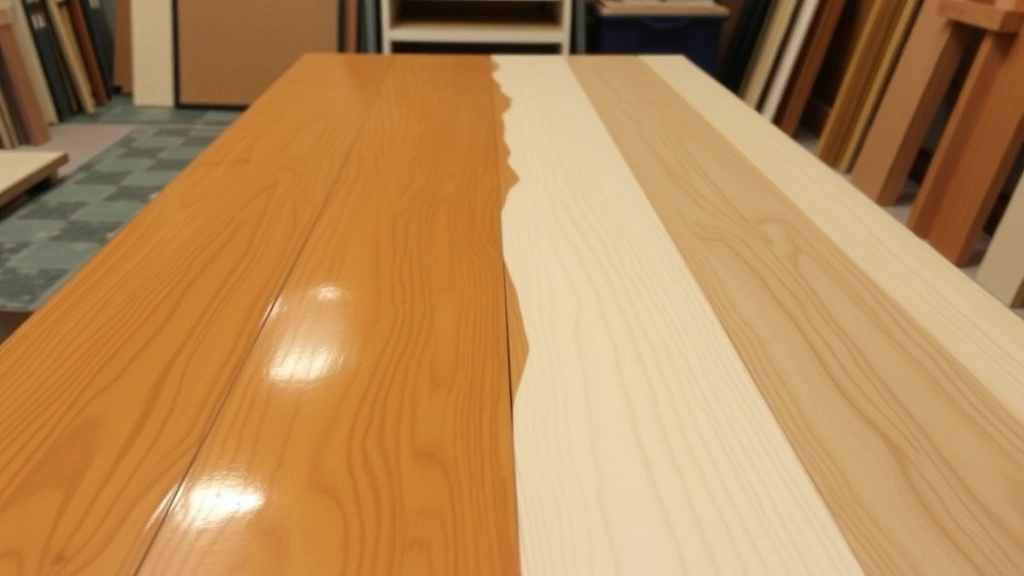
Oil-based polyurethane remains the choice for projects requiring maximum durability and that classic amber-toned appearance. It dries more slowly (6-8 hours to touch-dry) but develops superior hardness over its 14-30 day cure period. Oil-based polyurethane works better in moisture-prone areas like bathrooms and kitchens, though the longer drying time requires more patience and planning.
Polyester polyurethane offers rapid drying—sometimes touch-dry in under an hour—making it excellent for commercial applications and high-volume DIY work. However, it may not be ideal for all home applications and typically requires more careful application technique.
Two-component polyurethane (which requires mixing a resin and hardener) provides the hardest finish and longest durability. These products are common in professional refinishing but less frequently used in home DIY projects due to application complexity. Drying times vary widely depending on the specific formulation, so always follow manufacturer instructions precisely.
For flooring projects, polyurethane type selection dramatically impacts project timeline. Water-based polyurethane allows faster return to service, while oil-based products require extended cure time but offer superior durability for high-traffic areas. Many professionals recommend oil-based for main living spaces and water-based for bedrooms or less-trafficked areas.
Accelerating the Drying Process
While you shouldn’t rush polyurethane curing beyond safe limits, several strategies optimize drying within appropriate parameters. Optimize environmental conditions first. Maintain temperatures at 70-75°F and humidity between 40-60% if possible. Use a dehumidifier in humid climates and a space heater in cold conditions to create ideal conditions.
Maximize air circulation strategically. Position fans to move air across the surface without creating direct drafts. Ceiling fans work well for this purpose. Open windows on dry, moderate-temperature days to allow fresh air circulation. Avoid strong cross-drafts that can cause uneven drying.
Apply thinner coats rather than thick ones. This is the single most effective way to accelerate drying while improving finish quality. Multiple thin coats dry faster and cure more evenly than fewer thick coats. Each thin coat should be barely visible—you’re building up finish through multiple applications rather than trying to achieve full coverage in one coat.
Use faster-drying formulations when appropriate. Some manufacturers produce “quick-dry” polyurethane products that cure 30-50% faster than standard formulations. These work well for projects with time constraints, though they may require more careful application technique.
Consider heat application cautiously. Some professionals use heat lamps or infrared heaters to accelerate drying, but this requires careful temperature control. Excessive heat can cause surface defects, so if you use heat, keep it moderate and ensure even distribution.
Avoid the temptation to use hair dryers or direct heat sources on wet polyurethane. This typically causes more problems than it solves, creating uneven drying, surface wrinkles, and inadequate cure. Patience and environmental optimization are more reliable than artificial heating methods.
Common Mistakes to Avoid
Many DIYers inadvertently extend drying times or damage their projects through preventable mistakes. Applying polyurethane in poor environmental conditions is the most common error. Working in cold, humid, or poorly ventilated spaces dramatically extends drying times and risks finish defects. Always check weather forecasts before starting outdoor projects, and ensure indoor spaces are properly conditioned.
Applying coats too thickly is another frequent problem. Beginners often believe thicker applications create better protection, but this backfires with polyurethane. Thick coats trap solvents, extend curing times, and often result in cloudiness, brush marks, or uneven finish. Thin, multiple coats always outperform thick single coats.
Disturbing the surface during curing ruins countless projects. Even after polyurethane feels dry, the curing process continues. Dust settling on the surface, pet hair, or accidental contact during the curing window creates permanent defects. Maintain a dust-free environment and prevent all contact until fully cured.
Walking on or using polyurethane-coated floors prematurely is particularly problematic. The surface may feel hard enough after 24 hours, but full hardness won’t develop for days. Foot traffic during early cure stages causes permanent indentations and damage. Many manufacturers recommend waiting 48-72 hours minimum before normal use, and 7-14 days for heavy use on flooring.
Mixing incompatible products can extend drying times or cause adhesion failures. If you need to recoat, ensure you’re using compatible products. Water-based polyurethane generally won’t adhere well over oil-based finishes without proper preparation, and vice versa.
Applying polyurethane over wet or contaminated surfaces prevents proper curing. Dust, moisture, dirt, or previous finish residue all interfere with polyurethane adhesion and curing. Always properly prepare surfaces through thorough cleaning, sanding, and drying before application.
Check the EPA’s guidance on volatile organic compounds and indoor air quality to understand ventilation requirements, especially when working with oil-based polyurethane products indoors.
Frequently Asked Questions
How long does water-based polyurethane take to dry?
Water-based polyurethane typically dries to the touch in 1-2 hours, allowing a second coat application in 4-6 hours. Full cure time ranges from 7-14 days depending on environmental conditions and product formulation. Always check your specific product’s technical data sheet for precise timing.
Can I walk on polyurethane after 24 hours?
While polyurethane may feel hard after 24 hours, it hasn’t achieved full hardness. Most manufacturers recommend waiting 48-72 hours before light foot traffic and 7-14 days before normal heavy use. Walking on it too early risks permanent indentations and surface damage.
Why does my polyurethane feel sticky after drying?
Sticky polyurethane indicates incomplete curing, usually caused by high humidity, low temperature, or insufficient ventilation during application. The cure process is still occurring. Continue providing good air circulation and allow additional curing time. If it remains sticky after the full recommended cure period, the application conditions were likely inadequate.
Should I sand between polyurethane coats?
Light sanding between coats (using 150-220 grit sandpaper) improves adhesion between layers and removes dust particles or imperfections. However, wait until the previous coat is fully dry to the touch before sanding. This removes any surface impurities and roughens the finish slightly, allowing the next coat to bond more effectively.
What’s the difference between matte, satin, and gloss polyurethane finishes?
The finish type (matte, satin, or gloss) doesn’t significantly affect drying time, though it may slightly influence cure speed due to different chemical additives. Drying times remain similar across finish types from the same manufacturer. Choose based on aesthetic preference and durability requirements for your specific project.
Can I apply polyurethane in winter?
Polyurethane application in winter is challenging but possible. Temperatures must remain above 50°F, ideally between 65-75°F. In unheated spaces, use space heaters to maintain proper temperature. Allow significantly extended drying time compared to summer application. Many professionals avoid winter polyurethane work entirely to prevent quality issues.
How does humidity affect polyurethane drying?
High humidity (above 85%) significantly extends drying times by reducing solvent evaporation rates. Humidity below 30% can cause rapid surface drying while the interior remains wet. Maintain humidity between 40-60% for optimal results. Use dehumidifiers in humid climates or humidifiers in extremely dry conditions.


