DIY Shed Building: Expert Time-Saving Tips
Building a shed yourself is one of the most rewarding DIY projects you can tackle. Whether you’re creating storage space for garden tools, a workshop, or a creative retreat, understanding the timeline and efficiency strategies will help you complete your project faster without compromising quality. Most DIY builders can complete a basic 8×10 shed in 3-5 weekends when properly planned, though timelines vary based on complexity, weather, and experience level.
This comprehensive guide reveals insider techniques that professional builders use to streamline the construction process. From pre-construction planning to final touches, we’ll walk you through proven methods to accelerate your shed project while maintaining structural integrity and safety standards. The difference between a rushed, problematic build and a successful one often comes down to preparation and knowing which steps can run simultaneously.
Planning and Preparation: The Foundation of Speed
The most successful shed builders understand that preparation determines pace. Before you purchase a single board, invest time in detailed planning. Create a complete materials list, obtain all necessary permits from your local building department, and gather tools in advance. This upfront work typically takes 8-12 hours but saves 15-20 hours during construction by eliminating supply runs and preventing costly mistakes.
Check your local International Code Council (ICC) building codes for setback requirements, foundation specifications, and roof load calculations. Most jurisdictions require sheds over 100 square feet to meet specific structural standards. Understanding these requirements prevents costly rework and ensures your shed passes inspection on the first attempt.
Create a detailed timeline that accounts for your climate and weather patterns. If you’re building during rainy season, add buffer days. Consider that concrete foundations need 7 days to cure properly—this is non-negotiable and shouldn’t be rushed. Plan your construction schedule around weather forecasts and arrange helpers for specific phases. A two-person team can complete framing 40% faster than working solo.
Organize your workspace before day one. Set up tool stations, material staging areas, and a covered storage zone for supplies. When everything has a designated place, you eliminate wasted time searching for items. Pre-cut lumber to length at the supplier if possible—this saves hours of measuring and cutting on-site.
Foundation Work: Getting Started Right
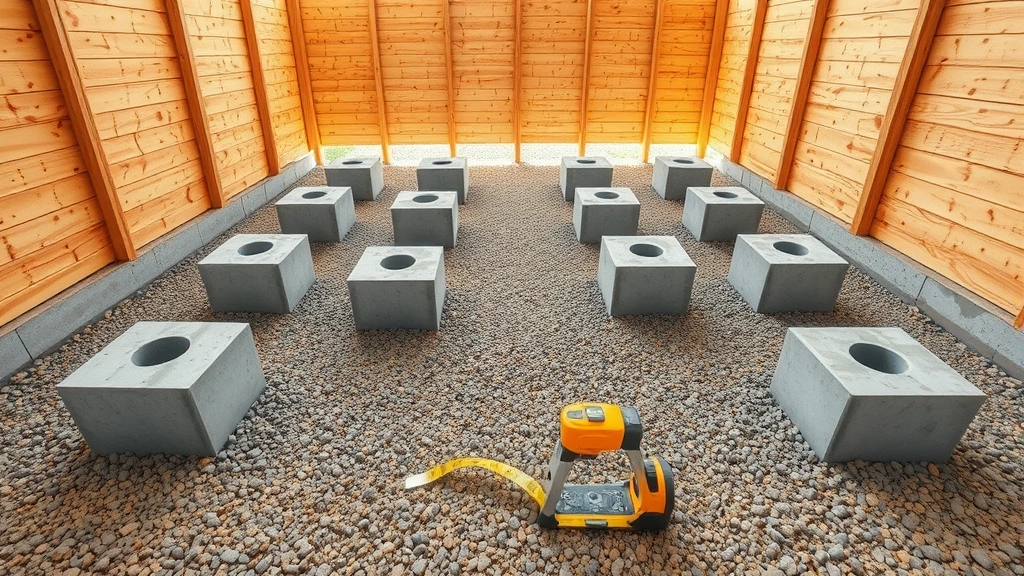
Your shed’s foundation determines longevity and construction speed. The fastest, most durable option is a concrete pier system with gravel base. Rather than pouring a full slab (which requires 7-10 days curing time), pier foundations allow you to begin framing after just 48 hours.
Here’s the efficient pier method: Mark your layout using string lines and batter boards. Dig holes 12-18 inches deep below frost line (check local frost depth requirements), space piers 4 feet apart. Place 4-6 inches of gravel in each hole, then set concrete pier blocks. This entire process takes one full day for a standard 8×10 shed. The concrete cures adequately for framing by the next morning.
If your local codes require a traditional concrete pad, order ready-mix concrete delivery to minimize mixing time. Have all helpers present when concrete arrives—you’ll have a 45-60 minute window to level and finish the surface. Use a laser level to ensure proper slope for drainage, typically ¼ inch per 10 feet.
For expedited projects, consider a National Association of Home Inspectors (NAHI) approved gravel pad with treated lumber base. This method requires no curing time and allows immediate framing. However, verify this meets your local building code before proceeding.
Pro tip: Install your security considerations and access points during foundation layout. Marking door and window locations now prevents frame repositioning later.
Framing Techniques for Efficiency
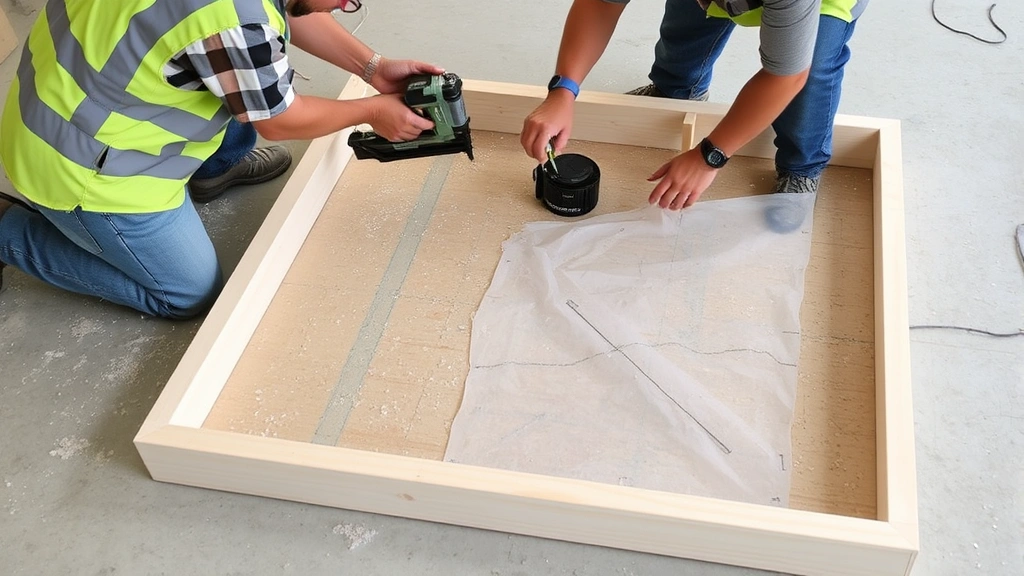
Framing is where most time is lost—or gained. Professional framers use assembly-line methods that DIY builders rarely employ. Instead of building one wall at a time in place, construct all four walls flat on the ground, then raise them together. This approach cuts framing time by 30-40%.
Here’s the optimized process: Lay out all wall frames on your foundation using chalk lines. Cut all studs, plates, and headers for all walls simultaneously. This batch-cutting approach is faster than measuring and cutting individual pieces. Use a chop saw on a stable table with stops set for repeated lengths.
Pre-assemble walls lying flat. For each wall, arrange plates, studs, and headers on the ground in correct position. Secure with 2.5-inch framing nails or 2½-inch screws (screws are slightly slower but allow repositioning if needed). Once all walls are assembled and squared, raise them one at a time with helper assistance, securing to the base with temporary bracing.
Install roof trusses before raising walls if possible. Pre-fabricated trusses (ordered from suppliers) install 50% faster than building rafters on-site. Specify your roof pitch and span to the truss manufacturer—they’ll deliver ready-to-install components. This single decision can save 8-12 hours of work.
For beginner woodworking approaches to shed construction, use pocket hole joinery for connections. A Kreg jig and pocket hole screws create strong, clean joints much faster than traditional mortise and tenon work. This technique is especially valuable for door frames and trim work.
Electrical rough-in should happen before wall sheathing. Running wires through wall cavities is far easier when studs are exposed. If your shed includes power, plan outlet and switch locations during framing design phase.
Roofing and Weather Protection
Weather protection is critical for timeline management. Once your roof is weather-tight, you can continue work regardless of rain. This typically happens by day 3-4 of construction for a standard shed.
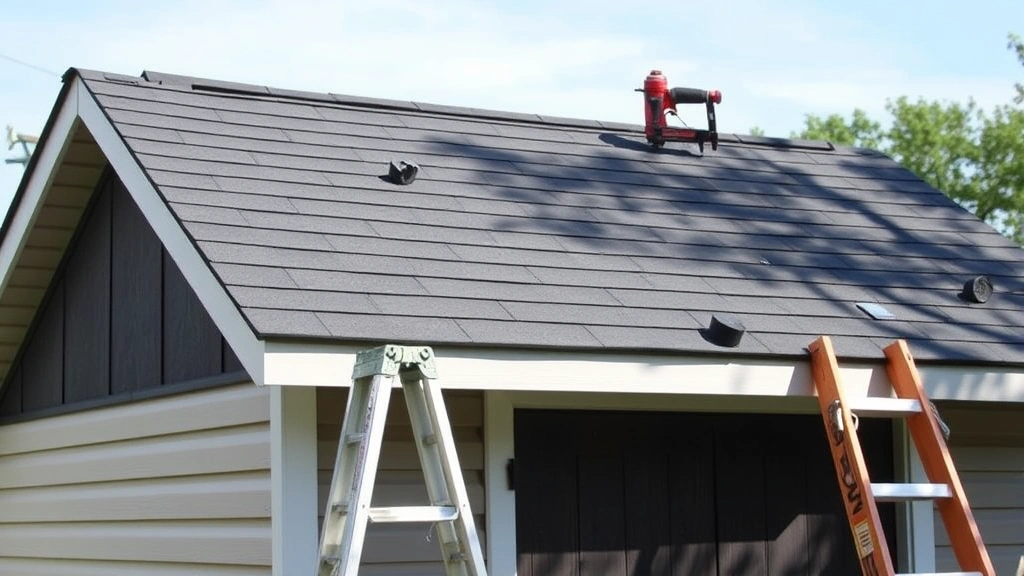
Install roof sheathing immediately after trusses are secured. Use ½-inch plywood or OSB, fastened with ring-shank nails or screws spaced 6 inches apart at edges, 12 inches in field. Two people can sheath a standard roof in 4-5 hours. Don’t delay this step—exposed framing attracts moisture and delays subsequent work.
For roofing material, asphalt shingles are fastest to install. A two-person team can shingle an 8×10 roof in one day. Metal roofing takes slightly longer but lasts 40+ years compared to shingles’ 20-year lifespan. If speed is critical and budget allows, choose shingles. If longevity matters more, invest the extra 4-6 hours for metal roofing.
Install drip edge and underlayment before shingles. These seemingly minor components prevent water infiltration that causes costly damage. The 2-3 hours spent on proper underlayment prevents days of future water damage repairs.
Gutters and downspouts should be installed before siding. This prevents water from running down walls during subsequent construction phases. Seamless gutters ordered from local fabricators fit better and install faster than sectional gutters.
Finishing Touches and Functionality
Siding installation follows roofing completion. Choose materials based on your timeline: vinyl siding installs fastest (10-12 hours for 8×10 shed), wood shiplap takes longer (16-20 hours) but looks more attractive, and metal siding falls between both options. Pre-finished materials eliminate painting time.
Install doors and windows before final siding panels. This allows frames to be secured directly to studs rather than retrofitting through finished walls. Prehung doors with pre-installed frames save 3-4 hours compared to hanging individual doors.
Interior finishing depends on shed purpose. A storage shed needs minimal finishing—just a vapor barrier and basic shelving. A workshop or creative space might require insulation, drywall, and electrical outlets. Basement finishing techniques can inform shed interior strategies, particularly regarding moisture control and functional layout.
Shelving and storage solutions should be designed during planning phase. Pre-fabricated shelving units install faster than custom-built options. Wall-mounted systems are faster than freestanding structures and use vertical space efficiently.
Final details include trim work, caulking, and painting. Use exterior-grade caulk rated for your climate. Paint application takes 8-10 hours for a standard shed (two coats). Plan painting for a calm, dry day—wind and moisture prevent proper paint adhesion.
Common Mistakes That Waste Time
Inadequate planning: Builders who skip detailed planning typically waste 15-20 hours on supply runs, rework, and decision-making during construction. Spend the extra planning time upfront.
Incorrect foundation: Foundations that fail inspection require expensive modifications. Verify code compliance before digging. Contact your local building authority for specific requirements rather than assuming what’s required.
Undersized crew: Working solo on a shed project extends timelines significantly. Two-person teams complete projects 40-50% faster. Three-person teams are ideal for framing and raising walls.
Poor material organization: Disorganized material storage creates constant searching and delays. Organize materials by construction phase and keep everything easily accessible.
Delaying inspections: Schedule inspections (foundation, framing, electrical, final) according to code requirements, not convenience. Delays in inspection scheduling extend your project timeline unnecessarily.
Skipping weather protection: Exposed framing absorbs moisture, warps, and requires replacement. Prioritize roof installation to protect your work investment.
Using incorrect fasteners: Wrong nail or screw types cause connection failures and rework. Use American Wood Council specifications for fastener sizing and spacing.
Frequently Asked Questions
How long does a basic 8×10 shed take to build?
A standard 8×10 shed typically requires 40-60 hours of labor spread across 3-5 weekends. This includes foundation (8-12 hours), framing (16-20 hours), roofing (12-16 hours), and finishing (8-12 hours). Timeline varies based on experience level, weather, and whether you’re working solo or with helpers.
What’s the biggest time-waster in shed construction?
Inadequate planning causes the most delays. Builders who don’t obtain permits, check codes, or create detailed material lists waste hours on supply runs, rework, and decision-making. Invest 10-15 hours in planning to save 20+ hours during construction.
Should I use pre-fabricated trusses or build rafters on-site?
Pre-fabricated trusses save 8-12 hours compared to building rafters on-site. They arrive ready-to-install, require no on-site assembly, and are engineered for your specific roof design. The cost difference is minimal compared to time savings.
Can I work alone on shed construction?
Yes, but expect 50% longer timelines. Wall raising and roof installation are significantly easier with helpers. Consider hiring assistance for these specific phases rather than working entirely solo.
What foundation type is fastest?
Concrete pier systems are fastest, requiring only 48 hours curing before framing begins. Gravel pads with treated lumber bases are even faster (no curing), though verify code compliance. Full concrete slabs require 7-10 days curing, delaying framing significantly.
How much does weather delay shed construction?
Rainy weather delays exterior work 2-3 days per weather event. Snow or freezing temperatures can delay concrete curing and prevent safe work on roofs. Plan projects for seasons with favorable weather patterns in your region. Spring and fall typically offer optimal conditions.
Do I need permits for a backyard shed?
Most jurisdictions require permits for sheds over 100-120 square feet. Even smaller sheds may require permits in some areas. Check local codes before starting—unpermitted structures may require removal or costly modifications. The permit process typically takes 1-2 weeks but prevents serious legal issues.
What’s the fastest roofing material for sheds?
Asphalt shingles are fastest to install (1 day for standard shed). Metal roofing takes 1.5-2 days but lasts 40+ years. Corrugated plastic panels install in 4-6 hours but deteriorate faster. Choose based on your timeline priorities and budget.
Should I hire professionals for any phases?
Consider professional help for foundation work (if concrete pouring) and electrical rough-in (if codes require licensed electrician). Framing, roofing, and finishing can typically be DIY if you have basic skills. Professional help for 1-2 phases might save 15-20 hours total.


