How to Build a Sauna: Expert Tips Inside!
Building a sauna at home is an achievable DIY project that combines relaxation, health benefits, and personal craftsmanship. Whether you’re installing a traditional Finnish sauna or an infrared model, understanding the construction fundamentals ensures safety, durability, and optimal performance. This comprehensive guide walks you through every step, from planning and material selection to installation and maintenance.
A properly constructed sauna provides therapeutic benefits including improved circulation, stress relief, and muscle recovery. However, the key to success lies in proper ventilation, electrical safety, and moisture management. Many homeowners underestimate the importance of these elements, leading to costly repairs and safety hazards. By following expert guidelines and building codes, you’ll create a functional sauna that lasts for decades.
Planning Your Sauna Project
Before purchasing materials, invest time in comprehensive planning. Determine your sauna’s location, size, and type. Indoor saunas require dedicated space with proper drainage and ventilation, while outdoor models need weather-resistant construction. Consider proximity to water sources for cleaning and electrical access for heaters.
Space requirements vary by sauna type. A small residential sauna typically measures 4×6 feet, accommodating 2-3 people comfortably. Larger installations may reach 6×8 feet or beyond. Vertical clearance should be at least 7 feet to accommodate benches and allow proper air circulation. Check local building codes and obtain necessary permits before construction begins. Many jurisdictions require electrical permits and inspections for sauna installations.
Budget planning is crucial. Basic kit saunas range from $2,000 to $5,000, while custom builds cost $5,000 to $15,000 or more. Factor in electrical work, ventilation systems, and professional inspections. Creating a detailed timeline helps manage the project efficiently, typically requiring 2-4 weeks for installation.
Understanding Sauna Types
Traditional Finnish saunas use dry heat from wood or electric stoves, reaching temperatures of 160-200°F with low humidity. These require substantial wood construction and ventilation. Infrared saunas use radiant heat panels, operating at lower temperatures (120-150°F) with simpler installation. Steam rooms differ significantly, requiring different materials and ventilation approaches.
For most DIY builders, prefabricated sauna kits offer the best balance of quality and accessibility. These kits include pre-cut wood, heater specifications, and installation instructions. Custom-built saunas provide flexibility but demand advanced carpentry skills and thorough knowledge of building codes.
Consider your climate zone when selecting sauna type. Cold climates benefit from traditional saunas’ heat retention, while moderate climates suit infrared models. Evaluate your available space, budget, and maintenance commitment before deciding.
Essential Materials and Tools
Primary Materials:
- Kiln-dried softwood (pine, spruce, or cedar) for framing and interior paneling
- Exterior-grade plywood or concrete for foundation/subfloor
- Mineral wool or fiberglass insulation (R-value 10-15)
- Vapor barrier (6-mil polyethylene)
- Sauna heater (electric or wood-burning)
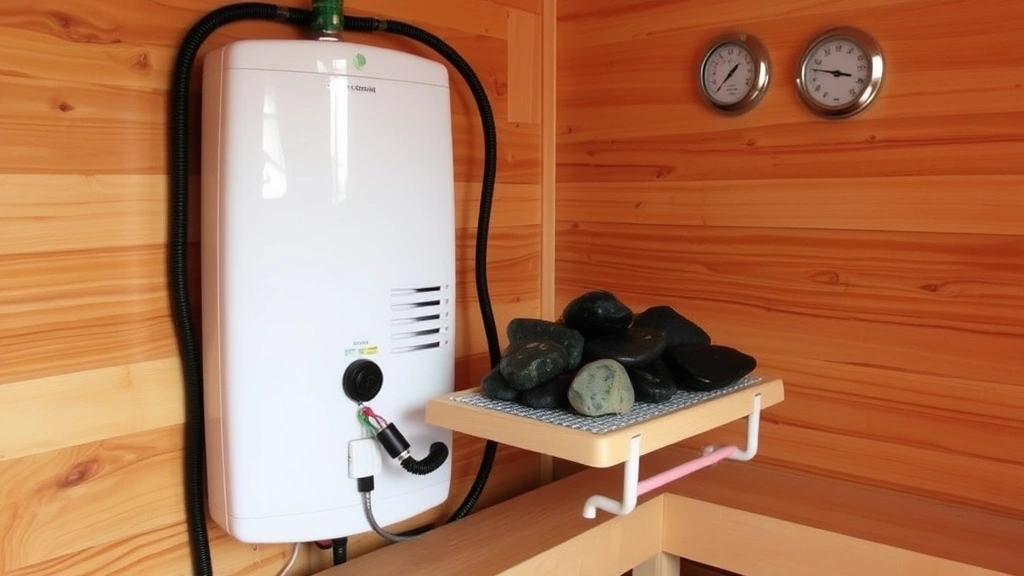
- Sauna rocks or stones for heat retention
- Thermometer and hygrometer
- Stainless steel or galvanized hardware
Required Tools:
- Circular saw and table saw
- Miter saw for precise cuts
- Drill-driver and impact driver
- Level and stud finder
- Tape measure and chalk line
- Nail gun and hammer
- Electrical testing equipment
- Ventilation ductwork and fans
Wood selection is critical. Never use pressure-treated lumber inside the sauna, as heat releases toxic chemicals. Kiln-dried wood prevents warping and splitting. Cedar and hemlock offer natural decay resistance and pleasant aromas.
Building the Foundation
A solid foundation prevents moisture damage and ensures structural integrity. Concrete slabs work well for basement installations, while outdoor saunas need proper drainage. Slope the foundation slightly (2-3%) toward drainage areas to prevent water accumulation.
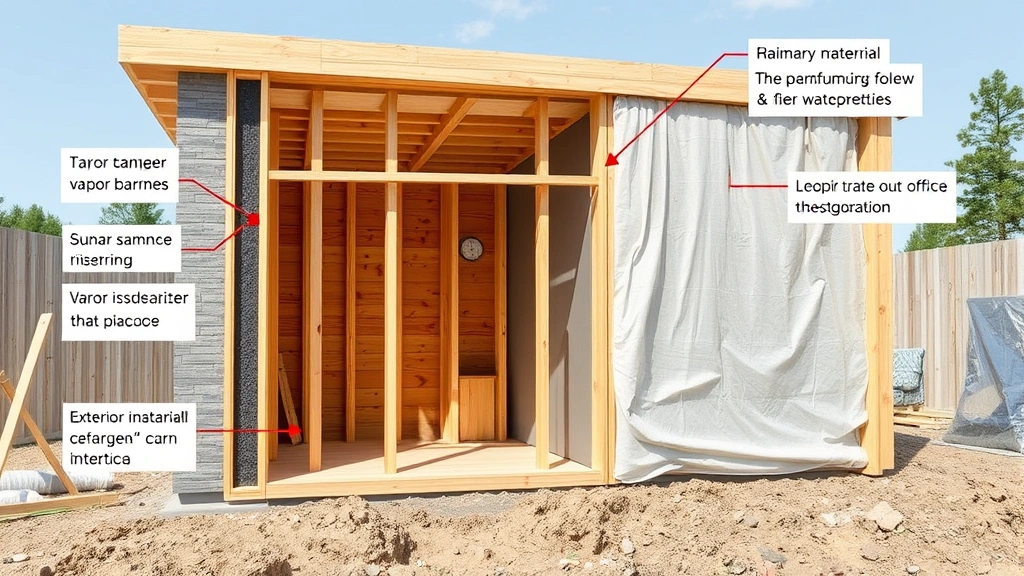
Install a moisture barrier on the foundation before framing. This critical step prevents ground moisture from penetrating wood framing. Use 6-mil polyethylene sheeting, ensuring overlaps of at least 12 inches. For basement installations, consider a sump pump or French drain system to manage excess moisture.
The subfloor should be elevated slightly above the foundation to allow air circulation underneath. This prevents rot and extends sauna lifespan. Use pressure-treated lumber for the rim joist and band board, but ensure treated wood doesn’t contact the sauna’s interior.
Framing and Insulation
Standard 2×4 framing at 16-inch centers provides adequate structural support. Frame walls, ceiling, and any bench platforms using proper carpentry techniques. Ensure all corners are square and walls are plumb before adding insulation.
Insulation is essential for energy efficiency and maintaining stable temperatures. Install mineral wool or fiberglass batts between studs, achieving R-15 or higher. Never use foam insulation inside saunas, as high heat degrades it and releases harmful chemicals. Ensure insulation doesn’t contact the heater or create fire hazards.
Apply vapor barriers on the warm side of insulation (interior). This prevents moisture from accumulating within wall cavities. Staple the polyethylene barrier to studs, overlapping seams by 6 inches. Seal all penetrations with caulk to maintain barrier integrity.
Interior Finishing
Interior wood selection dramatically affects sauna quality and safety. Cedar, hemlock, and aspen are ideal choices, offering low thermal conductivity and pleasant aromas. Avoid treating wood with stains, varnishes, or oils, as heat releases volatile compounds. Use only food-grade oils if finishing is necessary.
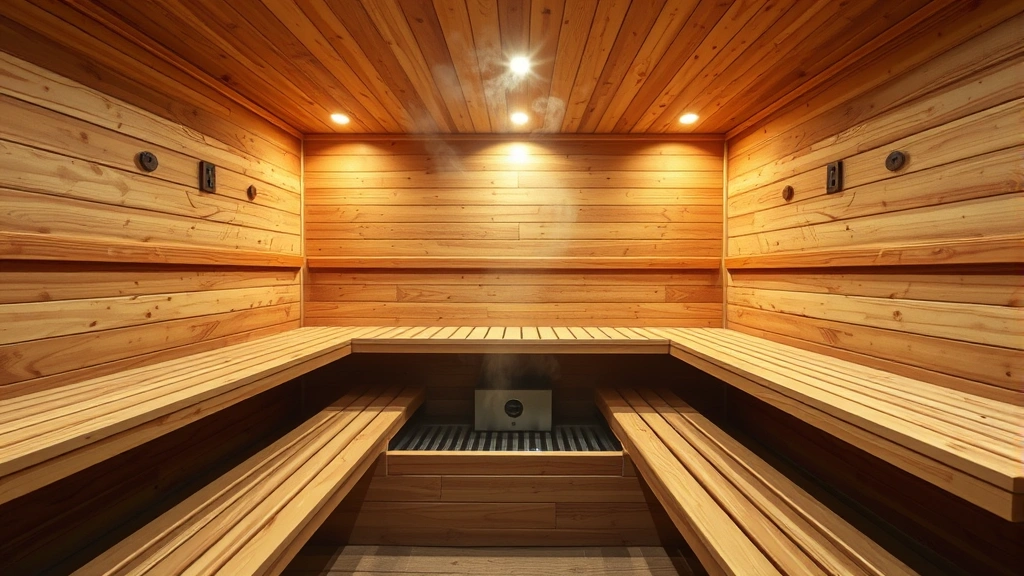
Install benches at two or three levels, allowing users to choose their preferred heat intensity. Benches should be at least 2 feet deep and slope slightly for water drainage. Use spacers between boards (¼-inch gaps) to allow water drainage and air circulation. Mount benches securely to prevent movement or collapse.
Install the sauna door last, after interior finishing. Glass doors provide visibility and aesthetics, while wooden doors offer traditional appeal. Ensure doors open outward for safety and are self-closing. The door frame must seal tightly to maintain temperature and humidity.
Install grab bars and handrails for safety, especially on benches and near entry points. Use stainless steel hardware that won’t corrode in high-humidity environments.
Electrical and Heating Systems
Electrical installation requires professional expertise. Sauna heaters demand dedicated circuits with proper amperage. Most residential electric heaters require 30-50 amps at 240 volts. Never attempt electrical work without proper licensing and inspection.
Install a GFCI (Ground Fault Circuit Interrupter) outlet to prevent electrical shock. All wiring should run through conduit outside the sauna space, never exposed inside where moisture and heat could damage insulation. Hire a licensed electrician and ensure all work meets National Fire Protection Association standards.
Sauna heaters come in several types: electric resistance heaters (most common), wood-burning stoves, and infrared panels. Electric heaters offer convenience and temperature control, while wood-burning stoves provide traditional experience but require ventilation and regular maintenance. Follow manufacturer specifications precisely for safe installation.
Install thermostats and temperature controls inside the sauna for convenient operation. Ensure all controls are moisture-resistant and properly sealed. Most saunas maintain 160-180°F, though personal preference varies.
Ventilation Requirements
Proper ventilation prevents moisture accumulation, mold growth, and poor air quality. Install intake vents near the floor (below heater level) and exhaust vents near the ceiling. The exhaust vent should be 1.5 times the intake vent size to create negative pressure.
Ventilation fans should provide 4-6 air changes per hour. For a 4×6-foot sauna (144 square feet), install a fan rated for 600-900 CFM (cubic feet per minute). Ductwork should be insulated to prevent condensation inside ducts.
Install vents with dampers allowing adjustment based on humidity levels. After each use, ventilate the sauna for 15-30 minutes to remove excess moisture. Failure to ventilate adequately leads to mold, wood decay, and structural damage.
Consider installing a humidity sensor that triggers ventilation fans automatically when moisture exceeds safe levels (typically above 60% relative humidity).
How Long to Sit in Sauna
Understanding proper sauna duration is crucial for health and safety. Beginners should start with 5-10 minute sessions, allowing bodies to acclimate to heat. As tolerance builds, gradually increase sessions to 15-20 minutes. Most health experts recommend 15-30 minutes as optimal for therapeutic benefits without overheating risks.
Session duration depends on temperature, humidity, and individual fitness levels. In traditional saunas at 170-180°F, 15-20 minutes is ideal. Infrared saunas operating at lower temperatures (120-150°F) allow longer sessions, typically 20-30 minutes. Listen to your body and exit if feeling dizzy, nauseous, or excessively fatigued.
Never exceed 45 minutes in a single session. Extended exposure increases dehydration risk and heat stress. Space sessions appropriately, avoiding multiple daily uses without adequate recovery time. Allow 15-30 minutes between sessions for core temperature to normalize.
Hydration is essential before, during, and after sauna use. Drink water before entering and keep water available nearby. Some experts recommend electrolyte drinks for extended sessions lasting over 20 minutes. Avoid alcohol before or during sauna use, as it impairs heat regulation and increases dehydration risk.
Certain individuals should consult physicians before sauna use: pregnant women, people with cardiovascular conditions, those taking blood pressure medications, and individuals with fever or acute illness. Children should use saunas only under adult supervision with shorter durations (5-10 minutes maximum).
Maintenance and Safety
Regular maintenance preserves sauna longevity and ensures safe operation. After each use, allow the sauna to cool and dry completely. Wipe down benches and interior surfaces with a damp cloth to remove sweat and debris. Never use harsh chemicals or cleaners that leave residues.
Inspect wooden surfaces monthly for signs of warping, cracking, or mold. Sand rough spots gently and ensure all fasteners remain tight. Check seals around doors and vents for air leaks. Replace weatherstripping if deteriorated.
Service heaters annually according to manufacturer recommendations. For electric heaters, inspect heating elements and connections. Clean sauna rocks every 1-2 years, replacing any cracked or deteriorated stones. Wood-burning stoves require chimney cleaning to prevent creosote buildup and fire hazards.
Test electrical systems annually, ensuring GFCI outlets function properly. Verify that thermostats and temperature controls operate accurately. Check ventilation fans for proper operation and clean intake/exhaust vents to prevent blockages.
Safety considerations include proper door operation (self-closing mechanisms), adequate handrails and grab bars, and clear emergency access. Never lock sauna doors from the outside. Install a bell or communication system if saunas are used by multiple family members simultaneously.
Keep the sauna clean and free of slipping hazards. Place non-slip mats on wooden floors if needed, though traditional saunas typically rely on water drainage through floor gaps. Post temperature warnings and duration guidelines for new users.
For more information on DIY building projects, visit the International Code Council for building standards and consult National Association of Home Builders resources. Understanding DIY basement finishing techniques helps if installing a basement sauna.
FAQ
What is the ideal sauna temperature for beginners?
Beginners should start at 140-160°F (60-70°C) and gradually increase to 170-190°F as tolerance builds. Lower temperatures with longer durations (20-30 minutes) often feel more comfortable than high heat for short periods.
Can I build a sauna in my basement?
Yes, basements work well for saunas with proper moisture management. Install excellent vapor barriers, drainage systems, and ventilation. Ensure electrical work meets code requirements. Consider waterproofing basement walls if moisture issues exist. Explore basement finishing guides for additional insights.
How often should I use my sauna?
3-4 times weekly is typical for most people seeking health benefits. Some use saunas daily without issues, while others prefer 1-2 times weekly. Listen to your body and avoid overuse, which may cause dehydration or fatigue.
What wood is best for sauna construction?
Cedar, hemlock, and aspen are ideal interior woods. They have low thermal conductivity, pleasant aromas, and natural decay resistance. Never use pressure-treated lumber inside saunas, as heat releases toxic chemicals.
Do I need permits for sauna construction?
Most jurisdictions require building permits for sauna installations, especially if electrical work is involved. Check local codes before beginning construction. Electrical work always requires permits and professional inspection.
How much does a DIY sauna cost?
Prefabricated kits range from $2,000-$5,000, while custom builds cost $5,000-$15,000 or more depending on size, materials, and professional installation. Budget for electrical work, ventilation, and inspections separately.
What are sauna health benefits?
Regular sauna use improves circulation, reduces muscle soreness, lowers stress levels, and promotes skin health. Some studies suggest cardiovascular benefits, though individuals with heart conditions should consult physicians before use.
Is professional installation necessary?
Electrical and plumbing work requires licensed professionals. Carpentry and interior finishing can be DIY if you have adequate skills. For complex projects, hiring professional installers ensures code compliance and proper functionality.


