Can You DIY a Shed? Builder’s Step-by-Step Guide
Building your own shed is one of the most rewarding DIY projects you can tackle. Whether you need extra storage for garden tools, a workshop space, or a backyard retreat, constructing a shed yourself can save thousands of dollars while giving you complete control over the design and functionality. This comprehensive guide walks you through every phase of shed construction, from planning and foundation work to roofing and finishing touches.
The timeline for completing a DIY shed typically ranges from 2-4 weeks for a basic 8×10 structure, depending on your experience level, available time, and weather conditions. Unlike other DIY projects that require specific technical skills, shed building relies more on patience, proper planning, and fundamental construction techniques that most homeowners can master.
Planning Your Shed Project
Before breaking ground or purchasing a single board, invest time in detailed planning. Your shed’s success depends on thoughtful preparation and realistic goal-setting. Start by determining the exact dimensions you need—most homeowners find that an 8×10 or 10×12 shed provides adequate space without becoming overwhelming for a first-time builder.
Create a detailed sketch or find pre-made plans from reputable sources. The International Code Council (ICC) provides building standards that many local jurisdictions follow. Having complete plans prevents costly mistakes mid-project and ensures your structure meets local requirements. Consider the shed’s orientation—position it to maximize natural light if you’ll use it as a workspace, and ensure adequate drainage around the perimeter.
Calculate your material list precisely. A typical 8×10 shed requires approximately 500-600 board feet of lumber, plus hardware, roofing materials, and siding. Create a detailed budget that includes a 10-15% contingency for unexpected expenses or material waste. Research local suppliers and compare prices across multiple vendors to maximize your building budget.
Assess your available tools and skills honestly. Basic shed construction requires hand tools (hammer, saw, level, tape measure) and power tools (circular saw, drill, nail gun). If you lack essential equipment, factor rental costs into your budget. Many home improvement stores offer tool rentals at reasonable daily or weekly rates.
Permits and Building Codes
Never skip the permit process, regardless of how minor your shed seems. Building permits protect you legally and ensure your structure meets safety standards. Contact your local building department to determine permit requirements—most jurisdictions require permits for sheds exceeding 120-200 square feet or those with electrical systems.
Your local building code authority specifies setback requirements (distance from property lines), foundation specifications, snow load ratings, and wind resistance standards. These codes exist because they’ve been developed through decades of construction experience and failure analysis. Ignoring them can result in fines, forced demolition, or liability issues if someone is injured.
Obtain copies of your local International Building Code (IBC) amendments specific to your jurisdiction. Some areas have unique requirements based on climate zones, seismic activity, or flood plains. A permit typically costs $50-300 depending on your location and shed size, a small price for legal protection and peace of mind.
Schedule required inspections at foundation, framing, and completion stages. Inspectors verify that your work meets code requirements and catches problems before they become expensive. Building officials aren’t adversaries—they’re ensuring your safety and protecting property values in your community. Cooperate fully with the inspection process.
Foundation Preparation
A solid foundation prevents rot, settling, and structural failure. Most DIY sheds use one of three foundation types: concrete piers, concrete slab, or gravel with treated skids. Concrete piers offer the best balance of cost and durability for most applications. They keep the shed elevated, allowing air circulation underneath to prevent moisture damage.
For pier foundations, excavate holes 2-3 feet deep (below your local frost line—check with your building department) spaced 4-6 feet apart in a grid pattern. Set concrete pier blocks or create holes for concrete footings. Pour concrete into each hole and set pier blocks while concrete is wet. Allow concrete to cure fully (typically 48-72 hours) before proceeding.
Ensure your foundation is perfectly level—this single factor determines whether your shed doors will close properly and whether water will drain away from the structure. Use a long level or string line to verify height accuracy. Adjust pier blocks by adding or removing sand underneath them. Spend extra time on this step; a poorly leveled foundation creates cascading problems throughout construction.
If using a concrete slab, excavate and compact the area, add 4-6 inches of gravel base, install perimeter forms, and pour concrete. Slope the slab slightly (1/8 inch per foot) away from the shed to promote drainage. A slab eliminates wood rot concerns but requires more concrete work and doesn’t allow for air circulation underneath.
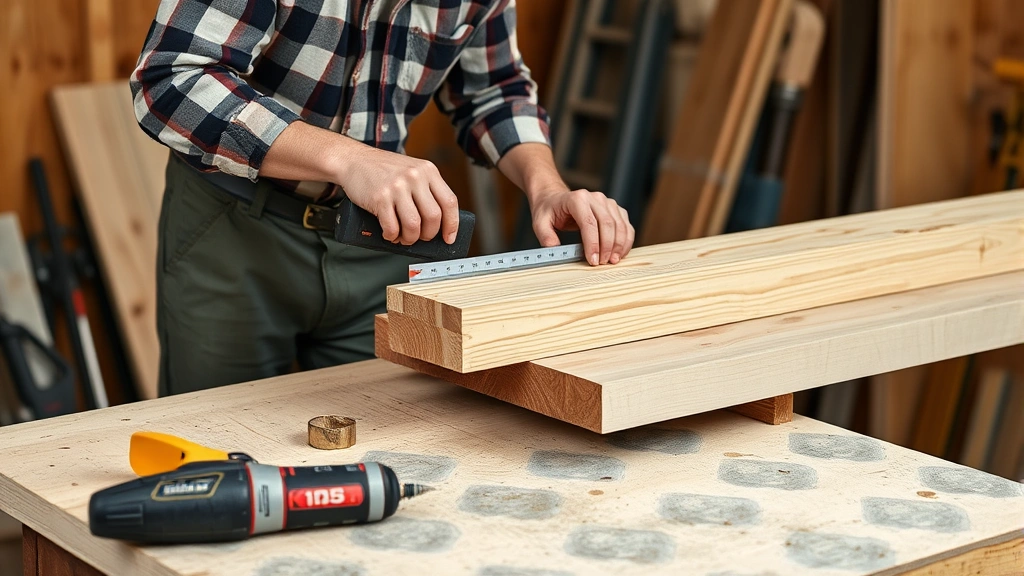
Framing the Walls and Roof
Wall framing uses standard 2×4 lumber with studs spaced 16 inches on center—this spacing accommodates standard sheathing widths and provides adequate strength. Build wall frames on the ground, then tilt them up and secure them to your foundation. This approach is faster and safer than framing in place.
Construct each wall frame by laying out top and bottom plates, measuring and cutting studs, and fastening everything with 3-inch deck screws or 16-penny nails. Include headers above door and window openings for structural integrity. Pre-drill nail holes in end grain to prevent splitting. Build a temporary brace system to hold walls plumb and square until permanent bracing is installed.
Roof framing determines your shed’s weather resistance and interior usability. Gable roofs (two sloping sides) are most common for DIY sheds. Calculate the roof pitch based on your local snow load requirements—steeper pitches shed snow better but require taller walls. A 6:12 pitch (rises 6 inches for every 12 inches of horizontal run) works well for most climates.
Construct rafters using 2×6 or 2×8 lumber, depending on span and snow load. Use rafter calculators or pre-made rafter tables to determine angles and lengths. Gang-cut all rafters identically using a chop saw and template for consistency and accuracy. Install collar ties every third rafter pair to prevent spreading and add structural rigidity.
Install roof sheathing (typically 1/2-inch CDX plywood) perpendicular to rafters, leaving appropriate gaps for expansion. Secure sheathing with ring-shank nails or screws spaced 6 inches apart. Ensure sheathing is properly secured—inadequate fastening allows wind damage during storms. Check that all edges are supported by framing members.
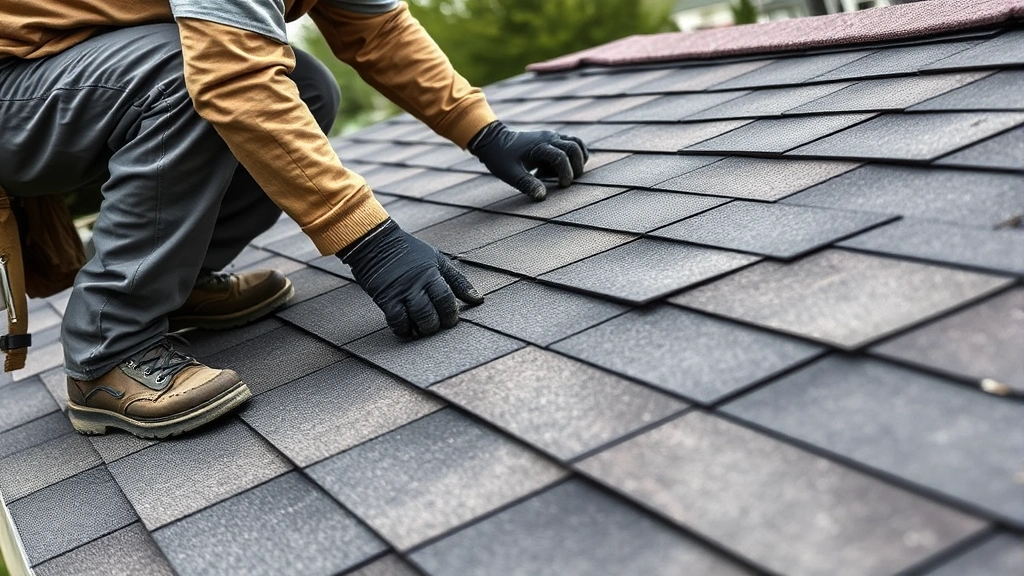
Roofing Installation
Proper roofing prevents interior water damage, the primary enemy of shed longevity. Install roofing felt or synthetic underlayment first, overlapping courses by 4-6 inches and stapling every 12-18 inches. This underlayment provides backup protection if shingles are damaged or fail prematurely.
Asphalt shingles are the most economical choice for DIY sheds. Start at the roof’s lower edge, aligning shingles carefully and fastening with roofing nails (4 nails per shingle, positioned correctly to prevent wind uplift). Nail placement is critical—nails too high reduce wind resistance, while nails too low damage shingles and cause premature failure.
Install metal flashing at valleys, roof penetrations, and where the roof meets walls. Flashing redirects water away from vulnerable areas where leaks commonly develop. Use roofing cement to seal flashing edges and ensure watertight joints. Many shed leaks originate at flashing rather than shingles themselves.
Install gutters and downspouts to direct water away from the foundation. Clogged gutters cause water to cascade down walls and pool at the foundation, leading to rot and settling. Position downspouts to discharge water at least 4-6 feet from the shed. This simple step extends your shed’s lifespan by decades.
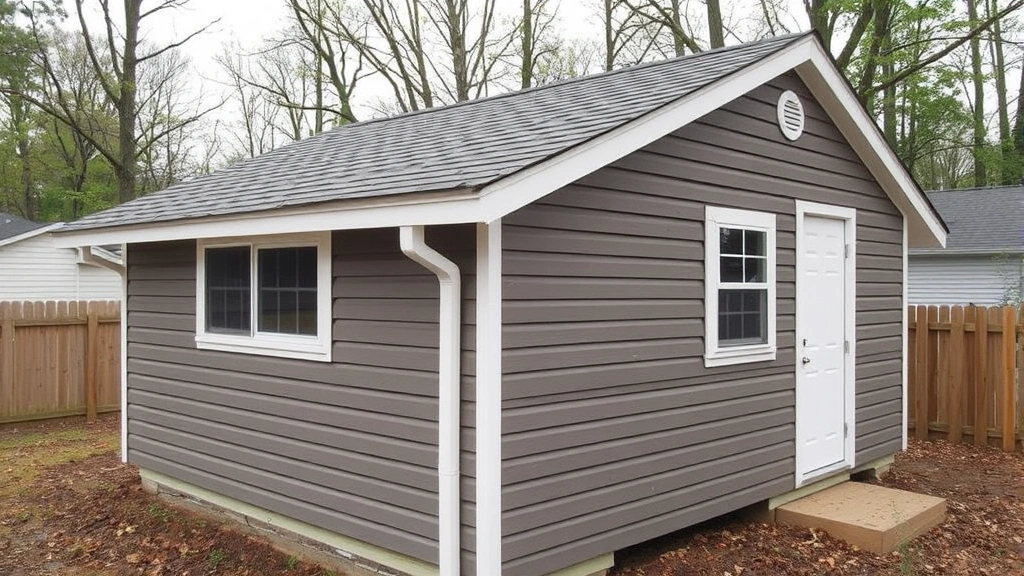
Siding and Weatherproofing
Siding protects framing from weather while defining your shed’s appearance. Common options include plywood, board-and-batten, vinyl, and metal. Plywood offers good value and straightforward installation—simply apply sheets vertically or horizontally, overlapping joints and fastening every 12 inches around perimeter and 16 inches in field areas.
Board-and-batten siding provides attractive aesthetics and excellent weather protection. Install 1×8 or 1×10 boards vertically, then cover joints with 1×3 battens. This approach requires more materials and labor but creates a classic appearance that enhances property value. Ensure adequate spacing for expansion and contraction of wood.
Before installing siding, apply house wrap to walls—this breathable membrane allows moisture vapor to escape while preventing liquid water infiltration. Overlap seams by 6 inches and tape with appropriate tape. House wrap prevents moisture accumulation behind siding, which causes rot and mold growth even when exterior surfaces appear dry.
Seal all penetrations and joints with exterior-grade caulk. Pay special attention to corners, foundation transitions, and areas where different materials meet. Caulking takes time but prevents water infiltration at vulnerable points. Inspect caulking annually and re-apply as needed—caulk typically lasts 5-10 years before cracking and failing.
Paint or stain all exterior wood surfaces to protect against UV damage and moisture penetration. Use quality exterior paint rated for your climate zone. Most exterior finishes require maintenance every 3-5 years. Establish a maintenance schedule and stick to it—preventive maintenance costs far less than repairing damage from neglected finishes.
Interior Finishing
Interior finishing depends entirely on your shed’s intended use. A storage shed may require only shelving and lighting, while a workshop or studio needs climate control and electrical systems. Plan your interior layout before framing is complete—running electrical wiring and HVAC ducts is much easier before walls are closed.
Install electrical systems safely by hiring a licensed electrician or consulting your local building department about DIY electrical work requirements. Many jurisdictions prohibit homeowners from performing electrical installations. If permitted, follow National Electrical Code (NEC) requirements meticulously. Improper electrical work causes fires and electrocution hazards.
Insulation provides comfort and protects stored items from temperature extremes. Fiberglass batts, blown cellulose, or spray foam all work effectively. Choose insulation R-value based on your climate zone—colder climates require higher R-values. Proper ventilation prevents moisture accumulation, which causes mold and structural damage. Install soffit vents and a ridge vent to create air circulation.
Drywall, plywood, or OSB can cover interior walls depending on your aesthetic preferences and budget. Drywall provides a finished appearance suitable for workshops or creative spaces. Plywood offers durability and easy storage installation for utility sheds. Leave framing exposed for an industrial aesthetic if preferred—exposed framing allows easier access to utilities and facilitates future modifications.
Flooring options include concrete, plywood, or specialty flooring products. Concrete provides durability but feels cold and hard. Plywood subflooring topped with vinyl or laminate offers comfort and warmth. Ensure proper drainage underneath any flooring—moisture beneath flooring causes rot and mold growth. Slope floors slightly toward a drain or sump if moisture is a concern.
Doors and Windows
Doors and windows significantly impact your shed’s functionality and appearance. Standard 3-foot single doors work for most sheds, though larger openings accommodate equipment and supplies more easily. Double doors (6-foot combined width) cost more but provide flexibility for storing large items.
Install door frames before installing siding for easier alignment and weatherproofing. Use proper flashing above doors to direct water away from the opening. Pre-hung doors simplify installation—they arrive as a complete unit with frame and hardware. Simply set them in the opening, shim for plumb and level, and secure with fasteners.
Windows improve natural lighting and ventilation. Operable windows (those that open) provide better climate control than fixed windows. Install windows similarly to doors, using proper flashing and ensuring level installation. Caulk around window frames after installation to prevent water infiltration.
Consider your basement finishing project or home security improvements when planning shed access. Lockable doors protect valuables and prevent unauthorized entry. Install quality locks and consider motion-sensor lighting for security and convenience. Proper lighting makes your shed safer and more functional during evening hours.
Paint or stain doors and windows to match your shed’s exterior finish. Maintain these components regularly—weather exposure causes finish failure and wood deterioration. Weatherstripping around doors and windows reduces drafts and improves climate control, extending the life of stored items and improving comfort when working inside.
FAQ
How much does it cost to build a DIY shed?
A basic 8×10 DIY shed typically costs $1,500-3,000 in materials, depending on roofing type, siding choice, and finishing level. Premium materials and additional features (electrical, insulation, finished interior) can push costs to $5,000-8,000. DIY construction saves approximately 40-60% compared to hiring contractors, making it worthwhile for budget-conscious homeowners.
What tools do I absolutely need?
Essential tools include a circular saw, drill, level, tape measure, hammer, square, and safety equipment. A miter saw makes angled cuts easier, and a pneumatic nail gun speeds fastening significantly. Most home improvement stores rent specialty tools at reasonable rates, eliminating the need to purchase expensive equipment for a single project.
Can I build a shed without previous construction experience?
Yes, absolutely. Shed construction uses fundamental carpentry techniques that beginners can master through careful study and practice. Start with a simple design, follow detailed plans precisely, and don’t hesitate to ask for help or hire professionals for specialized tasks like electrical work. Many successful DIY sheds are built by first-time builders who invested time in proper planning.
What’s the best location for a shed?
Choose a location with good drainage, adequate sunlight for your intended use, and convenient access. Avoid low-lying areas prone to water accumulation. Ensure the location complies with local setback requirements (typically 5-10 feet from property lines). Consider prevailing winds and afternoon sun exposure—proper orientation reduces interior temperature extremes.
How do I prevent shed rot?
Prevent rot through proper drainage, ventilation, and protective finishes. Ensure gutters and downspouts direct water away from the structure. Install soffit and ridge vents for air circulation. Paint or stain exterior wood every 3-5 years. Use pressure-treated lumber for framing and foundation contact points. Inspect regularly for signs of moisture damage or deterioration.
Do I need a building permit for a shed?
Most jurisdictions require permits for sheds exceeding 120-200 square feet. Check with your local building department—permit requirements vary by location. Permits typically cost $50-300 but protect you legally and ensure your structure meets safety standards. Unpermitted structures can create issues when selling your property or filing insurance claims.
How long will my shed last?
A well-built and maintained shed lasts 20-30+ years. Longevity depends on materials (treated lumber lasts longer than untreated), climate conditions, and maintenance frequency. Establish a regular maintenance schedule: inspect annually, touch up paint every 3-5 years, and address any damage immediately. Preventive maintenance extends shed lifespan significantly.


