Nail Varnish Drying Tips: Expert Advice for Perfect Results
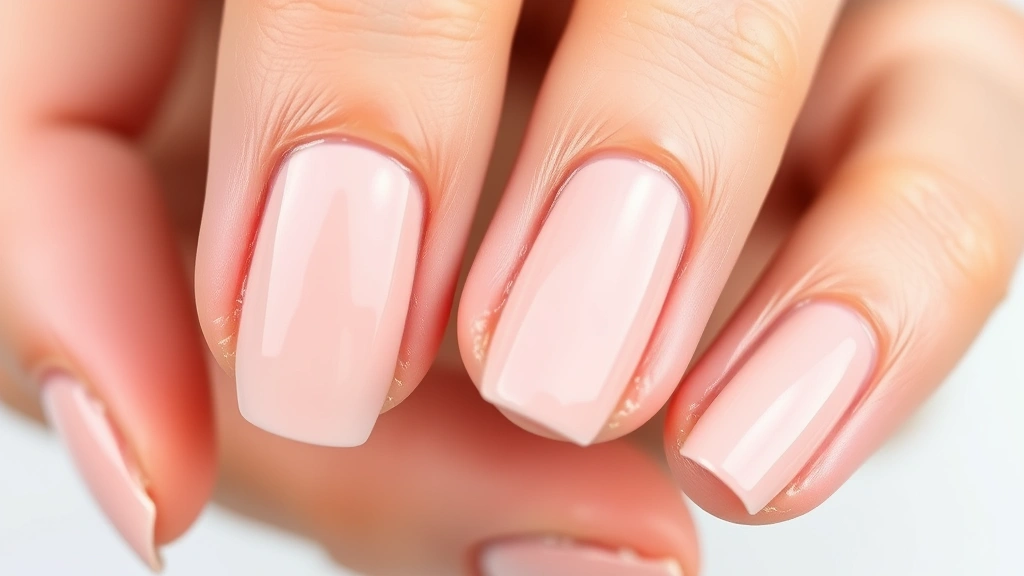
Nail varnish application is a fundamental skill for anyone interested in maintaining beautiful, professional-looking nails at home. However, the drying process is often where DIY enthusiasts encounter frustration, smudging, and imperfect finishes. Understanding the science behind nail polish drying and implementing proven techniques can dramatically improve your results. Whether you’re painting your own nails or preparing surfaces for a more complex home improvement project that involves protective coatings, knowing how long for nail varnish to dry is essential for achieving a flawless finish.
The drying time for nail varnish depends on multiple factors including formula composition, application thickness, ambient temperature, humidity levels, and ventilation in your workspace. Most standard nail polishes require 2-3 hours for complete hardening, though they may feel dry to the touch within 15-20 minutes. This guide explores the science of nail polish drying, provides expert strategies to accelerate the process, and shares professional techniques used by nail technicians to ensure optimal results every time.
Understanding Nail Polish Drying Times
Nail varnish drying involves a chemical process fundamentally different from how paint dries on walls or how long for caulk to dry. While caulk and grout rely on moisture evaporation or chemical curing, nail polish typically dries through solvent evaporation. The volatile organic compounds (VOCs) in the formula—primarily acetone, ethyl acetate, and butyl acetate—evaporate into the air, leaving behind the colored pigments and protective resins that form the hard coating on your nail.
The distinction between feeling dry and being completely cured is critical. When you touch your nail and it no longer feels sticky or wet, it has reached the “dry to touch” stage, typically occurring within 15-20 minutes for regular formulas. However, complete hardening—where the polish achieves maximum durability and resistance to scratching or chipping—requires substantially longer. Standard nail varnish needs 2-3 hours for full cure, while gel polishes require UV or LED light exposure followed by 24 hours of hardening before they reach peak hardness.
Understanding this distinction prevents the common mistake of resuming activities too quickly after application. Even when your nails feel dry, the polish layer remains vulnerable to indentation and smudging for hours. Professional nail technicians recommend waiting at least 30 minutes before engaging in activities that might damage the finish, and preferably 2-3 hours before exposing nails to water or harsh conditions.
Factors That Affect Drying Speed
Formula Type and Composition: Different nail polish formulations dry at dramatically different rates. Standard three-free or five-free polishes (formulas free from harmful chemicals like toluene, dibutyl phthalate, and formaldehyde) typically dry slower than quick-dry varieties. Quick-dry formulas contain modified resins and solvents engineered specifically for faster evaporation, reducing drying time to as little as 5-10 minutes. Gel polishes, despite their durability benefits, require light curing and represent an entirely different drying mechanism.
The viscosity of the formula also matters significantly. Thicker, creamier polishes take longer to dry than thinner, more fluid formulas. Additionally, dark colors—particularly blacks, deep blues, and burgundies—typically require longer drying times than lighter shades because the pigment concentration is higher, creating a thicker effective layer on the nail.
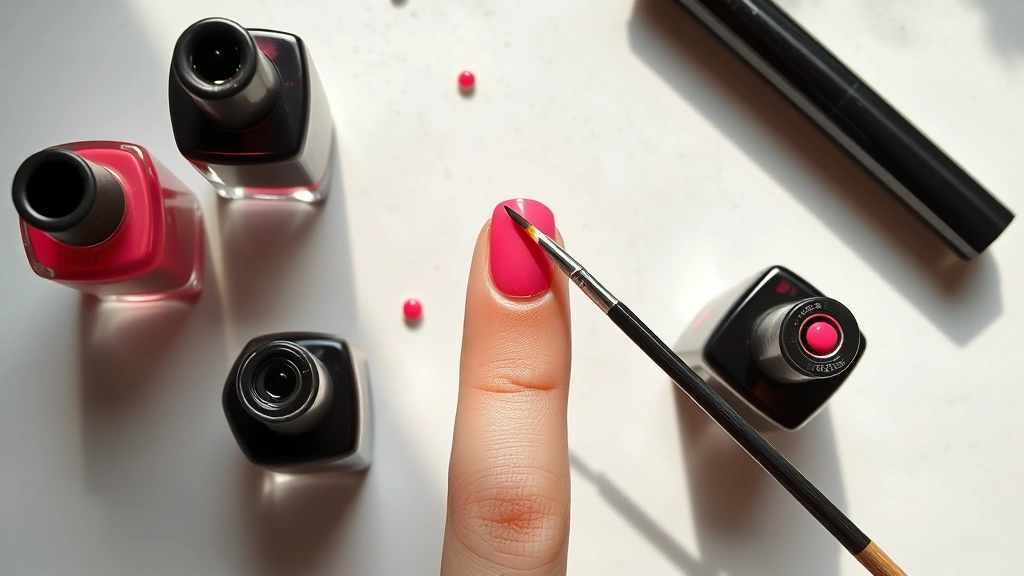
Application Thickness: This is one of the most controllable variables affecting drying time. A single thin coat of nail varnish may dry to touch within 10 minutes, while a thick, heavily applied coat could require 45 minutes or longer for the same formula. Professional nail technicians apply multiple thin coats rather than one thick coat, not only for better color coverage and durability but also for more predictable drying times. Each thin layer dries faster than a single thick application, allowing you to build color intensity while maintaining reasonable overall drying times.
Temperature and Humidity: Ambient temperature dramatically influences solvent evaporation rates. Warm environments accelerate evaporation, reducing drying time by 20-40%, while cold conditions significantly slow the process. Humidity presents an inverse relationship—high humidity environments trap solvents near the nail surface, slowing evaporation, while dry conditions promote faster evaporation. This is why nail polish often dries slower on humid summer days and faster in dry winter conditions, even when room temperature remains constant.
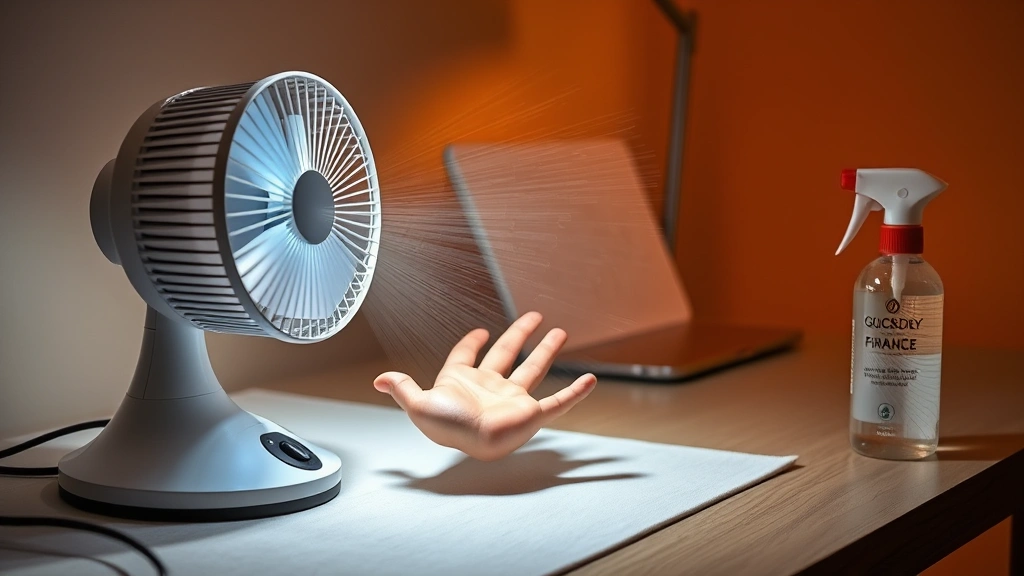
Ventilation: Air circulation is fundamental to efficient solvent evaporation. Stagnant air becomes saturated with nail polish fumes, slowing the evaporation process. Adequate ventilation—whether from open windows, fans, or dedicated exhaust systems—removes saturated air and replaces it with fresh air, continuously promoting faster solvent evaporation. This principle applies similarly to how you’d manage ventilation when working with other finishing products, much like understanding how long for grout to dry requires consideration of workspace conditions.
Professional Acceleration Techniques
Professional nail technicians employ several proven methods to accelerate nail varnish drying without compromising quality. These techniques, developed through years of salon experience, can be readily adapted for home use.
Quick-Dry Topcoats: Applying a specialized quick-dry topcoat dramatically reduces overall drying time. These products contain volatile solvents that evaporate extremely rapidly—often within 3-5 minutes—while simultaneously protecting the base color. Quality quick-dry topcoats seal the polish layer and cure with air exposure, making them far more effective than simply waiting. Look for topcoats specifically formulated with fast-drying technology rather than standard topcoats.
Drying Sprays and Solutions: Commercial nail drying sprays contain cooling agents and fast-evaporating solvents that reduce drying time to 1-2 minutes for most formulas. These products work through two mechanisms: the cooling effect reduces the viscosity of remaining solvents, accelerating evaporation, while the spray’s volatile components promote faster solvent removal. Professional salons use these routinely, and they’re inexpensive enough for home investment.
Quick-Dry Drops and Oils: Specialized drying drops designed for nail polish work similarly to drying sprays but in liquid form. These products are applied directly to wet polish and promote rapid solvent evaporation through chemical interaction. Some formulas also contain nourishing oils that prevent the drying process from damaging cuticles and surrounding skin.
Cooling Techniques: While ice water immersion is often recommended, it’s not the most effective method. However, holding hands in cool air or using a cool-air setting on a hair dryer can modestly accelerate drying by promoting solvent evaporation without shocking the nails. Extreme temperature changes should be avoided, as they can cause uneven drying and cracking.
Preparation Methods for Faster Results
Proper nail preparation before polish application significantly influences drying time and overall finish quality. Well-prepared nails provide an optimal surface for polish adhesion and more predictable drying behavior.
Nail Dehydration: Professional technicians always dehydrate nails before application. This involves cleaning nails with rubbing alcohol or a specialized nail dehydrator product to remove oils, moisture, and residue. Dehydrated nails allow polish to adhere more effectively and dry more evenly. Moisture on the nail surface creates barriers to solvent evaporation, extending drying time and potentially causing cloudiness or uneven finish.
Base Coat Application: A quality base coat serves multiple purposes beyond protection. It provides a smooth, uniform surface that promotes even polish application and consistent drying. Base coats specifically formulated to dry quickly (often within 1-2 minutes) establish a foundation that allows the color coat to dry more predictably. This is particularly important for darker colors or thick formulas that naturally dry slower.
Thin Application Strategy: Rather than applying one thick coat, professional results come from multiple thin coats. Apply the first color coat thinly—the brush should glide smoothly without requiring pressure. Allow 2-3 minutes between coats for partial drying. This approach typically requires two color coats but results in faster overall drying time than a single thick application. The total drying time for two thin coats usually equals or beats the drying time for one thick coat.
Brush Technique: How you apply polish affects drying time through application thickness control. Use long, smooth strokes from the nail base toward the tip. Avoid overworking the polish once applied—excessive brushing distributes the product unevenly and creates thick spots that dry slower. Professional technicians typically make 2-3 strokes per nail for optimal coverage and drying characteristics.
Environmental Optimization
Creating an ideal environment for nail polish drying requires attention to multiple factors working in concert. Unlike larger DIY basement finishing projects, nail polish application demands localized environmental control.
Temperature Control: Maintain workspace temperature between 68-75°F (20-24°C) for optimal drying. This range provides warm enough conditions to promote solvent evaporation without creating thermal stress on the nail or surrounding skin. Avoid applying nail polish in cold environments below 60°F, as solvent evaporation slows dramatically and may result in incomplete curing. Conversely, extremely hot environments above 80°F can cause rapid, uneven drying that creates wrinkles or bubbles in the finish.
Humidity Management: Maintain workspace humidity between 40-60% relative humidity. Use a dehumidifier in humid climates or a humidifier if your environment is extremely dry. While lower humidity generally promotes faster drying, extremely dry conditions (below 30% humidity) can stress nails and cuticles. Some research suggests that very low humidity may actually slow polish curing slightly due to increased static electricity and reduced air density for proper solvent evaporation.
Ventilation Setup: Position a fan to create gentle air circulation across your work area without creating drafts that cool the nails excessively. The goal is to move saturated air away from the nails, not to cool them rapidly. A small table fan positioned 3-4 feet from your hands, set to low or medium speed, provides ideal air circulation. Ceiling fans work well if they don’t create temperature fluctuations. If working indoors, open windows to promote cross-ventilation—this is particularly important given the VOC content of nail polish.
Lighting Considerations: While not directly affecting drying speed, proper lighting prevents application errors that might require touch-ups, extending your overall time investment. LED task lighting provides bright, flicker-free illumination that reduces eye strain and improves application accuracy. Better initial application means fewer corrections and faster overall completion.
Common Mistakes to Avoid
Rushing the Process: The most common mistake is attempting to use nails before the polish has fully cured. Even when the surface feels completely dry, the layers beneath may still be curing. Waiting the full recommended time—typically 2-3 hours for standard polish—prevents smudging and chipping that would require complete reapplication.
Applying Thick Coats: While it might seem that thick application would provide better coverage and reduce the number of coats needed, it actually extends drying time significantly and increases the likelihood of bubbles, wrinkles, and uneven finish. Multiple thin coats always outperform single thick applications in both drying time and final appearance.
Excessive Fan Use: While air circulation helps, excessively high fan speeds or fans positioned too close to hands can cool the nails too quickly, trapping solvents and actually slowing complete cure. Fans should create gentle circulation, not strong drafts.
Ignoring Formula Instructions: Different polish brands have slightly different drying time recommendations based on their specific formulations. Always check the manufacturer’s guidance on the bottle. Some quick-dry formulas have specific application or environmental requirements for optimal performance.
Inadequate Workspace Preparation: Failing to dehydrate nails or apply a quality base coat creates unpredictable drying behavior. These preparatory steps take minimal time but dramatically improve results. Similarly, neglecting to remove dust, lint, or oils from nails before application creates texture issues that appear as drying defects.
Applying Wet Polish Over Partially Cured Layers: If you apply a second coat before the first is sufficiently dry (wait at least 2-3 minutes between coats), you risk creating wrinkles, bubbles, or uneven texture. The wet solvent from the new coat can disturb the partially cured layer beneath, creating defects that worsen as drying continues.
For broader DIY project guidance and understanding how drying times affect various home improvement applications, consult comprehensive resources. The principles governing how solvent-based products cure apply across many finishing applications, from nail polish to DIY flooring installation projects that require protective coatings.
For detailed information about nail polish safety and formulation standards, the FDA provides guidance on cosmetic product safety. The OSHA organization offers resources on workplace chemical safety relevant to nail polish ventilation requirements. The Nails Magazine provides professional standards and techniques used by certified nail technicians. For comprehensive understanding of VOC emissions from nail products, the EPA maintains information on volatile organic compounds. Additionally, beauty school resources document professional nail care standards taught in accredited programs.
FAQ
How long does regular nail polish take to dry completely?
Standard nail polish requires 2-3 hours for complete hardening, though it feels dry to touch within 15-20 minutes. The “dry to touch” stage is misleading—the polish remains vulnerable to damage for hours after feeling dry. For maximum durability and resistance to scratching or chipping, allow the full 2-3 hours before exposing nails to water or rough activities.
Can I speed up nail polish drying with a hair dryer?
A hair dryer on cool or low settings can modestly accelerate drying by 10-15%, but it’s not the most effective method. The air circulation helps, but excessive heat can cause uneven drying and cracking. Quick-dry topcoats or specialized drying sprays are far more effective for significant time reduction.
Why does my nail polish take longer to dry in summer?
Higher humidity in summer traps solvents near the nail surface, slowing evaporation. Additionally, if summer air conditioning creates temperature fluctuations between indoors and outdoors, this can affect drying consistency. Maintaining stable temperature and using a dehumidifier in humid climates helps normalize drying times.
Does the color of nail polish affect drying time?
Yes, darker colors typically dry slower than lighter shades because they contain higher pigment concentrations, creating effectively thicker applications. Black, dark blue, and burgundy polishes may require 20-30% longer drying time than pastels or nude shades using the same formula.
What’s the difference between gel polish and regular polish drying times?
Gel polish dries through light curing (UV or LED exposure) rather than solvent evaporation, typically hardening in 30-60 seconds under appropriate light. However, gel polish requires 24 hours of additional curing before achieving maximum hardness. Regular polish dries through solvent evaporation and achieves full hardness within 2-3 hours without additional equipment.
Is it safe to use quick-dry products on natural nails?
Quality quick-dry sprays and topcoats are safe for natural nails when used as directed. However, the VOCs in these products require adequate ventilation. Always use quick-dry products in well-ventilated areas, and avoid inhaling fumes directly. Choose formulas specifically designed for natural nails rather than professional salon products that may contain different concentrations of active ingredients.
Can I apply topcoat before the base color is fully dry?
No, applying topcoat over insufficiently cured color polish can trap solvents and create wrinkles, bubbles, or uneven texture. Wait at least 2-3 minutes after applying color before applying topcoat, and ideally wait 5-10 minutes for optimal results. Rushing this step is a common cause of manicure failure.


