Caulk Drying Time: Expert-Verified Guidelines for DIY Projects
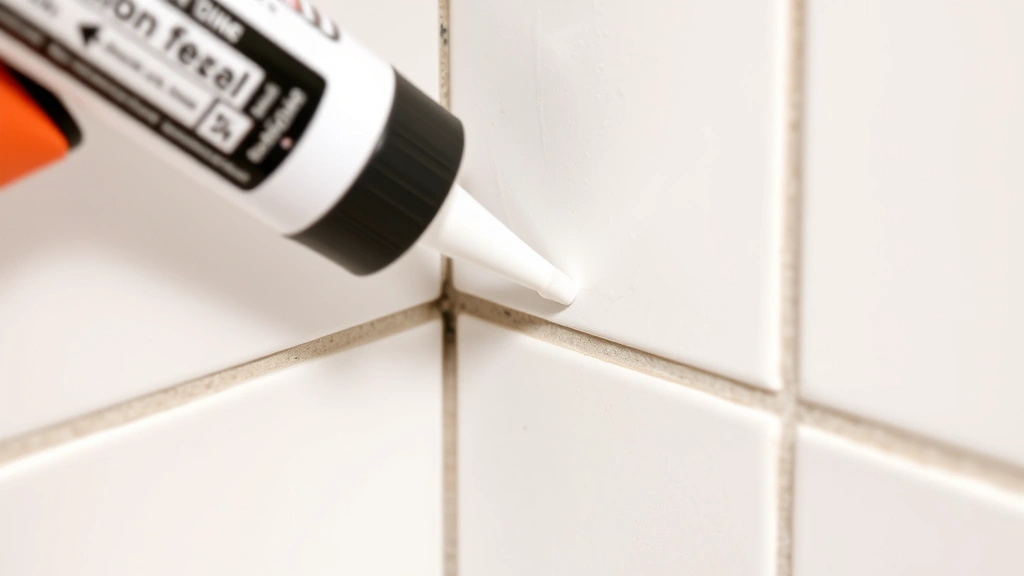
Understanding how long for caulk to dry is essential for any successful home improvement project. Whether you’re sealing gaps around windows, bathrooms, or kitchen countertops, rushing the curing process can compromise your work and waste time and materials. Caulk drying time varies dramatically depending on the type of caulk, environmental conditions, and application method, making it critical to know the specifics before you start.
The difference between drying and curing is often misunderstood by DIY enthusiasts. Drying refers to the surface becoming touch-dry, while curing is the complete hardening process where the caulk reaches full strength and flexibility. Most projects require you to wait through both phases to achieve lasting results, and cutting corners during this waiting period is one of the most common mistakes homeowners make.
Understanding Caulk Types and Their Drying Times
Caulk comes in three primary formulations, each with distinctly different drying characteristics. The type you choose depends on your project location, expected movement, and moisture exposure. Acrylic latex caulk is water-based, paintable, and ideal for interior applications where minimal movement occurs. Silicone caulk offers superior flexibility and waterproofing, making it perfect for bathrooms and kitchens. Polyurethane caulk provides the strongest bond and longest-lasting performance but requires more careful application and longer curing times.
Acrylic latex typically dries to the touch in 30 minutes to 2 hours, though full curing takes 24 hours. Silicone caulk generally requires 24 to 48 hours before it’s fully cured, and polyurethane can take up to 3 weeks to reach complete hardness. These timelines are not arbitrary—they’re determined by the chemical composition and how moisture or air exposure affects the bonding process. When working on DIY flooring installation or other home projects, selecting the appropriate caulk type ensures your work withstands movement and environmental stress.

Factors That Affect Caulk Drying Speed
Several environmental and application variables significantly impact drying time. Temperature is perhaps the most critical factor—caulk dries fastest between 50°F and 85°F. Below 50°F, the curing process slows dramatically, and below 40°F, most caulks won’t cure properly at all. Conversely, temperatures above 85°F can cause the surface to dry too quickly, trapping moisture inside and creating weak bonds.
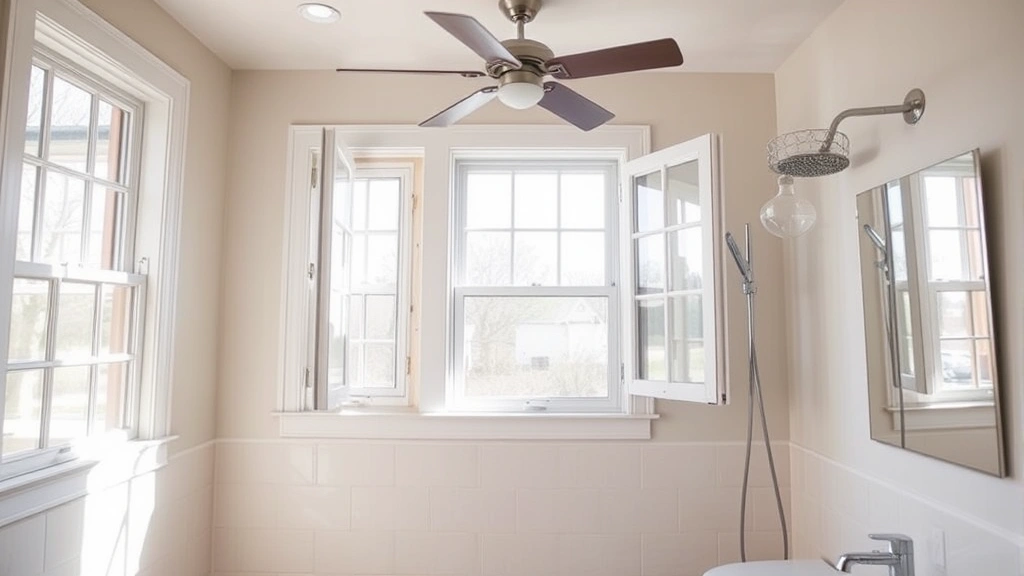
Humidity levels play an equally important role. High humidity can extend drying times by 50% or more because moisture in the air interferes with the curing chemical reactions. Ideally, humidity should be between 40% and 60%. If you’re caulking in a bathroom or kitchen during steamy conditions, expect significantly longer wait times. Air circulation helps move moisture away from the caulk surface, accelerating drying—this is why opening windows and using fans is recommended during the curing process.
The bead size and depth of your caulk application also matter. A thin, quarter-inch bead dries much faster than a thick, half-inch bead. Similarly, applying caulk into deep gaps requires longer curing because moisture must escape from greater depths. The surface material affects drying too—porous surfaces like unfinished wood allow moisture to escape faster than non-porous surfaces like glass or tile. If you’re tackling DIY beginner woodworking projects, understanding how wood porosity affects caulk curing is essential.
Finally, primer and paint compatibility influence your timeline. If you plan to paint over caulk, you must wait for the caulk to dry completely first. Some caulks require primer before painting, adding extra steps to your project schedule.
Acrylic Latex Caulk Drying Timeline
Acrylic latex caulk is the go-to choice for most interior caulking projects because it’s affordable, easy to work with, and offers adequate performance for low-movement areas. Under ideal conditions—between 60°F and 75°F with 50% humidity—acrylic latex becomes touch-dry in approximately 30 minutes to 1 hour. This quick initial drying allows you to smooth and tool the caulk bead shortly after application, which is critical for a professional appearance.
However, touch-dry doesn’t mean ready for painting or exposure to water. You should wait at least 3 to 8 hours before painting acrylic latex caulk, and many manufacturers recommend overnight drying before exposing the caulk to moisture. Full curing typically takes 24 to 48 hours, though in cold or humid conditions, this can extend to 72 hours. The DIY Nests Hub Blog regularly covers timing guidelines for various home projects, emphasizing the importance of respecting manufacturer specifications.
One advantage of acrylic latex is that it remains water-soluble during the drying phase, meaning you can clean tools and mistakes with water immediately after application. However, once it cures, it becomes water-resistant and paintable. For interior gaps around baseboards, crown molding, or drywall seams, acrylic latex is typically sufficient and economical.
Silicone Caulk Drying Timeline
Silicone caulk is the premium choice for wet environments and areas expecting significant movement. Unlike acrylic latex, silicone remains flexible even after curing, allowing it to accommodate expansion and contraction without cracking. The trade-off is a much longer drying timeline and the inability to paint over most silicone products.
Silicone typically becomes touch-dry in 1 to 3 hours under optimal conditions, but this is misleading—the surface may feel dry while the interior remains uncured. Manufacturers consistently recommend waiting 24 hours before exposing silicone caulk to water or moisture. In bathrooms and kitchens, this 24-hour window is non-negotiable if you want the waterproofing benefits you’re paying for. Complete curing can take 48 to 72 hours, with some premium silicones requiring up to 7 days for full strength.
Temperature sensitivity with silicone is more pronounced than with acrylic latex. Below 50°F, silicone cures very slowly, and below 40°F, it may not cure properly at all. High humidity actually helps silicone cure because the chemical reaction releases acetic acid (which smells like vinegar), and moisture facilitates this process. If you’re working in a dry environment, you may need to increase humidity slightly by misting the caulked area with water—though never directly on the caulk itself.
Silicone caulk is ideal for bathtub surrounds, shower enclosures, and any area where waterproofing is paramount. The extended drying time is worth the superior performance and longevity.
Polyurethane Caulk Drying Timeline
Polyurethane caulk represents the professional-grade option, offering the strongest bond and best performance for demanding applications. It’s ideal for areas experiencing significant movement, outdoor exposure, or where maximum durability is required. However, polyurethane demands patience—its drying timeline is the longest of all caulk types.
Polyurethane becomes touch-dry in 2 to 4 hours under ideal conditions, but you shouldn’t expose it to water or stress for at least 24 hours. Most manufacturers recommend waiting 48 to 72 hours before considering the caulk fully cured. In some cases, particularly with thick applications or in cold conditions, full curing can take up to 3 weeks. This extended timeline is due to polyurethane’s two-part curing mechanism, where the caulk reacts with atmospheric moisture to harden.
Humidity is actually beneficial for polyurethane curing—the caulk requires moisture in the air to cure properly. If you’re working in an extremely dry environment, you may need to mist the area lightly to ensure proper curing. Unlike silicone, polyurethane can typically be painted once it reaches touch-dry status, though waiting longer ensures better paint adhesion.
Polyurethane caulk is excellent for exterior applications, foundation cracks, and any project where long-term flexibility and waterproofing are critical. The patience required during curing is offset by years of reliable performance.
Optimizing Drying Conditions
Creating ideal drying conditions accelerates the process and improves final results. Start by checking the weather forecast and choosing application days when temperature and humidity are favorable. Avoid caulking if rain is predicted within 24 hours, as moisture can disrupt the curing process. Early morning or late afternoon applications allow the longest dry period before evening humidity and temperature drops.
Temperature control is your primary lever. If it’s cold, use space heaters to warm the application area to at least 50°F, ideally 65°F or higher. If it’s excessively hot, shade the area and increase ventilation to prevent surface-drying that traps interior moisture. Keep a thermometer nearby to monitor conditions throughout the drying period.
Humidity management requires balance. In bathrooms and kitchens, close doors to limit steam generation during curing. In dry climates, lightly mist the caulked area with water every few hours to provide moisture for the curing reaction. Never spray directly onto fresh caulk—mist the surrounding surfaces instead.
Ventilation is crucial. Open windows and position fans to create air movement across the caulked surfaces. However, avoid pointing fans directly at the caulk, as this can cause uneven drying and surface cracking. Indirect air circulation is more effective than direct airflow.
Surface preparation accelerates drying before you even apply caulk. Clean surfaces thoroughly with appropriate cleaners—remove dust, dirt, and old caulk residue. Dry surfaces allow better penetration and faster curing. Primer application on porous surfaces helps seal them, reducing the variable absorption rates that can extend drying times.
If you’re working on a timeline-sensitive project like how long it takes to build a PC or other time-dependent tasks, planning your caulking work during optimal weather conditions ensures you stay on schedule.
Common Mistakes That Slow Drying
Applying caulk in cold weather is the most frequent mistake. Many DIYers don’t check temperature requirements and apply caulk in fall or winter, then wonder why it takes forever to cure. Always verify that conditions meet the manufacturer’s minimum temperature requirements before starting.
Using too much caulk creates thick beads that trap moisture inside. Even though a thicker bead might seem like better insurance, it actually extends drying time and creates weak bonds. A consistent quarter-inch bead is ideal for most applications—thick enough to seal but thin enough to cure properly.
Painting too early is another common error. Impatient DIYers often paint over caulk before it’s fully cured, creating adhesion problems and paint failures. Always wait the recommended time before painting, even if the surface feels dry to the touch.
Insufficient ventilation prevents moisture from escaping. Closing all windows and doors to trap heat actually slows curing by trapping moisture inside the caulk. Balanced ventilation—slightly open windows with gentle fan circulation—is more effective.
Exposing caulk to water too early is particularly problematic with silicone and polyurethane. If you caulk a bathtub on Friday evening and shower Saturday morning, the uncured caulk can fail. Respect the 24-hour minimum waiting period, even if the surface appears dry.
Mixing caulk types causes complications. Don’t apply silicone over dried acrylic latex, or vice versa—they don’t bond well. If you need to re-caulk an area, completely remove the old caulk first. This applies whether you’re working on DIY home security installation or basic sealing work.
Applying caulk to wet surfaces prevents proper adhesion and curing. Always ensure surfaces are completely dry before applying caulk, even if you’re using water-based acrylic latex. In bathrooms, turn off exhaust fans and wait several hours after showering before caulking.
FAQ
Can I speed up caulk drying time?
You can optimize conditions but not truly accelerate curing beyond what the chemistry allows. Temperature, humidity, and ventilation adjustments help, but attempting to force faster drying with excessive heat or airflow creates weak bonds and surface cracking. Patience is the only guaranteed method for proper curing.
What’s the difference between drying and curing?
Drying is when the surface becomes touch-dry and can be handled without smudging. Curing is the complete chemical hardening process where the caulk reaches full strength and flexibility. Most caulks dry quickly but cure slowly—this is why you must wait longer than initial drying times before exposing caulk to stress or moisture.
Can I apply a second coat of caulk before the first coat cures?
Not recommended. Wait until the first coat is fully cured before applying additional coats. Applying caulk over partially cured caulk prevents proper bonding and creates weak seals. If you need multiple coats, follow the manufacturer’s full curing timeline between applications.
Does caulk dry faster in sunlight?
Direct sunlight can actually slow curing for some caulk types, particularly silicone, which cures through a moisture-dependent chemical reaction. Excessive heat from sunlight can cause surface drying that traps interior moisture. Shade or indirect light is actually preferable for optimal curing.
Why is my caulk still soft after 24 hours?
Cold temperatures, high humidity, or thick application are the most common causes. Check that conditions meet the manufacturer’s minimum requirements—typically 50°F and below 85% humidity. If conditions are appropriate, the caulk type itself may simply require longer curing. Polyurethane, for example, can take weeks. Resist the urge to disturb it; let it continue curing undisturbed.
Can I use a hair dryer to speed up caulk drying?
Avoid direct heat sources like hair dryers. Localized heat causes uneven drying and surface cracking while the interior remains uncured. If you need to warm the area, use an indirect space heater that warms the entire environment gradually and evenly.
Is it safe to shower 24 hours after caulking a bathtub?
For silicone caulk, 24 hours is the minimum, but 48 hours is safer. For acrylic latex, 24 hours is typically sufficient for light moisture exposure, but avoid heavy water exposure for 48 hours. Polyurethane requires 48 to 72 hours. Always follow the specific manufacturer’s recommendations on your caulk packaging.


