
How to Balance a Checkbook: Financial Expert Tips for DIY Money Management
Managing your personal finances doesn’t require hiring an accountant or relying solely on banking apps. Learning how to balance a checkbook is a fundamental money management skill that gives you complete control over your spending and helps catch errors before they become costly problems. Whether you still use paper checks regularly or maintain a checking account for bill payments, understanding the checkbook balancing process protects you from overdraft fees, fraud, and financial confusion.
Balancing your checkbook monthly—or even weekly—provides a clear snapshot of your actual available funds versus what your bank thinks you have. Many people assume their bank’s balance is always correct, but pending transactions, processing delays, and occasional banking errors can create discrepancies. By taking 15-30 minutes each month to review your financial practices like you would any DIY home project, you’ll develop confidence in your money management and catch problems immediately.
Understanding Your Checkbook Basics
Your checkbook register is your personal financial ledger—a record of every transaction you make from your checking account. Each check you write, debit card purchase, ATM withdrawal, and deposit should be documented in this register with the date, description, amount, and running balance. Unlike securing your home with comprehensive planning, financial security starts with accurate record-keeping from day one.
The checkbook register serves three critical purposes: it provides a chronological record of all your transactions, it helps you track your spending patterns and categories, and it creates a personal audit trail that differs from your bank’s records. Your bank only sees transactions they process, meaning checks you’ve written that haven’t cleared yet, pending deposits, and timing differences won’t appear on your official bank statement immediately.
Each entry in your checkbook should include: the check number (or transaction type), the date of the transaction, a description of who received the money or where the deposit came from, the amount withdrawn or deposited, and your updated running balance. The running balance is calculated by adding deposits to your previous balance and subtracting withdrawals. This continuous calculation helps you immediately spot mathematical errors.
Understanding the difference between your checkbook balance and your bank balance is essential. Your checkbook balance reflects what you’ve recorded in your register, while your bank balance shows what the financial institution has processed. These will differ each month because of outstanding checks (written but not yet cashed) and deposits in transit (submitted but not yet credited). This is completely normal and expected.
Gathering Your Statements and Records
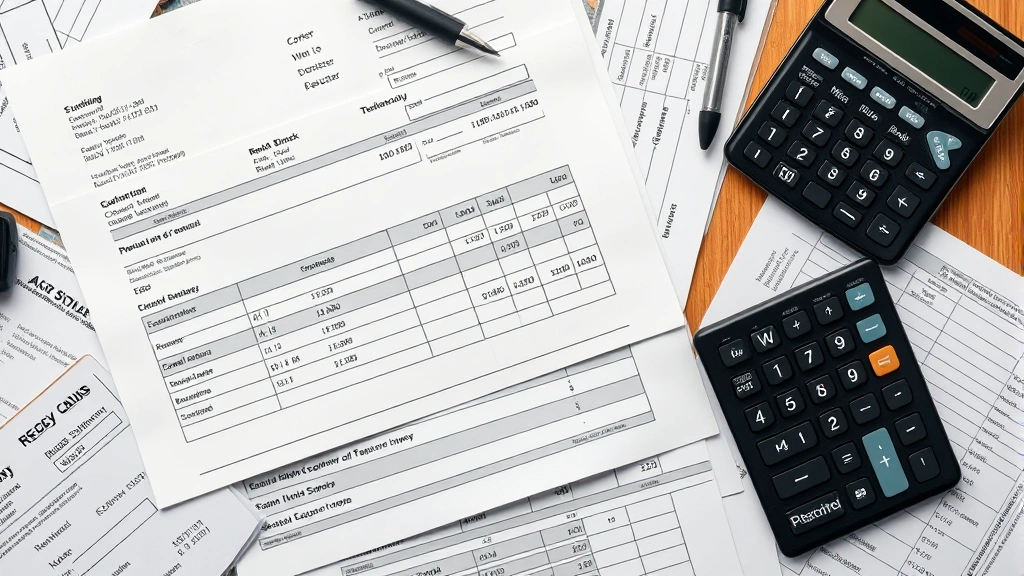
Before you begin balancing, collect all necessary documents. Request your monthly bank statement from your bank—most banks provide these online through secure portals, though you can still request paper statements if preferred. You’ll also need your checkbook register, any deposit slips, ATM receipts, and records of automatic payments or transfers you’ve authorized.
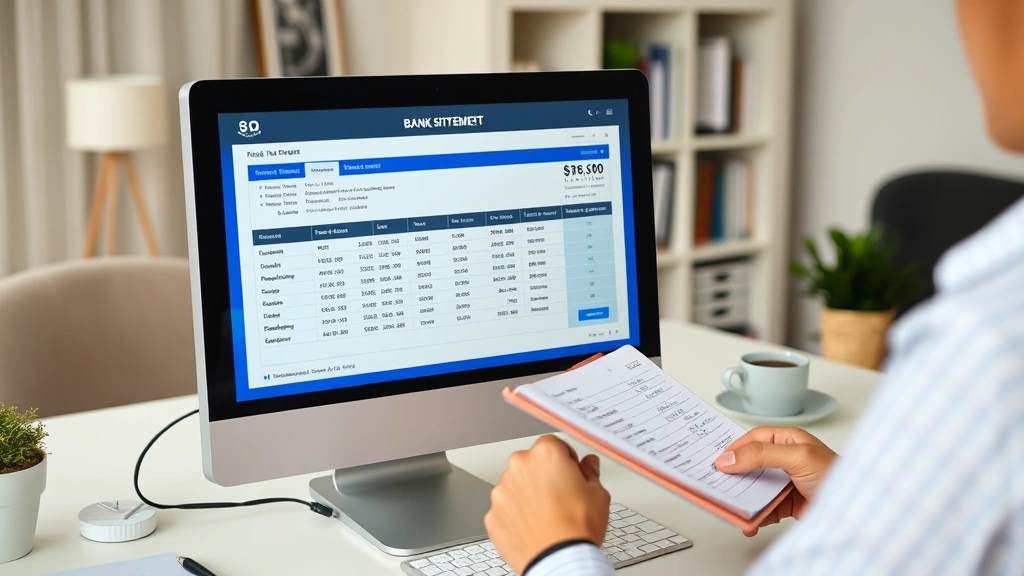
Most modern banks offer online banking platforms where you can view transactions in real-time. Log into your account and review the statement period you’re about to reconcile. Write down the ending balance shown on your bank statement—this is your starting point for the reconciliation process. Also note the statement period dates, as you’ll only reconcile transactions within that specific timeframe.
Organize your checkbook register and any loose receipts chronologically. If you’ve been keeping paper records in your register, ensure every transaction is recorded with dates in order. If you use digital banking, download your transaction history for the statement period. Having everything organized before you start prevents confusion and makes the process much faster.
Create a simple workspace with your bank statement, checkbook register, a calculator, and a pen. Some people prefer printed statements, while others work directly from their computer screen. Choose whatever method feels most comfortable and allows you to reference multiple documents simultaneously. Much like maintaining home systems with proper documentation, financial management benefits from having your tools and records organized.
Step-by-Step Balancing Process
Step 1: List Outstanding Checks and Deposits
Review your checkbook register and identify all checks you’ve written that don’t appear on the bank statement yet. These are outstanding checks. Write down the check number, date, payee, and amount for each one. Then identify any deposits you’ve made that haven’t cleared—these are deposits in transit. List these separately with dates and amounts.
Step 2: Calculate Your Adjusted Checkbook Balance
Start with your current checkbook balance (the most recent entry in your register). Add any deposits that appear on the bank statement but haven’t been recorded in your checkbook. Subtract any bank fees, charges, or automatic deductions that appear on the statement but weren’t in your register. This gives you your adjusted checkbook balance.
Step 3: Calculate Your Adjusted Bank Balance
Start with the ending balance from your bank statement. Add all deposits in transit that you’ve identified but haven’t appeared on the statement yet. Subtract all outstanding checks. This calculation should equal your adjusted checkbook balance if everything reconciles properly.
Step 4: Compare the Two Balances
If your adjusted checkbook balance matches your adjusted bank balance, congratulations—your checkbook is balanced. If they don’t match, you have a discrepancy to investigate. The difference amount can provide clues about what went wrong.
Step 5: Document Everything
Once balanced, write the reconciliation details on your bank statement or in a separate document. Note the date you reconciled, the final balance, and any adjustments you made. This creates a paper trail and helps you reference this reconciliation if questions arise later.
Reconciling With Your Bank Statement
Bank reconciliation is the process of matching your personal records with the bank’s records. The bank statement you receive (or view online) shows all transactions the bank has processed during the statement period. Your checkbook register shows transactions you’ve recorded, which may not yet be processed by the bank.
Start by checking off every transaction that appears on both your register and the bank statement. Use a highlighter or checkmark system to mark matched items. This visual process helps ensure you don’t miss anything. Work through the statement methodically, transaction by transaction.
Pay special attention to the opening balance on the statement—it should match the closing balance from your previous month’s reconciliation. If it doesn’t, contact your bank immediately as there may be an error or fraudulent activity. Review every transaction amount carefully, as small errors compound quickly.
Look for transactions in your checkbook that don’t appear on the statement yet. These might be checks you wrote several weeks ago that still haven’t cleared, or deposits you made near the end of the statement period. Note these as outstanding items that will appear on next month’s statement.
Identify transactions on the bank statement that you haven’t recorded in your checkbook. These often include bank fees, interest earned, automatic bill payments you’ve set up, or transfers between accounts. Record each of these in your checkbook register immediately, adjusting your running balance accordingly.
Handling Discrepancies and Errors
If your balances don’t match after reconciliation, don’t panic. Most discrepancies result from simple mathematical errors or timing issues. Start by rechecking your math on the adjusted balances. Use a calculator and verify each addition and subtraction carefully.
Look for transposed numbers—writing 45 instead of 54, for example. These errors are surprisingly common and create specific discrepancies. If your balance is off by an amount that’s a multiple of 9 (like $9, $18, $27, etc.), a transposed number is likely the culprit.
Verify that you’ve correctly recorded all check amounts in your register. Compare what you wrote in your checkbook against the cleared checks on the bank statement. A single digit error in one check amount can throw off your entire reconciliation.
Check for duplicate entries—accidentally recording the same transaction twice would create a discrepancy equal to that transaction amount. Review your register for any suspicious duplicates, especially around the times you reconciled previous months.
Ensure you haven’t missed any bank fees, service charges, or interest credits. Banks often charge monthly maintenance fees or overdraft fees that might not be obvious. Review the statement summary section carefully for all charges and credits.
If you still can’t find the error after thorough checking, contact your bank’s customer service. Provide them with your checkbook register and ask them to review specific transactions. Banks have access to detailed transaction records and can often spot errors you’ve missed.
Digital Alternatives to Paper Checkbooks
Many people have moved away from paper checkbooks entirely, using digital banking and budgeting software instead. Apps like Mint (now part of Credit Karma), You Need A Budget (YNAB), and EveryDollar automatically track your spending and can reconcile with your bank account automatically. These tools reduce manual entry errors and provide real-time balance updates.
Your bank’s official app or online banking portal often includes built-in reconciliation tools. Many banks now offer automatic transaction categorization and spending summaries. These digital tools are particularly useful for people who use debit cards, mobile payments, and online transfers more frequently than paper checks.
Digital solutions offer advantages: automatic transaction recording, instant notifications of large purchases or unusual activity, spending category tracking, and often no risk of lost or damaged records. However, they require you to trust the software’s accuracy and maintain consistent app usage habits.
Hybrid approaches work well for many people—maintaining a basic digital record while using banking app notifications to catch major errors. Like staying on top of vehicle maintenance, regular financial monitoring prevents small issues from becoming major problems.
Preventing Future Balancing Issues
Develop a habit of recording transactions immediately. Don’t wait until the end of the week or month to catch up on entries. The sooner you record something, the fresher the details are in your mind, and the easier it is to catch errors.
Set a specific day each month for balancing—perhaps the day after you receive your statement or the first business day of each month. Consistency makes it easier to remember and creates a routine that becomes automatic over time. Block out 30 minutes for this task and treat it as a non-negotiable appointment with yourself.
Keep all receipts for at least 30 days after your statement closes. These receipts serve as backup documentation if you need to verify a transaction or dispute a charge. Organize them chronologically or by category for easy reference.
Enable account notifications through your bank’s app or website. Most banks allow you to set alerts for low balances, large transactions, or unusual activity. These real-time alerts help you catch problems immediately rather than discovering them during monthly reconciliation.
Review your bank statement carefully when it arrives rather than ignoring it. Fraudulent charges can appear on statements, and catching them quickly protects you legally. Most banks require you to report unauthorized transactions within 60 days to receive full protection.
Consider automating bill payments through your bank or billers’ websites. This reduces the number of checks you write and the outstanding items you need to track. Automated payments also ensure bills are paid on time, reducing late fees and service interruptions.
Maintain a simple spreadsheet or document that tracks your typical monthly expenses. This baseline helps you spot unusual spending patterns immediately. If you normally spend $200 on groceries but suddenly spent $600, you’ll notice immediately and can investigate whether it was a legitimate bulk purchase or a fraudulent charge.
Pro Tip: Take a photo of your bank statement before filing it away. Digital copies serve as backup documentation and are easily searchable if you need to reference something months later. This simple step provides protection against lost or damaged paper statements.
FAQ
How often should I balance my checkbook?
Monthly reconciliation is the standard practice, typically done when your bank statement arrives. However, if you’re actively managing a tight budget or concerned about fraud, balancing weekly or even after each major transaction provides better oversight. At minimum, balance once monthly to catch errors and unauthorized charges quickly.
What if my checkbook balance is higher than my bank balance?
This is common and usually means you have outstanding checks that haven’t cleared yet. These checks reduce your bank balance but are already deducted in your checkbook register. Once those checks clear, your balances will match. If the difference seems too large or you can’t identify outstanding checks, contact your bank.
Can I balance my checkbook using just my bank’s app?
Yes, many modern banking apps include reconciliation features that automatically match transactions. However, manually reviewing the reconciliation ensures accuracy. Some people prefer the traditional method for better financial awareness, while others appreciate the automation. Choose the method that works best for your habits and comfort level.
What should I do if I find an error on my bank statement?
Document the error with the transaction date, amount, and description. Contact your bank immediately—most banks allow 60 days to dispute unauthorized transactions. Provide them with your evidence (receipts, your checkbook register) and follow their dispute resolution process. Banks typically resolve legitimate errors within 10 business days.
Is balancing a checkbook still necessary with online banking?
Yes, absolutely. Even with online banking, reconciliation remains important. Banks make errors, fraudulent charges occur, and transaction timing can create discrepancies. The process is often faster with digital tools, but the principle remains the same: verify your records match the bank’s records and catch problems early.
What’s the difference between outstanding checks and deposits in transit?
Outstanding checks are checks you’ve written and recorded in your register that the bank hasn’t processed yet. They reduce your bank balance but not your checkbook balance. Deposits in transit are deposits you’ve made and recorded that the bank hasn’t credited yet. They increase your checkbook balance but not your bank balance yet. Both are normal and temporary.
How do I know if someone committed fraud on my account?
Look for transactions you don’t recognize, especially on your bank statement during reconciliation. Unauthorized charges, unexpected withdrawals, or checks you didn’t write are fraud red flags. If you spot anything suspicious, contact your bank immediately. Document the suspicious transactions and request the bank investigate. Most banks offer fraud protection if you report unauthorized activity promptly.


