Break In Cowboy Boots: Expert Tips for Comfort
Cowboy boots are an iconic piece of footwear that combines style, durability, and rugged functionality. However, new cowboy boots can feel stiff and uncomfortable, causing blisters and soreness during the break-in period. Whether you’re a seasoned rancher, a weekend rider, or someone who appreciates Western fashion, understanding how to properly break in cowboy boots is essential for achieving that perfect fit and ensuring long-term comfort. The break-in process doesn’t have to be painful if you follow the right techniques and give your boots the time they need to mold to your feet.
Breaking in cowboy boots is similar to preparing any construction project—it requires patience, the right tools, and a strategic approach. Just as you would carefully plan a DIY basement finishing project, breaking in boots demands attention to detail and proper methodology. This comprehensive guide will walk you through proven methods to accelerate the break-in process, prevent common problems like heel slippage and toe blisters, and maintain your investment in quality Western footwear for years to come.
Understanding the Break-In Process
The break-in process for cowboy boots involves softening the leather, allowing the material to stretch naturally, and helping the boot conform to your foot’s unique shape. Quality cowboy boots are typically constructed from premium leather that is deliberately left stiff to provide structural support and durability. This stiffness protects the boot’s shape during storage and shipping, but it also means new boots require time to become comfortable.
Most leather experts recommend expecting a break-in period of 20 to 40 hours of wearing time for cowboy boots, though this can vary depending on the boot’s construction quality, leather type, and your foot shape. During this period, the leather fibers gradually relax and the insole compresses to match your foot’s contours. Understanding this natural process helps you remain patient and avoid the temptation to force the issue, which could damage the boots or cause injury.
The heel area typically requires the most attention during break-in, as this is where most people experience slippage and blistering. The vamp (area over the toes) and shaft (upper portion) also need time to soften. By approaching the break-in systematically, you can minimize discomfort while maximizing the longevity of your investment.
Preparation Methods Before Wearing
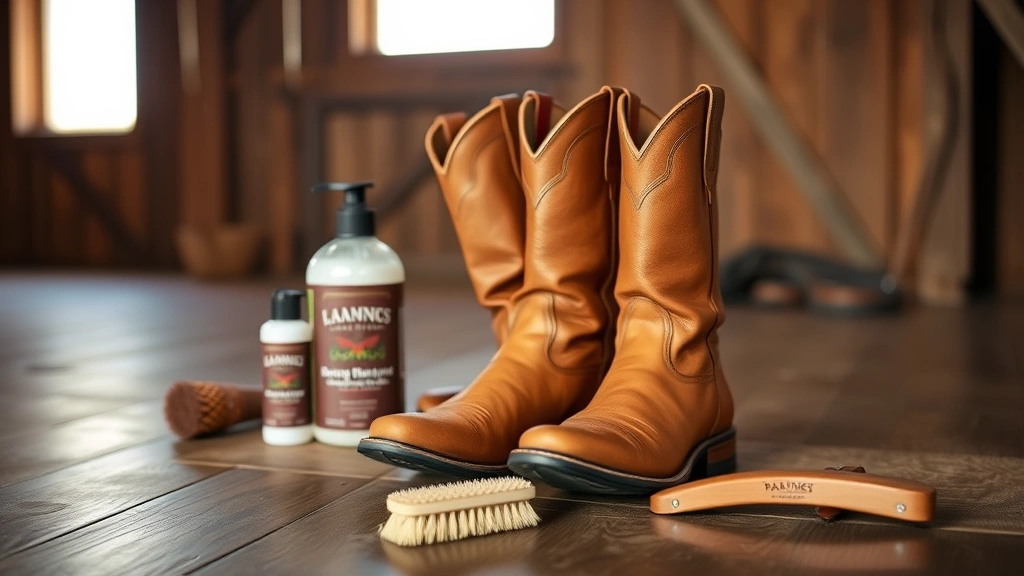
Before you even put on your new cowboy boots for the first time, several preparation steps can significantly ease the break-in process. Start by examining the interior of the boots carefully. Remove any manufacturing debris, paper, or plastic inserts that manufacturers place inside new boots. These materials can cause irritation and prevent proper molding.
Consider applying a leather conditioner or break-in cream to the exterior and interior surfaces of the boots. Products specifically designed for leather break-in contain oils and softening agents that penetrate the leather fibers without compromising the material’s integrity. Apply these products evenly and allow them to absorb for several hours or overnight before wearing the boots. This pre-treatment can reduce break-in time by up to 30 percent.
Inspect the insoles carefully. Many quality cowboy boots come with removable insoles, which you can replace with aftermarket options designed for comfort and arch support. If you plan to customize your insoles, do this before your first wearing. Additionally, check the sole flexibility by gently bending the boot—quality boots should flex slightly at the ball of the foot, not throughout the entire sole.
Invest in quality socks designed for Western riding or work boots. Merino wool or specialized synthetic blends provide better moisture management and cushioning than standard cotton socks. Thick socks (around 80-85% wool content) create a buffer between your feet and the stiff leather, reducing friction and blister formation during initial wearings.
Gradual Wearing Schedule
The most critical aspect of breaking in cowboy boots successfully is following a gradual wearing schedule. Never wear new boots for extended periods on the first attempt. Instead, start with 1-2 hour sessions around your home or property where you can remove them quickly if discomfort becomes severe. This allows your feet to adjust while minimizing blister risk.
During week one, limit wearing to short indoor sessions. Wear the boots while reading, working at a desk, or doing light household tasks. This gives the leather time to respond to your foot’s warmth and moisture without the added stress of walking or standing for extended periods. Gradually increase wearing time by 30-minute increments each day.
By week two, you can begin wearing the boots for outdoor activities like walking around your property or running errands. Still remove them after 2-3 hours of continuous wearing. Allow your feet 24 hours of recovery time between wearing sessions during the first two weeks. This schedule prevents cumulative damage and allows the leather to relax between uses.
In weeks three and four, you can extend wearing periods to 4-6 hours at a time, provided you’re not experiencing significant pain or blistering. By week five, most boots should be comfortable enough for full-day wear. However, individual experiences vary—some boots may require up to 8 weeks for complete comfort, especially if they feature particularly stiff leather or complex designs.
Stretching and Molding Techniques
Active stretching techniques can accelerate the break-in process and target specific problem areas. One effective method involves using a boot stretcher, a wooden or plastic device that expands inside the boot to gently stretch the leather. Insert the stretcher into the boot and gradually turn the expansion mechanism to widen the toe box or shaft. Leave the stretcher in place for 24-48 hours, then remove and wear the boots to assess the improvement.
For targeted stretching of the heel area, try the freezer method: fill plastic bags with water, place them inside the boots at the heel area, and freeze overnight. As the water freezes and expands, it gently stretches the leather. Remove the bags and allow the boots to thaw at room temperature before wearing. This method works particularly well for boots that feel tight in the heel without being painful.
Hand-stretching can also be effective for specific areas. Grasp the boot at the toe and heel, then gently pull and twist the leather while wearing the boot. This manual manipulation helps the leather fibers align and relax more quickly. Many experienced boot wearers perform this technique while watching television or during other downtime activities.
The wet-wear method, though unconventional, has proven effective for some boot enthusiasts. Lightly dampen the inside of the boots with a spray bottle, then wear them for 1-2 hours. The moisture softens the leather temporarily, allowing it to stretch and mold to your feet more readily. Once removed, allow the boots to dry naturally away from direct heat sources. This method should only be used occasionally, as excessive moisture can damage the leather.
Moisture and Heat Treatment
Controlled moisture and heat application can significantly speed up leather softening. Professional boot shops often use steam treatments to accelerate break-in times. If you have access to a professional boot stretcher service, this investment typically costs $30-75 per pair and can reduce your break-in period by 50 percent or more.
For at-home heat treatment, use a hair dryer on low to medium setting to warm the leather while wearing the boots. The heat temporarily softens the material, allowing it to stretch as you move and flex your feet. Hold the dryer 6-8 inches from the boot surface and move it continuously to avoid hot spots. Apply heat for 2-3 minutes at a time, then flex and move your feet to encourage stretching. This technique works best when combined with wearing the boots, as movement helps the leather conform to your foot shape.
Never expose cowboy boots to direct high heat, as this can damage the leather, cause shrinkage, or warp the boot structure. Always use low to medium heat settings and maintain safe distances from the leather surface. After heat treatment, allow the boots to cool gradually while still on your feet—this helps set the new shape as the leather cools and hardens slightly.
Humidity also plays a role in leather softening. Wearing boots in moderately humid conditions can help soften the leather naturally. Many people find that wearing boots during light rain or in humid climates accelerates the break-in process compared to dry environments.
Comfort Solutions and Inserts
Strategic use of inserts and padding can dramatically improve comfort during the break-in period. Gel heel cups specifically designed for Western boots provide cushioning and reduce friction at the heel, which is the most common problem area. These cups are removable and reusable, making them a cost-effective solution.
Blister prevention pads should be applied to areas where you’re experiencing friction before blisters form. Moleskin or specialized blister prevention patches create a smooth barrier between your skin and the boot interior. Apply these preventative pads at the first sign of discomfort, not after blisters have already developed.
For toe box tightness, consider using toe box stretchers or simply inserting soft padding material like foam inserts in the problematic areas. Many boot owners use old socks or soft cloth to fill excess space, which helps the boot conform more gradually. Remove these materials once the leather has softened enough.
Insole replacements can provide immediate comfort improvement. Premium aftermarket insoles designed for work boots offer superior arch support, cushioning, and moisture management compared to standard factory insoles. Brands specializing in work boot comfort, such as those recommended by OSHA and occupational safety organizations, often provide better long-term support for extended wearing periods.
Leather Conditioning and Care
Regular conditioning during the break-in period maintains leather suppleness and prevents cracking. Use a quality leather conditioner formulated for work boots, applying it every 2-3 weeks during the break-in phase. This conditioning accelerates softening and protects the leather from environmental damage.
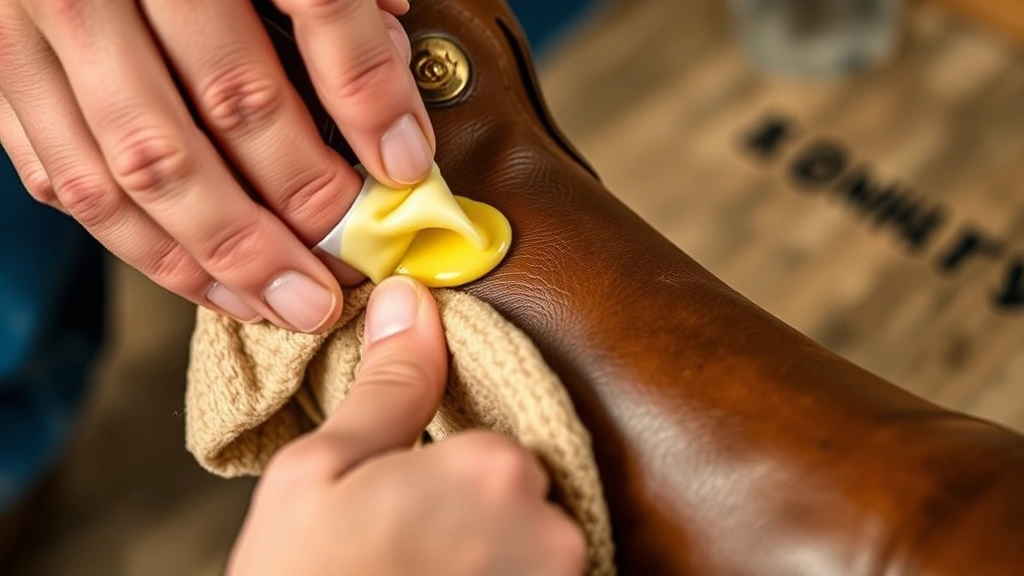
Mink oil is a traditional choice for cowboy boots, offering deep conditioning and water resistance. However, apply mink oil sparingly, as excessive use can darken the leather or make it overly slick. Use a soft cloth to apply a thin, even coat, then buff away excess with a clean cloth. Allow the oil to absorb for 24 hours before wearing the boots.
Leather cream products specifically formulated for Western boots offer a balanced approach, providing conditioning without excessive darkening or slickness. These products typically contain lanolin, beeswax, and natural oils that work together to soften leather while maintaining breathability and water resistance.
Avoid using silicone-based products or cheap leather conditioners during break-in, as these can create a waterproof barrier that prevents the leather from breathing and molding properly. Stick with natural, oil-based conditioners that penetrate the leather fibers and promote flexibility.
Common Issues and Fixes
Heel Slippage: This is the most common complaint during break-in. The heel cup in new boots is often stiff and doesn’t grip your foot properly. Solution: Use gel heel cups, wear thicker socks, or try the freezer stretching method to expand the heel area slightly. Some boot owners apply self-adhesive moleskin to the inside of the heel cup to create additional friction.
Toe Box Tightness: If your toes feel cramped, avoid forcing the issue by wearing the boots too long. Solution: Use a boot stretcher focused on the toe box, or apply heat while wearing the boots to allow the leather to stretch gradually. Ensure you’re wearing the correct size—if the toe box is uncomfortably tight, you may need a half-size larger.
Blistering: Friction between your skin and stiff leather causes blisters. Solution: Prevent blisters by using blister prevention pads at the first sign of friction. Wear thicker, quality socks that provide better cushioning. If blisters do develop, treat them with antibiotic ointment and cover with sterile bandages before wearing the boots again.
Arch Pain: Some people experience arch discomfort as the stiff insole gradually compresses. Solution: Replace factory insoles with premium aftermarket options designed for work boots. High-quality insoles provide immediate arch support and accelerate the break-in process. Brands certified by podiatric organizations offer the best support for extended wear.
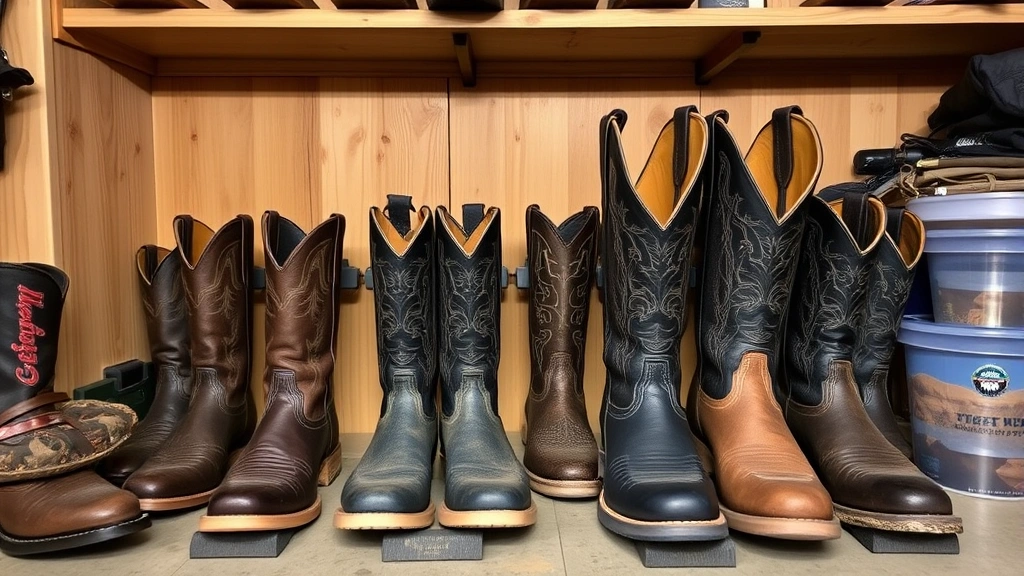
Creasing and Wrinkling: Excessive creasing can cause uncomfortable pressure points. Solution: Use boot trees or stuff the boots with newspaper when not wearing them to maintain shape and distribute creases more evenly. This also helps the leather dry properly and prevents permanent stress marks.
Stiff Shaft: The upper portion of the boot may feel stiff and uncomfortable against your leg. Solution: Apply leather conditioner to the shaft, and use the hand-stretching technique to gently work the leather. Wearing tall socks or leg wraps can reduce friction between the shaft and your skin.
FAQ
How long does it typically take to break in cowboy boots?
Most quality cowboy boots require 20-40 hours of wearing time to become comfortable. This typically translates to 3-8 weeks depending on how frequently you wear them. Premium leather boots may take longer, while boots made from softer leather or with pre-treated interiors may break in more quickly.
Can I speed up the break-in process?
Yes, several methods can accelerate break-in, including leather conditioning, heat treatment, boot stretchers, and gradual wearing schedules. Professional boot stretching services can reduce break-in time by 50 percent. Combining multiple techniques yields the best results.
Should I wear new cowboy boots in the rain?
Light rain can actually help soften leather during break-in. However, avoid prolonged exposure to heavy moisture, which can damage the leather or cause shrinkage. If your boots get soaked, remove them and allow them to dry naturally away from direct heat.
What’s the best type of sock for breaking in cowboy boots?
Merino wool socks (80-85% wool content) provide the best combination of cushioning, moisture management, and temperature regulation. Specialized work boot socks offer superior performance compared to standard cotton socks during the break-in period.
Are expensive cowboy boots easier to break in?
Generally, higher-quality boots made from premium leather and with better construction do break in more comfortably than budget options. Quality boots often feature pre-treated leather, superior insoles, and better heel cups. However, all leather boots require some break-in time.
Can I return boots if they don’t fit after break-in?
Return policies vary by retailer and manufacturer. Most reputable boot sellers offer 30-60 day return windows. However, heavily worn boots are typically not returnable. Check the return policy before purchasing, and avoid wearing boots outdoors extensively if you’re unsure about fit.
What should I do if my boots still hurt after 6 weeks of wearing?
If significant pain persists after 6 weeks of regular break-in, the boots likely don’t fit properly. Consider consulting a professional boot fitter or podiatrist. You may need a different size, width, or style. Some boot shops offer professional fitting services that can help identify fit issues.
How do I maintain my boots after break-in is complete?
Continue conditioning your boots every 3-6 months with quality leather conditioner. Use boot trees when storing them to maintain shape. Clean the exterior regularly with a soft brush, and treat scuffs or damage promptly. Proper maintenance extends boot life significantly beyond the break-in period.
Can I use a boot stretcher while wearing the boots?
No, boot stretchers should only be used when the boots are off your feet. Using a stretcher while wearing the boots could cause injury or permanent damage to the stretcher mechanism. Always insert stretchers into empty boots and allow adequate time for stretching before wearing.
Is it normal for my feet to hurt during break-in?
Some mild discomfort is normal during break-in, but pain is not. If you experience sharp pain, excessive blistering, or numbness, stop wearing the boots and assess the fit. Like planning a DIY house painting project, proper preparation prevents problems. Proper fit and gradual break-in should result in only minor discomfort, not significant pain.
Remember that breaking in cowboy boots is an investment in comfort and durability. Just as you would carefully approach DIY flooring installation with proper planning, taking time with your boots ensures years of comfortable wear. For additional information about footwear standards and occupational safety, consult resources from the American Chemistry Council and American Apparel & Footwear Association. If you’re interested in developing construction or contracting skills, our guide on how to become a contractor offers comprehensive information.


